
| ☰ See All Chapters |
JPA Example Using Maven
In this tutorial we will learn to create JPA example application using maven. You have to follow our steps to create the example. Our steps are so easy and simple that you no need to have any prior knowledge on JPA (Java Persistence API).
Create java Project using Maven
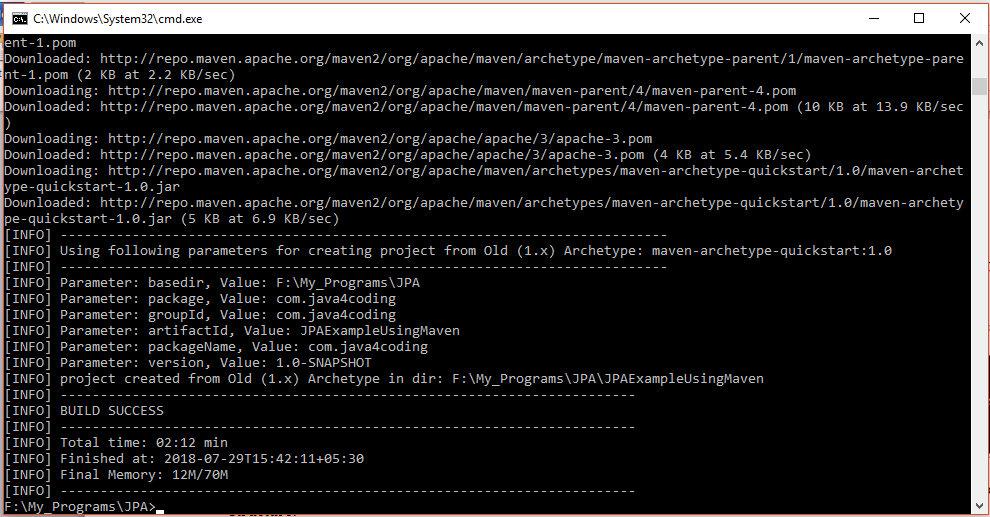
In the command prompt execute the following maven command to generate Maven supported Java project named as “JPAExampleUsingMaven”.
mvn archetype:generate -DgroupId=com.java4coding -DartifactId=JPAExampleUsingMaven -DarchetypeArtifactId=maven-archetype-quickstart -DinteractiveMode=false

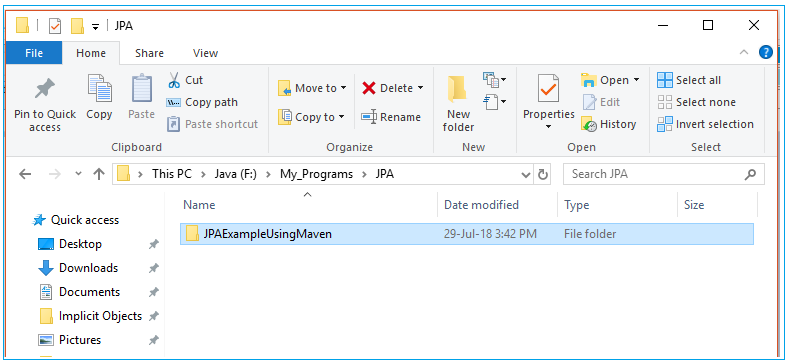
This command creates a new maven Java project with the name “JPAExampleUsingMaven”, with complete directory structure.
Convert to eclipse project
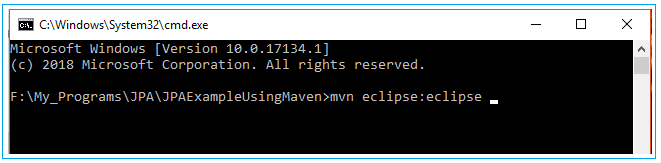
To import Maven project into Eclipse IDE, in terminal, navigate inside “JPAExampleUsingMaven” project (folder should has pom.xml file), and issue mvn eclipse:eclipse command.
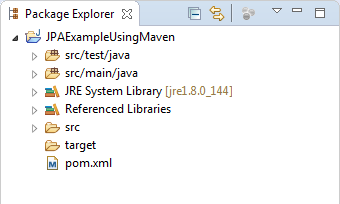
Import converted project into Eclipse IDE
In Eclipse IDE, Choose File –> Import –> General -> Existing Projects into Workspace –>Choose your project folder location. Done
Add the resources folder
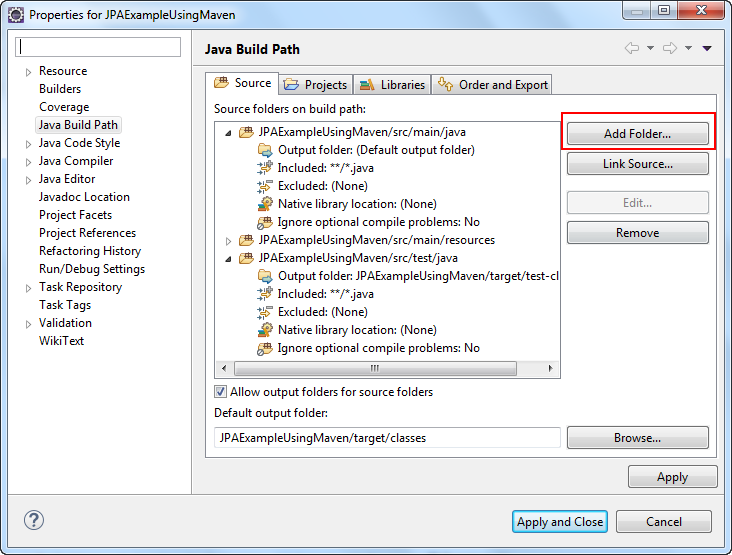
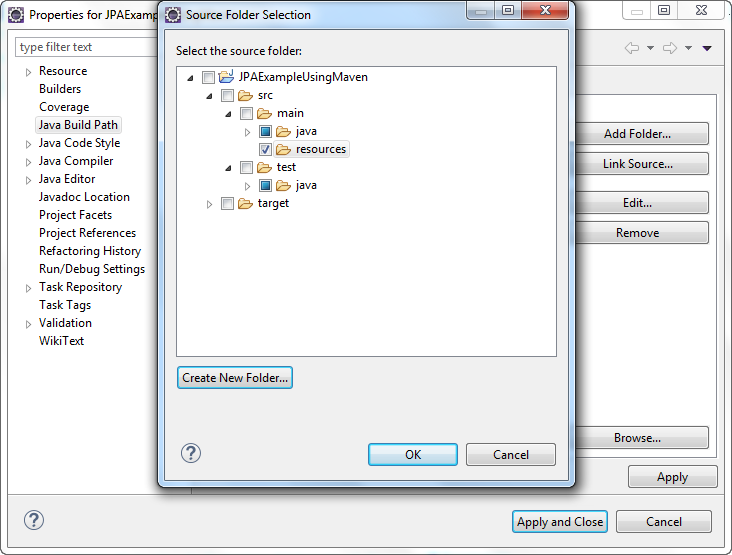
We have to create a folder to place resources of a project and this folder has to be added to the classpath. Follow the below steps to add the folder and to add that folder to the classpath.
Right click on the project and select -> Build Path -> Configure Build Path, click on the Source tab and then click on Add Folder button as shown below.
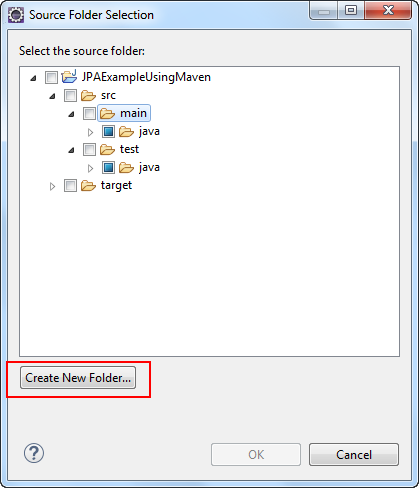
Type resources, and click Finish.
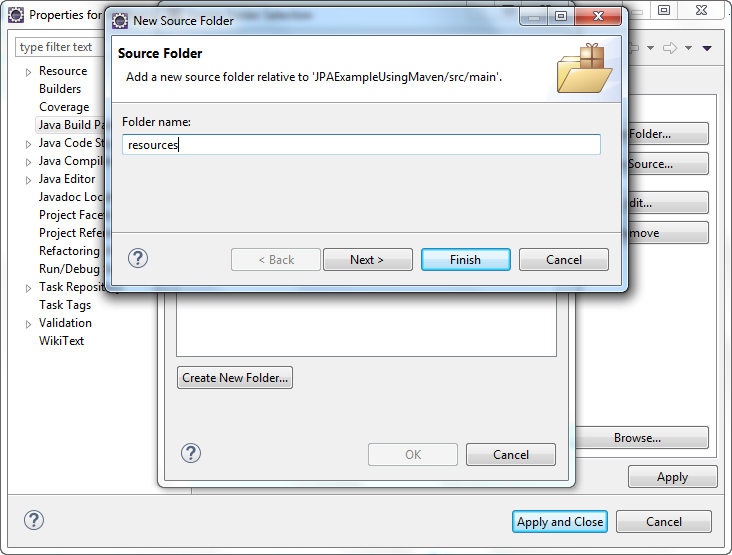
Click on OK and then Apply and Close.
Add dependencies in pom.xml
Add the below hibernate, mysql and other dependencies in pom.xml file. We are using mysql 8.0 and java 8 for this project.
pom.xml
<project xmlns="https://maven.apache.org/POM/4.0.0" xmlns:xsi="https://www.w3.org/2001/XMLSchema-instance" xsi:schemaLocation="https://maven.apache.org/POM/4.0.0 https://maven.apache.org/maven-v4_0_0.xsd"> <modelVersion>4.0.0</modelVersion> <groupId>com.java4coding</groupId> <artifactId>JPAExampleUsingMaven</artifactId> <packaging>jar</packaging> <version>1.0-SNAPSHOT</version> <name>JPAExampleUsingMaven</name> <url>https://maven.apache.org</url> <dependencies> <dependency> <groupId>junit</groupId> <artifactId>junit</artifactId> <version>3.8.1</version> <scope>test</scope> </dependency> <dependency> <groupId>org.eclipse.persistence</groupId> <artifactId>javax.persistence</artifactId> <version>2.0.0</version> </dependency>
<dependency> <groupId>org.hibernate</groupId> <artifactId>hibernate-entitymanager</artifactId> <version>4.2.8.Final</version> </dependency>
<dependency> <groupId>mysql</groupId> <artifactId>mysql-connector-java</artifactId> <version>8.0.11</version> </dependency> </dependencies> </project> |
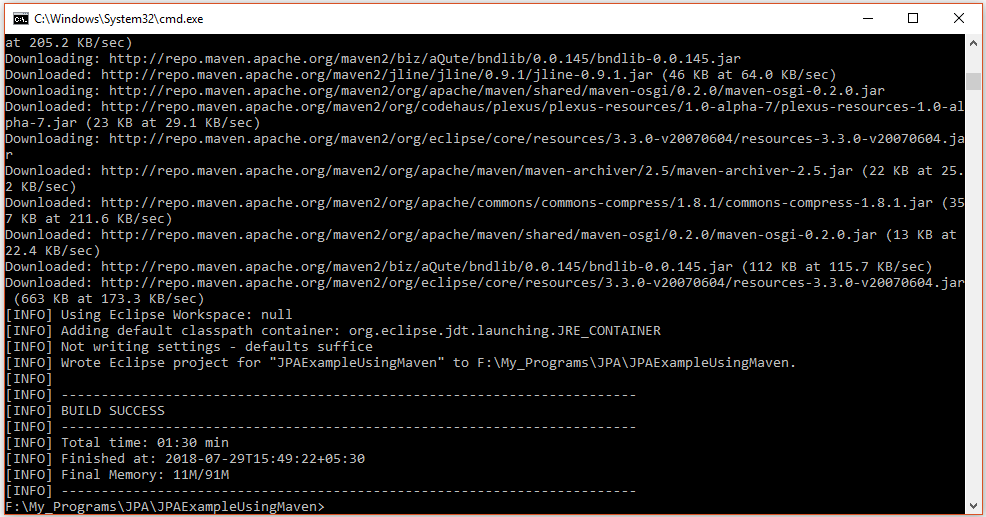
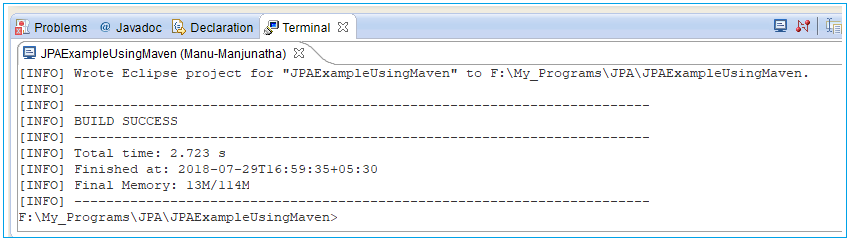
Issue the “mvn eclipse:eclipse“, in command prompt, Maven will download all Hibernate, JPA and MySQL jars automatically and put into Maven’s local repository. At the same time, Maven will add the downloaded libraries into Eclipse “.classpath” for dependency purpose.
It is tedious to open command prompt going out of eclipse again and again. Hence install terminal plugin into eclipse.
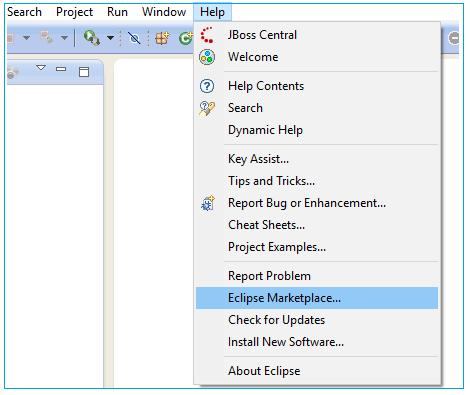
To open command prompt/terminal quickly from eclipse install below plugin.

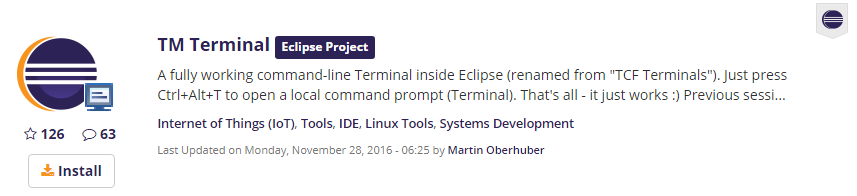
After this plugin installation Just press Ctrl+Alt+T to open a local command prompt (Terminal).

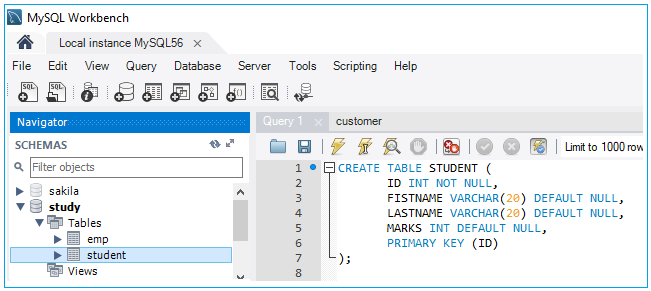
Database script
CREATE TABLE STUDENT ( ID INT NOT NULL, FISTNAME VARCHAR(20) DEFAULT NULL, LASTNAME VARCHAR(20) DEFAULT NULL, MARKS INT DEFAULT NULL, PRIMARY KEY (ID) ); |
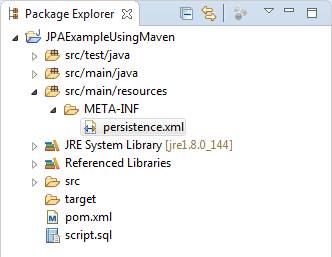
Creating persistence.xml file
Create META-INF folder inside resources directory. Create persistence.xml inside META-INF folder.
Add following code in persistence.xml file.
persistence.xml
<?xml version="1.0" encoding="UTF-8"?> <persistence xmlns="https://java.sun.com/xml/ns/persistence" xmlns:xsi="https://www.w3.org/2001/XMLSchema-instance" xsi:schemaLocation="https://java.sun.com/xml/ns/persistence https://java.sun.com/xml/ns/persistence/persistence_2_0.xsd" version="2.0">
<persistence-unit name="StudentPU"> <provider>org.hibernate.ejb.HibernatePersistence</provider> <properties> <property name="hibernate.connection.url" value="jdbc:mysql://localhost:3306/study" /> <property name="hibernate.connection.driver_class" value="com.mysql.cj.jdbc.Driver" /> <property name="hibernate.connection.username" value="root" /> <property name="hibernate.connection.password" value="root" /> <property name="hibernate.archive.autodetection" value="class" /> <property name="hibernate.show_sql" value="true" /> <property name="hibernate.format_sql" value="true" /> <property name="hbm2ddl.auto" value="update" /> </properties> </persistence-unit> </persistence> |
Create Entity class
Create the package com.java4coding and class Student.
Student.java
package com.java4coding;
import javax.persistence.Column; import javax.persistence.Entity; import javax.persistence.Id; import javax.persistence.Table;
@Entity @Table(name = "STUDENT") public class Student { @Id @Column(name = "id") private int id;
@Column(name = "fistName") private String firstName;
@Column(name = "lastName") private String lastName;
@Column(name = "marks") private int marks;
public Student() {
}
public Student(int id, String firstName, String lastName, int marks) { super(); this.id = id; this.firstName = firstName; this.lastName = lastName; this.marks = marks; }
public int getId() { return id; }
public void setId(int id) { this.id = id; }
public String getFirstName() { return firstName; }
public void setFirstName(String firstName) { this.firstName = firstName; }
public String getLastName() { return lastName; }
public void setLastName(String lastName) { this.lastName = lastName; }
public int getMarks() { return marks; }
public void setMarks(int marks) { this.marks = marks; } } |
Create Test Class
Create Test class named 'Test' to insert some sample data in the Student table.
Test.java
package com.java4coding;
import javax.persistence.EntityManager; import javax.persistence.EntityManagerFactory; import javax.persistence.Persistence;
public class Test { private static EntityManager em;
public static void main(String[] args) {
EntityManagerFactory emf = Persistence.createEntityManagerFactory("StudentPU"); em = emf.createEntityManager();
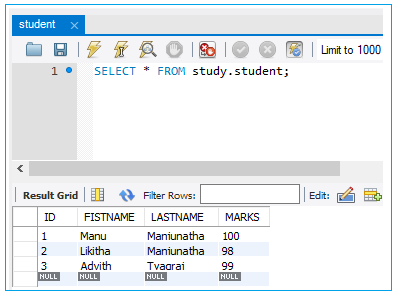
createStudent(1, "Manu", "Manjunatha", 100); createStudent(2, "Likitha", "Manjunatha", 98); createStudent(3, "Advith", "Tyagraj", 99); }
private static void createStudent(int id, String firstName, String lastName, int marks) { em.getTransaction().begin(); Student student = new Student(id, firstName, lastName, marks); em.persist(student); em.getTransaction().commit(); } } |
Output
Hibernate: insert into STUDENT (fistName, lastName, marks, id) values (?, ?, ?, ?) Hibernate: insert into STUDENT (fistName, lastName, marks, id) values (?, ?, ?, ?) Hibernate: insert into STUDENT (fistName, lastName, marks, id) values (?, ?, ?, ?)
|
Now Check the Student Table, you can see data is stored in table.
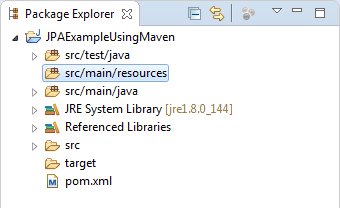
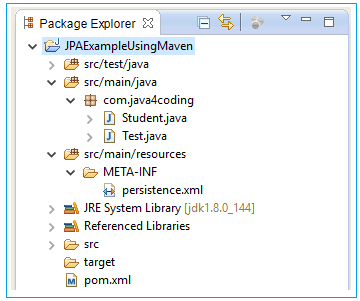
Final Directory Structure of Project in eclipse
All Chapters
