
| ☰ See All Chapters |
Spring Core Example
In this tutorial you will learn to create a spring 2.0 core simple hello world example.
Step 1: Create dynamic web project in eclipse.
You can actually create just java project to test spring core examples. But here you have to follow some more extra steps to configure classpath for spring jars (Spring libraries). When you create the dynamic web project you have to just add the spring libraries to WEB-INF/lib folder.
In eclipse select File -> New -> Project -> Web -> Dynamic Web Project -> Next. To know more about how to create Dynamic web project follow our Servlet example here.
Step 2: Download the Spring jars and add the jars to WEB-INF/lib folder of project
In all our examples we are using Spring 5.0.7 version. This is the latest version of Spring at the time of writing this tutorials. For this version of Spring, supported version of Java is Java1.8 and above.
If you want to set the Java version of the project to Java 1.8 in eclipse, you can refer our tutorial here.
Download the Spring jars from https://repo.spring.io/release/org/springframework/spring/
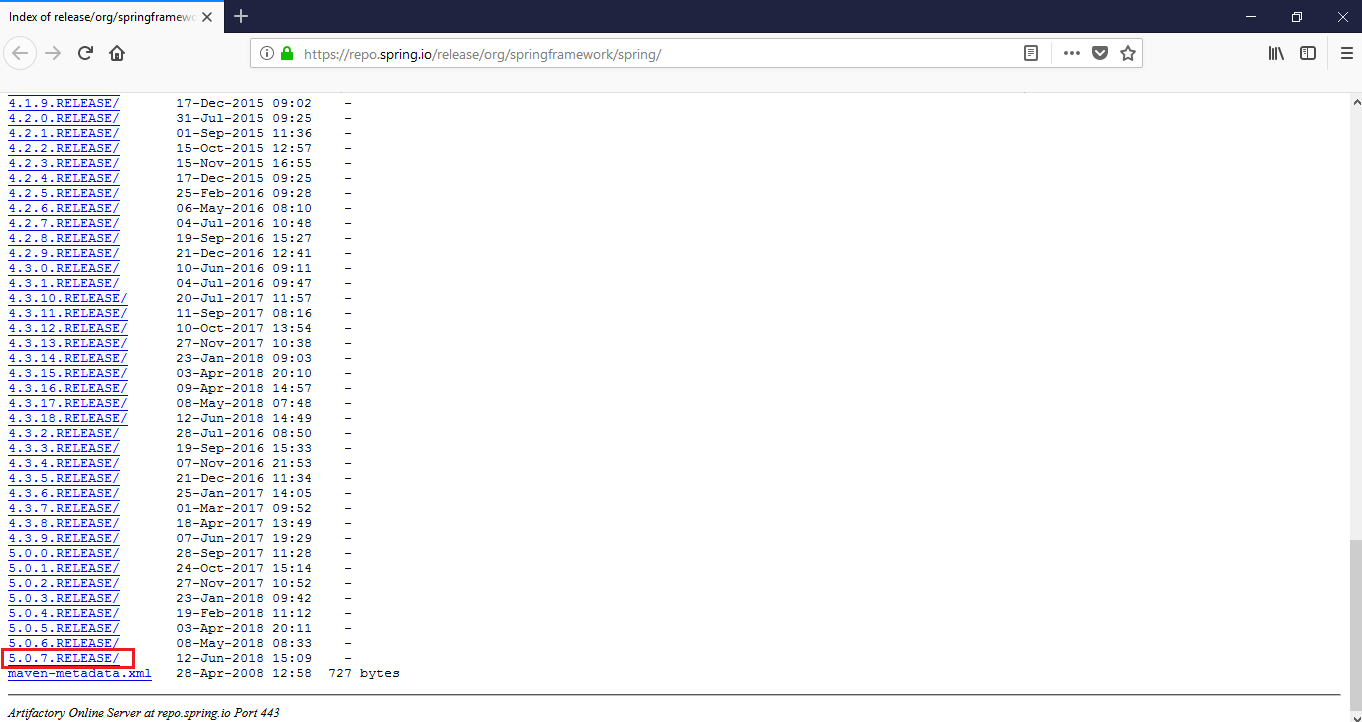
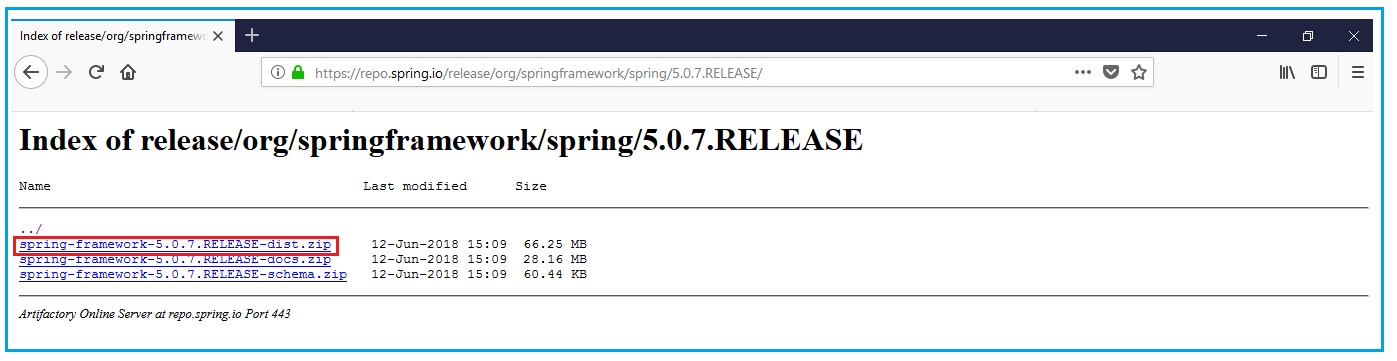
After downloading extract the zip file and navigate inside spring-framework-5.0.7.RELEASE\libs directory. Inside this folder you can find the 3 type of jars.
Jars with the name ending with “RELEASE”.
Jars with the name ending “javadoc”.
Jars with the name ending “sources”.
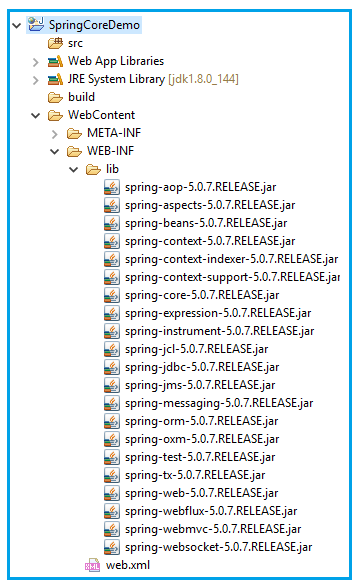
Copy all the jar files with their name ending with “RELEASE” and put them inside WEB-INF/lib folder of project. Please note, it is not required to add all the jars to our project, only the required jars required for spring core example can only be added to our project. But it is not the time to identify the required jars and not the time to learn how to handle project dependencies. You are learning spring tutorial and not configuration management. There are many tools like maven, ant which are actually used to manage project dependencies and configuration management.
Also there is no problem in adding all the jars, now a day’s memory is not an issue. We are adding about just 10MB of jars into our project.
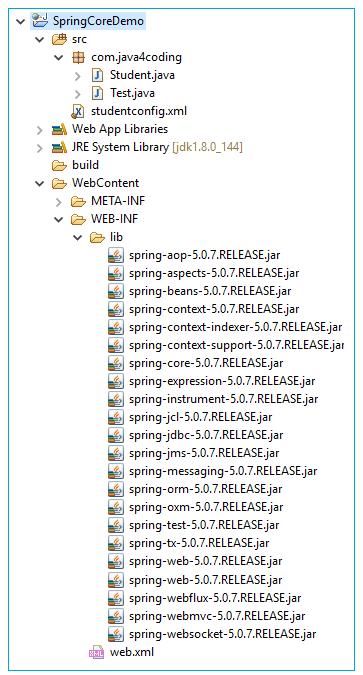
Now our project directory structure looks as given below.
Step 3: Create package and Java files
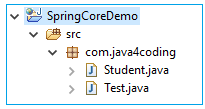
Student.java
package com.java4coding;
public class Student { private String name;
public String getName() { return name; }
public void setName(String name) { this.name = name; }
public void displayInfo() { System.out.println("Hello: " + name); } } |
Test.java
package com.java4coding;
import org.springframework.beans.factory.BeanFactory; import org.springframework.beans.factory.support.BeanDefinitionRegistry; import org.springframework.beans.factory.support.DefaultListableBeanFactory; import org.springframework.beans.factory.xml.XmlBeanDefinitionReader; import org.springframework.core.io.ClassPathResource;
public class Test { public static void main(String[] args) { BeanFactory factory = new DefaultListableBeanFactory(); BeanDefinitionRegistry reg = (BeanDefinitionRegistry) factory; XmlBeanDefinitionReader reader = new XmlBeanDefinitionReader(reg); reader.loadBeanDefinitions(new ClassPathResource("studentconfig.xml")); Student student = (Student) factory.getBean("studentbean"); student.displayInfo(); } } |
Step 4: Create spring configuration file
This configuration file should be created inside src directory.
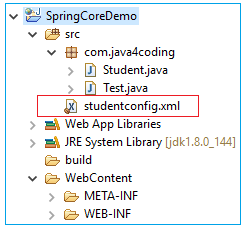
studentconfig.xml
<?xml version="1.0" encoding="UTF-8"?> <beans xmlns="https://www.springframework.org/schema/beans" xmlns:xsi="https://www.w3.org/2001/XMLSchema-instance" xsi:schemaLocation="https://www.springframework.org/schema/beans https://www.springframework.org/schema/beans/spring-beans.xsd">
<bean id="studentbean" class="com.java4coding.Student"> <property name="name" value="Manu_Manjunatha"></property> </bean> </beans> |
Final project directory structure
Step 5: Run the application
Select the Test.java, Right Click>Run As>Java Application.
We can see the output as below.

All Chapters
