
| ☰ See All Chapters |
MySQL Installation on Microsoft Windows
MySQL installation steps may vary version to version and depends on OS. The steps provided here are for the below versions.
MySql version: mysql-installer-community-8.0.11.0
OS: Windows 10
JDK version: 1.8
Whatever the version and operating system, while installing MySQL note down the port number and password you provide. Follow the below steps.
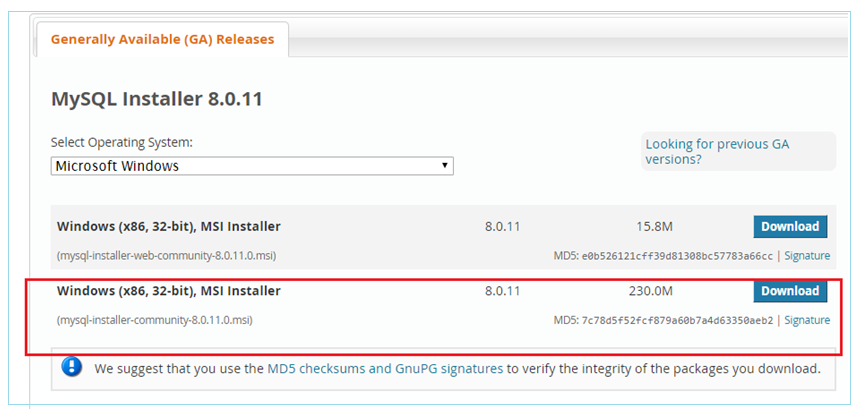
1. Download MySQL Installer from https://dev.mysql.com/downloads/installer/ and execute it.
When you visit the above link, you will get the two download links. Download “mysql-installer-community-8.0.11.0.msi”
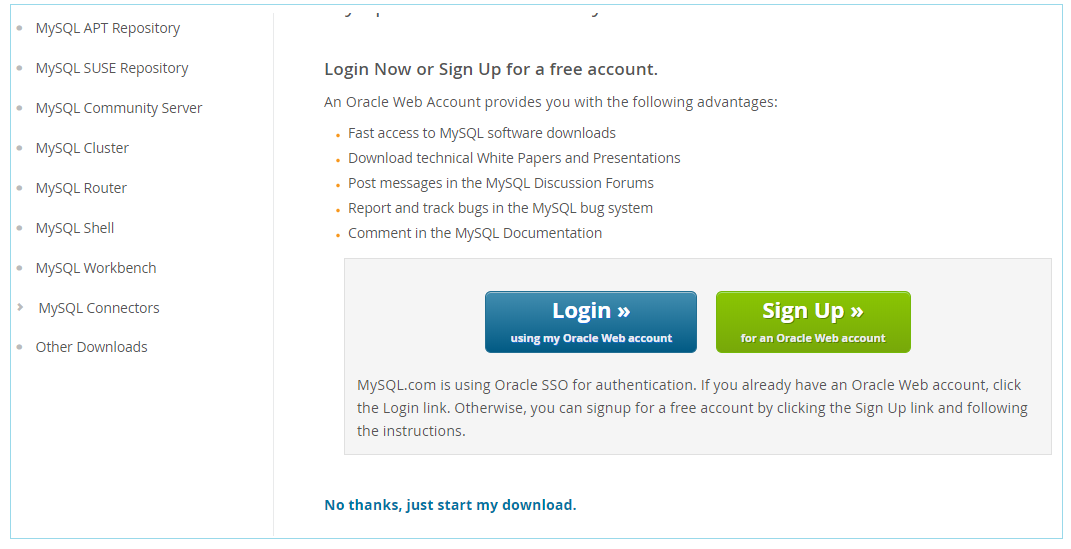
When you click on Download button, you will be asked to login/signup. MySQL.com is using Oracle SSO for authentication. If you already have an Oracle Web account, click the Login link. Otherwise, you can sign up for a free account by clicking the Sign Up link. If you want to skip this and download, click on “No thanks, just start my download.”
2. After downloading “mysql-installer-community-8.0.11.0.msi”, execute it.
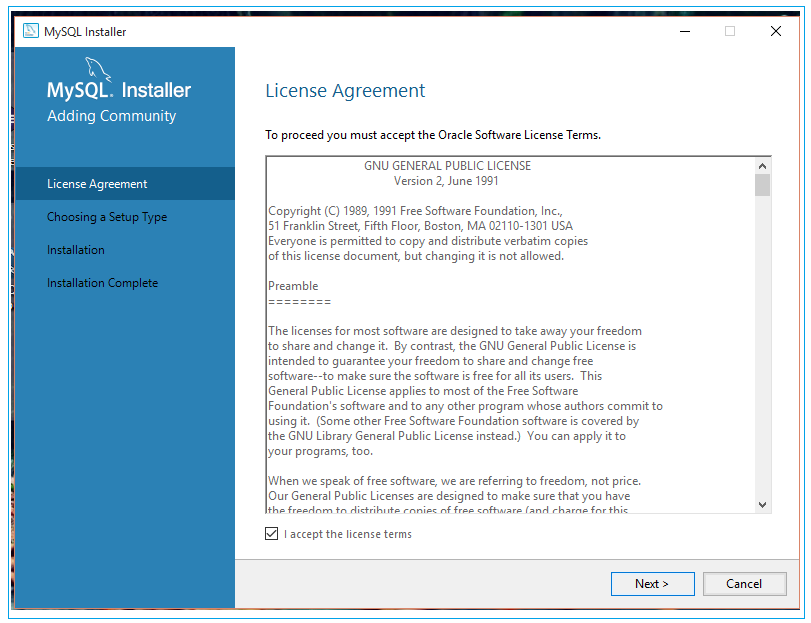
Accept License terms, click Next.
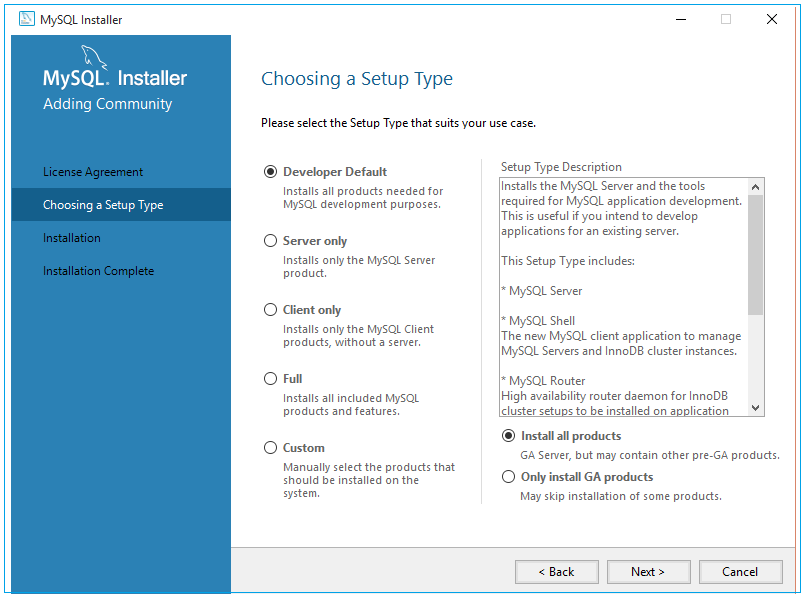
Click Next,
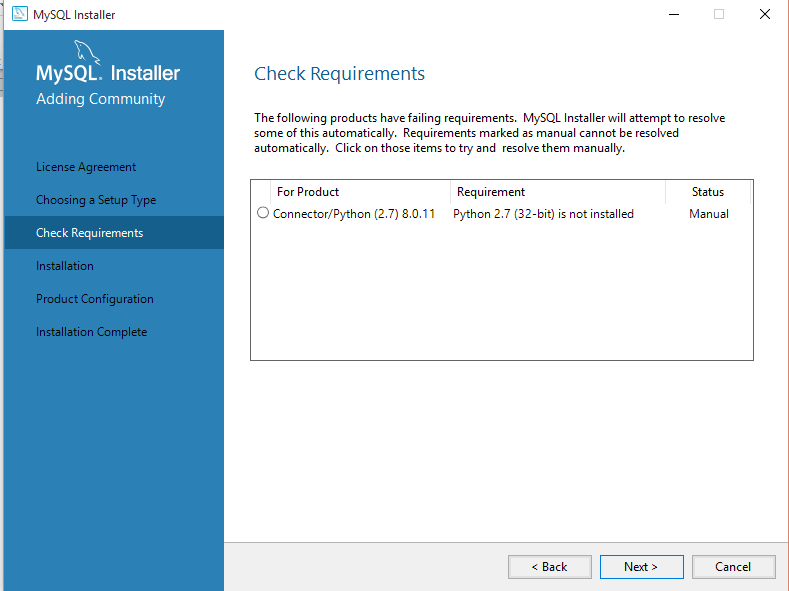
Click Next
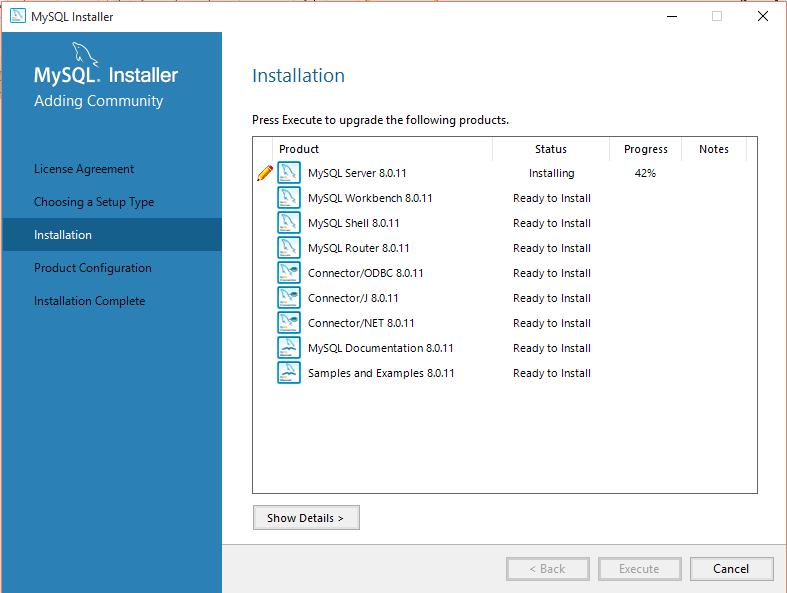
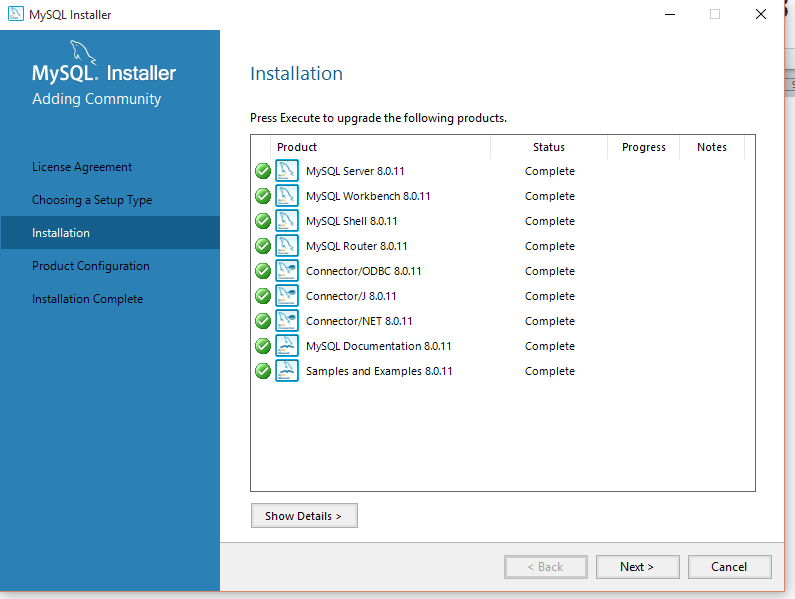
Click Execute
After installation is complete, click Next
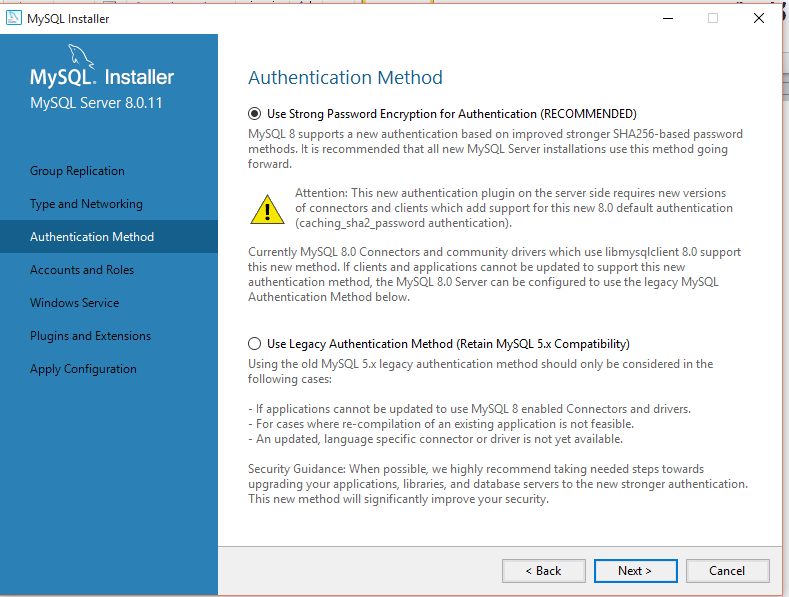
Click Next
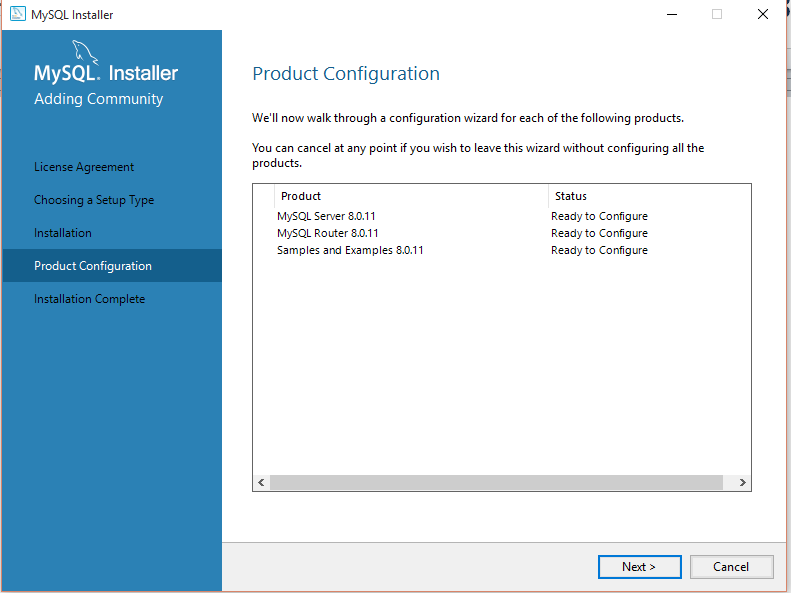
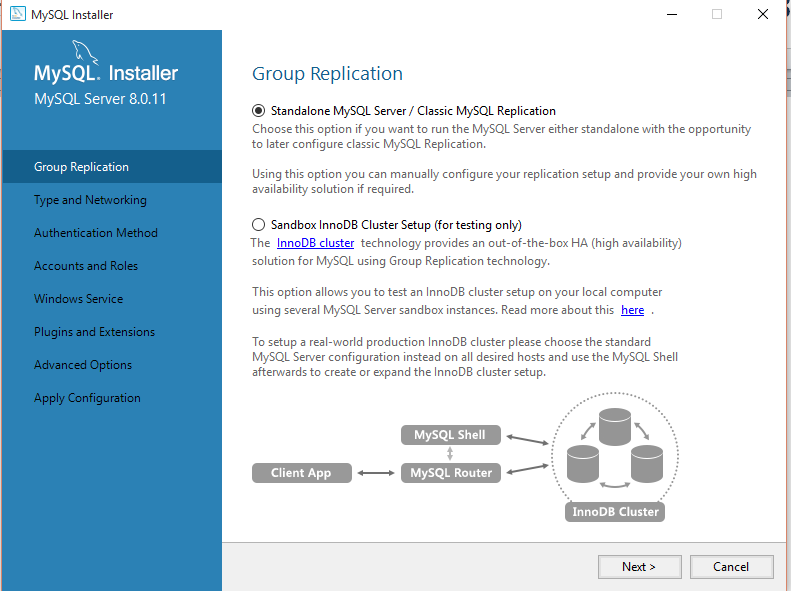
Click Next
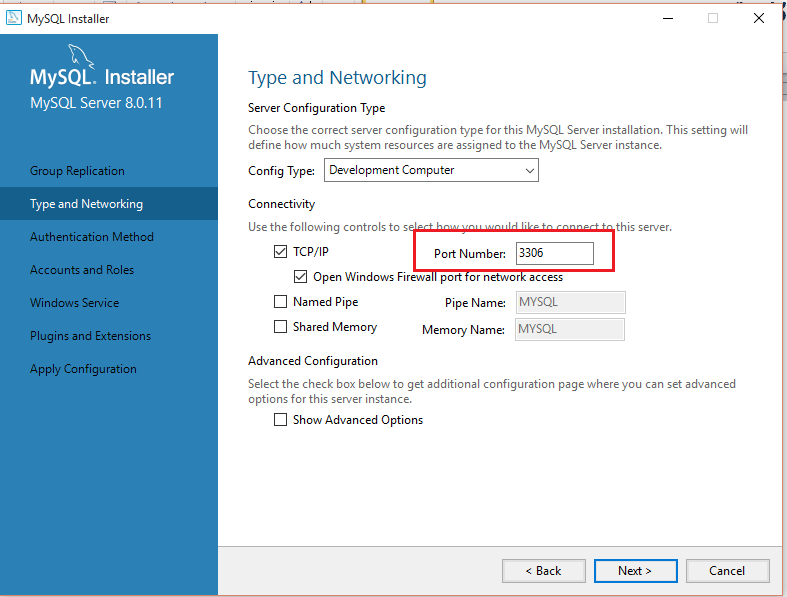
Note down the port number, and then click next.
Click Next
Enter the password for your database, and then click next. Don’t forget the password. Note down somewhere if you cannot remember. Without this password you cannot work on JDBC project.
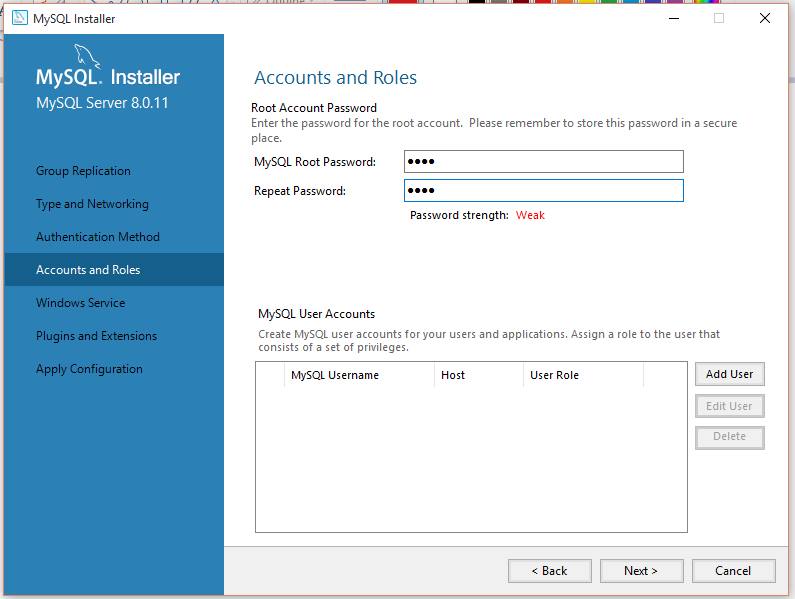
Click Next
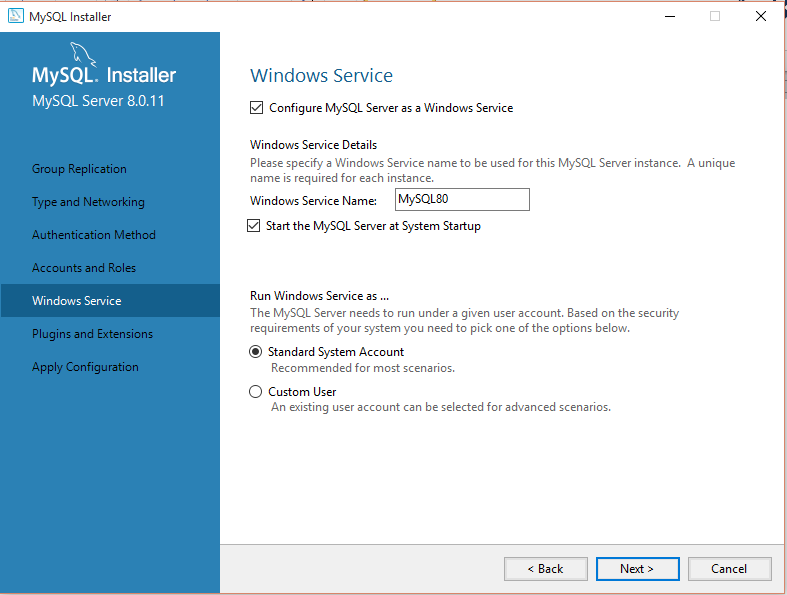
Click Next
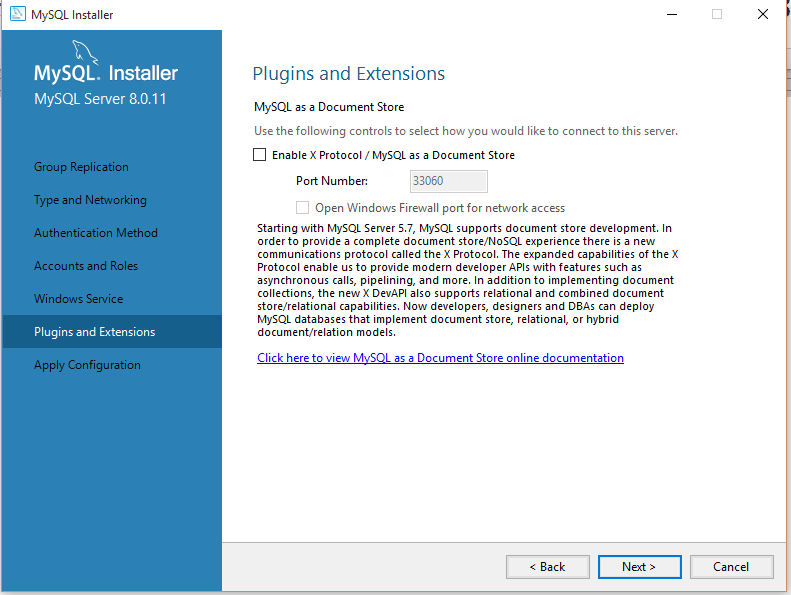
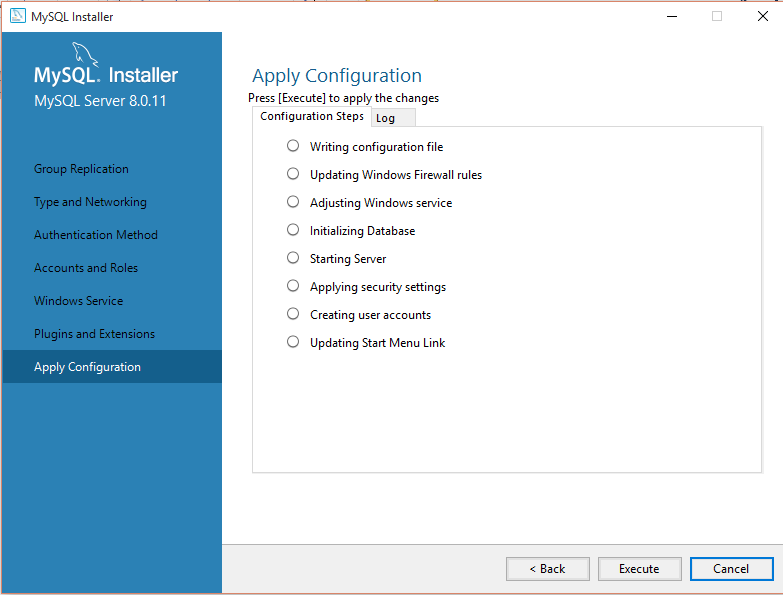
Click Execute
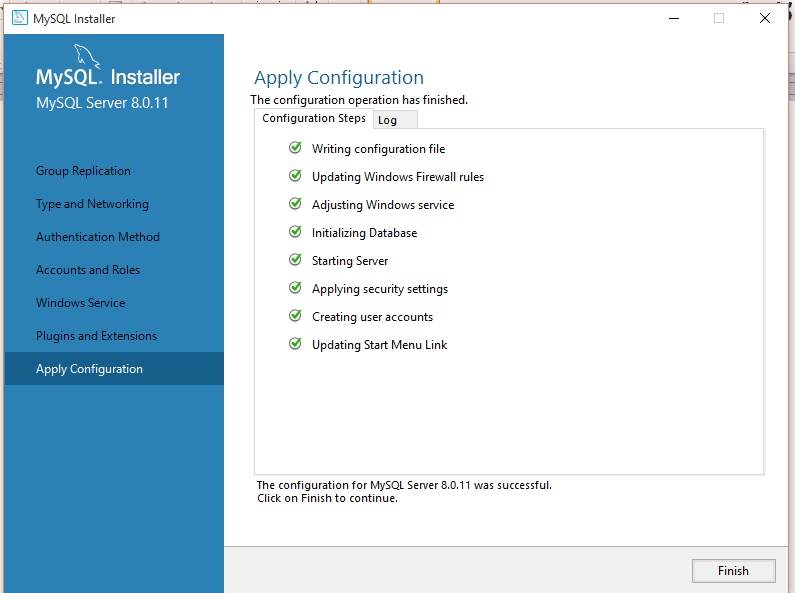
Click Finish
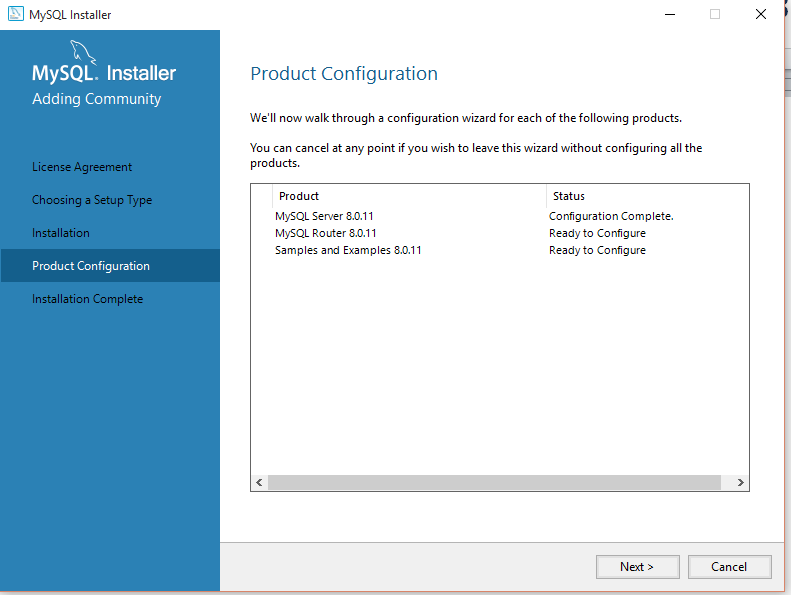
Click Next
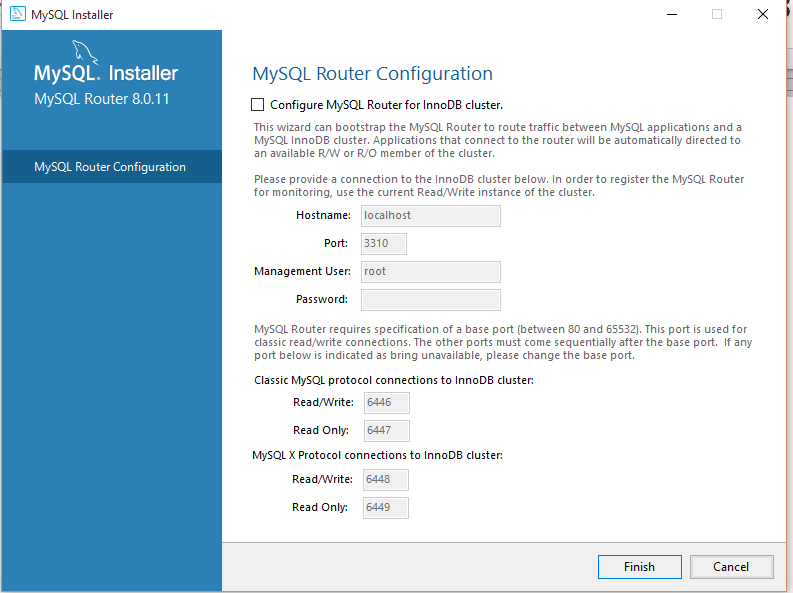
Click Finish
Click Next

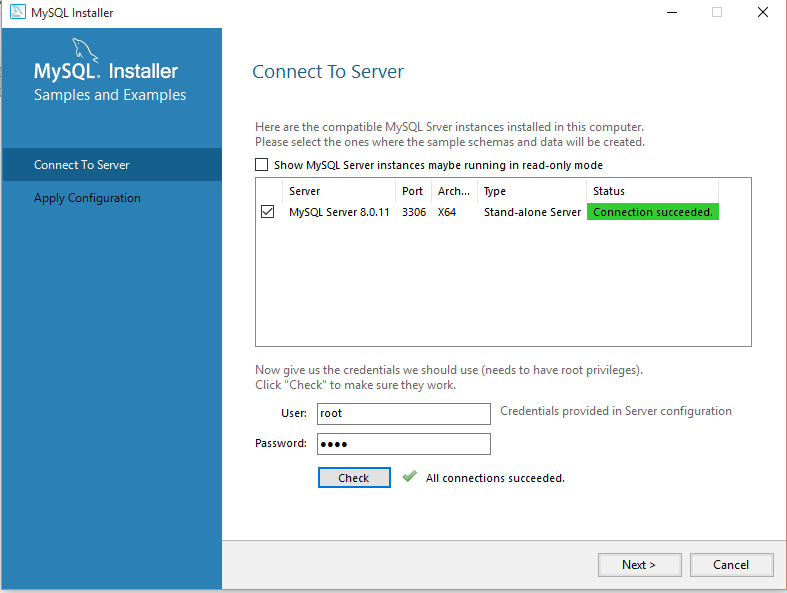
Enter the password you have selected earlier, Click on Check, and then click on Next.
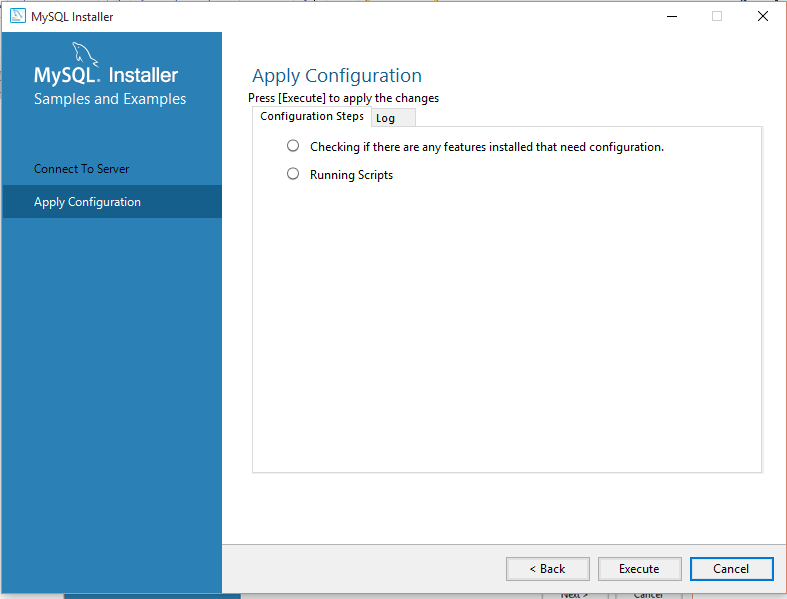
Click on Execute
Click Finish

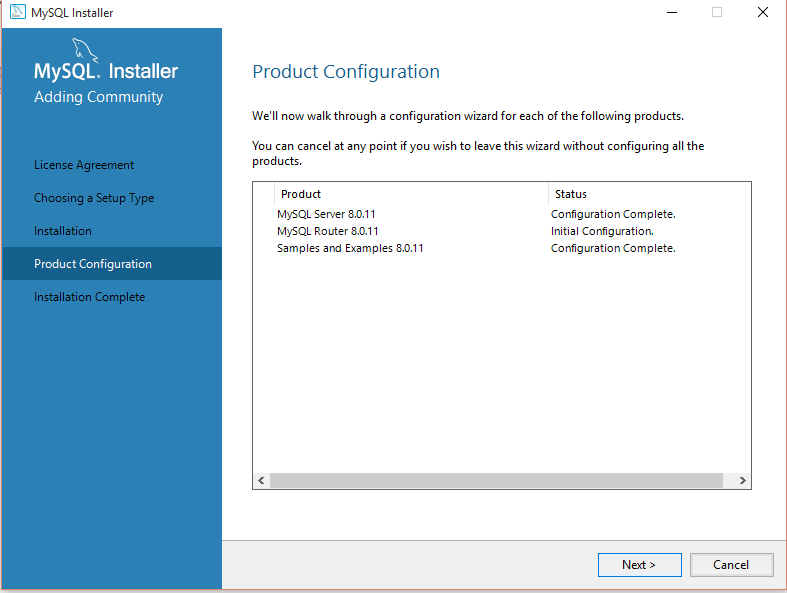
Click Next
Click Finish
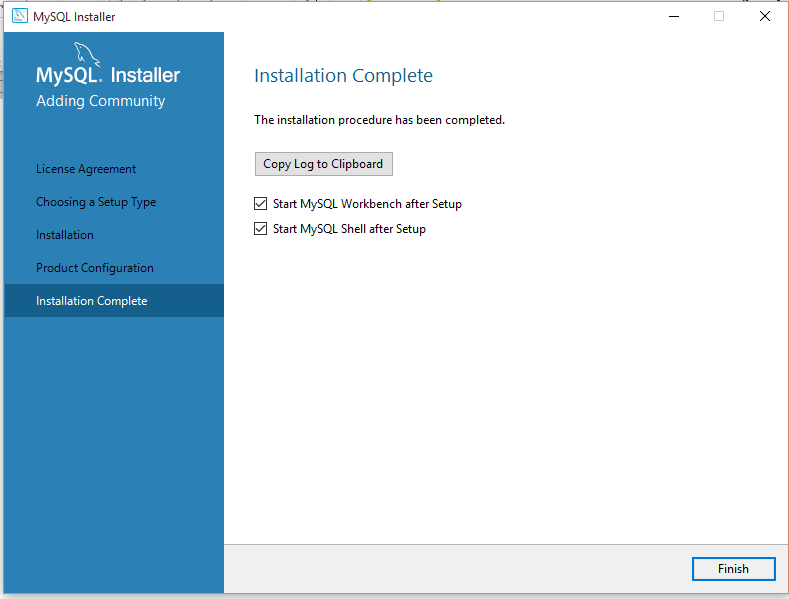
After all these steps if MySql is installed perfectly it launches the MySql terminal as shown below:
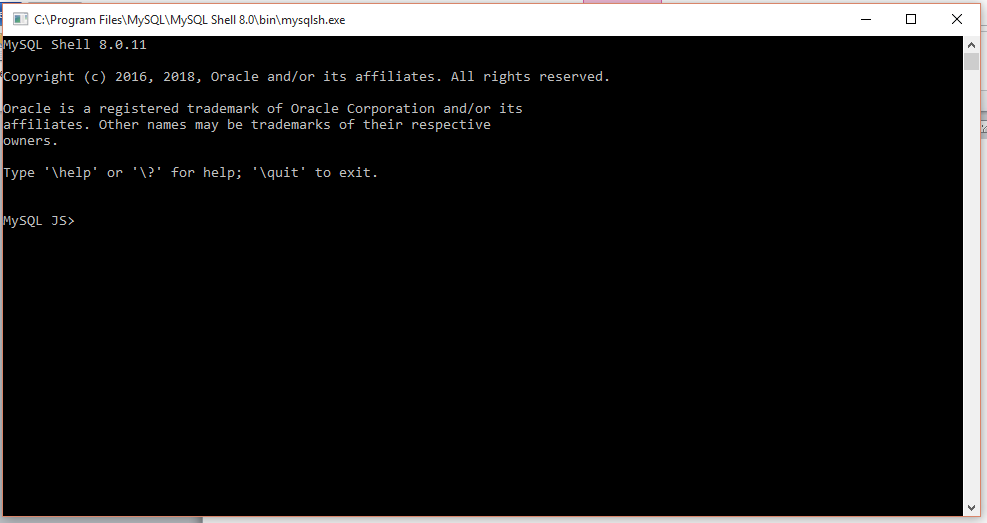
Now to work with MySql DB, we can use MySql Workbench, this is explained in next chapter.
All Chapters
