
| ☰ See All Chapters |
How to create a servlet in Java
In this tutorial you will learn to create JEE servlet project in eclipse and running the servlet in tomcat server.
Step 1: Create dynamic web project in eclipse
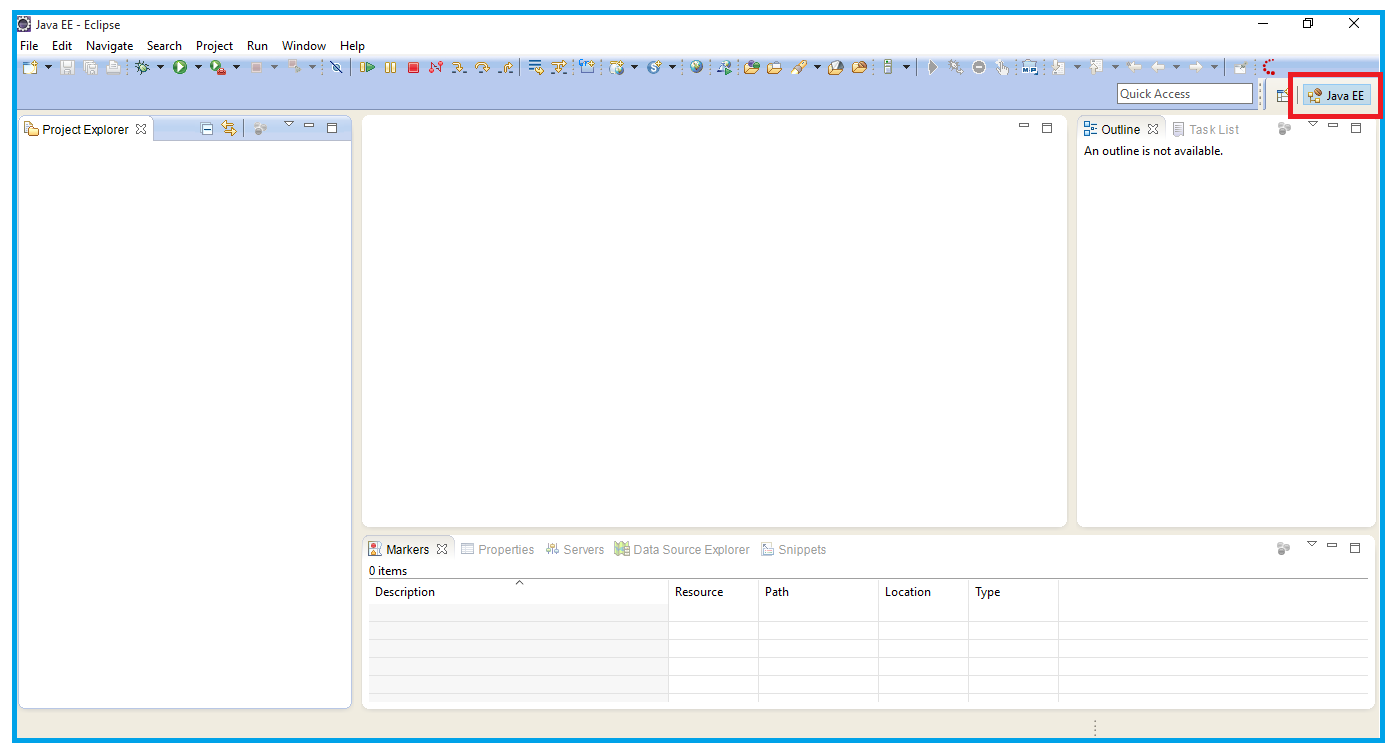
Before creating project in eclipse, make sure you are in java perspective. When eclipse is launched, by default it opens “Java EE” perspective. Change this to “Java” perspective. In my whole experience, where I have worked on many real time applications, I have never worked in “Java EE” perspective, which is not necessary at all. Working in “Java EE” perspective is not recommended, but still you can work in this perspective. When you work in this “Java EE” perspective, eclipse will create too many unnecessary files inside the project.
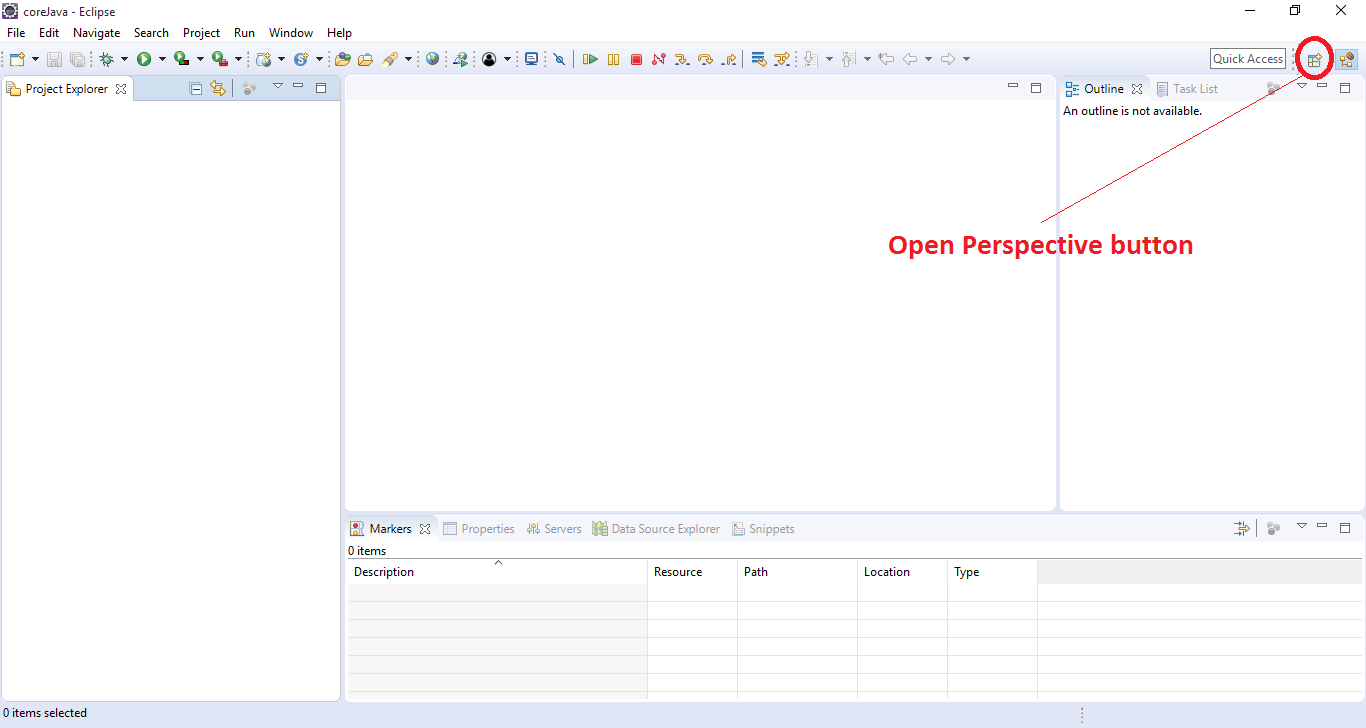
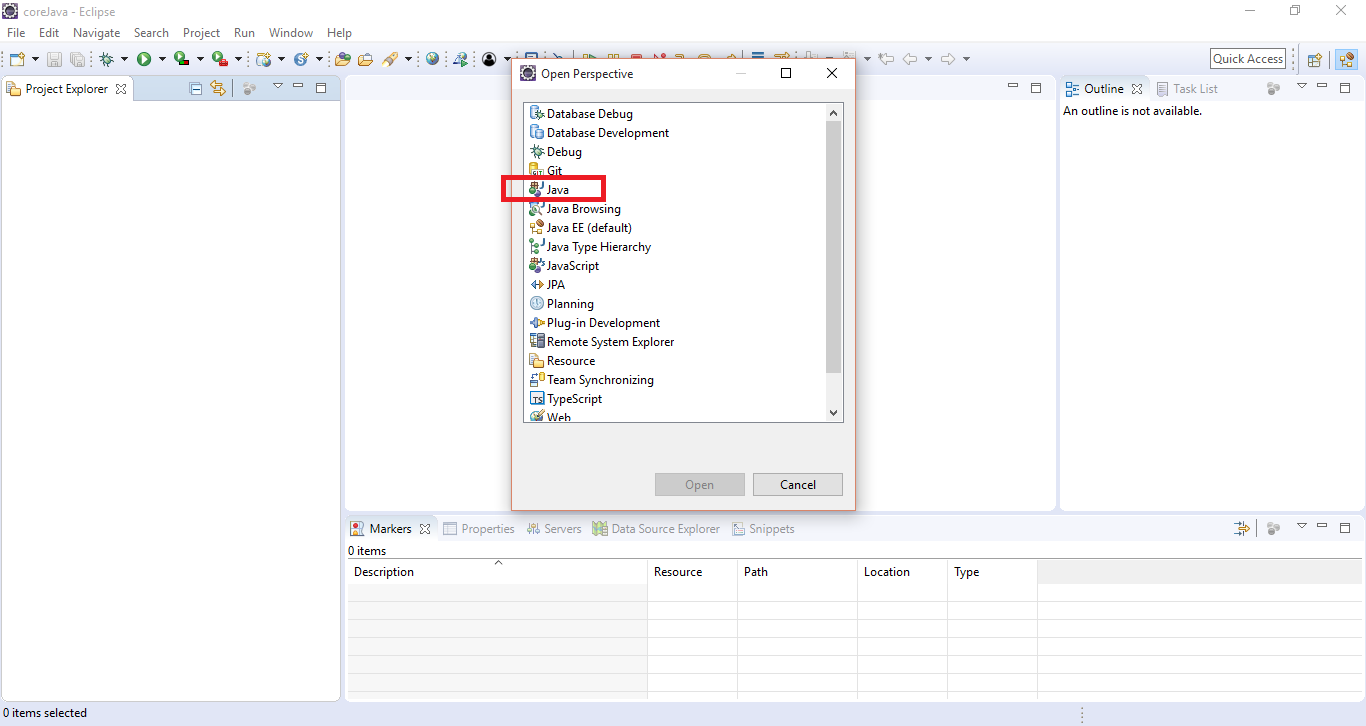
Click on Open Perspective button and select Java option.
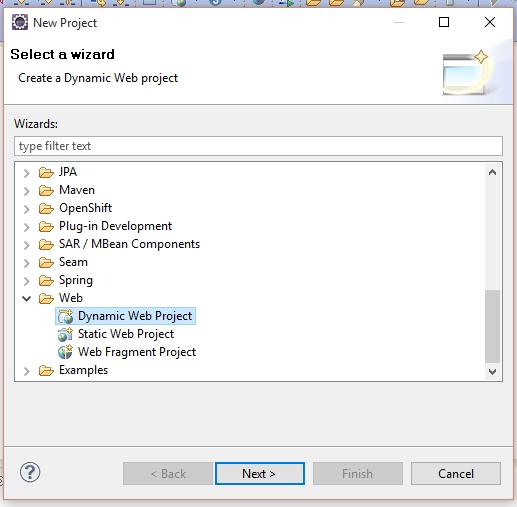
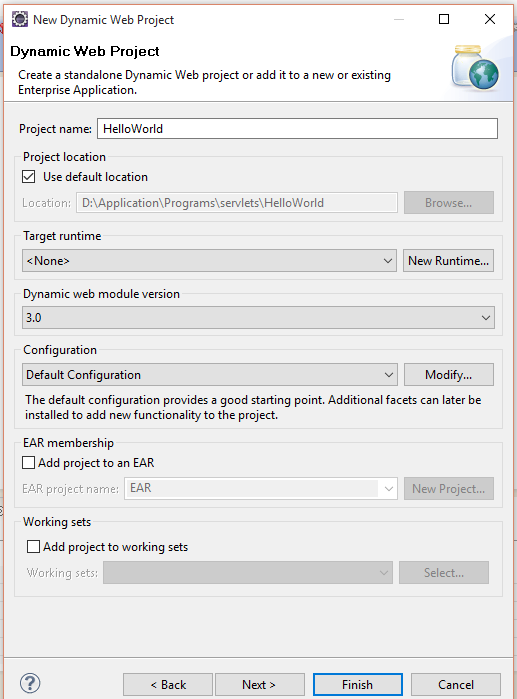
Select File -> New -> Project -> Web -> Dynamic Web Project -> Next
Enter the Project Name “HelloWorld”, click Next.
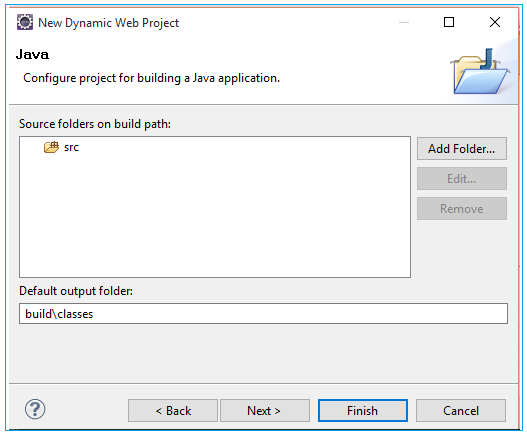
Click Next
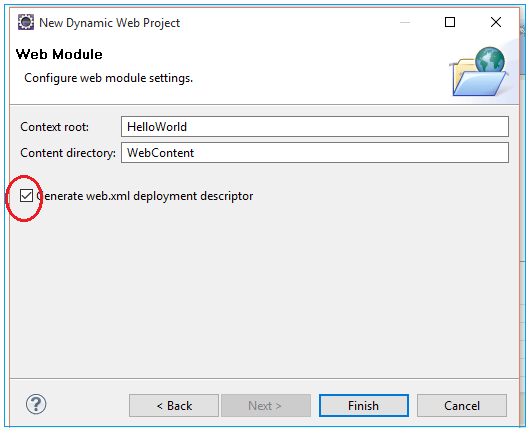
Select the checkbox “Generate web.xml deployment descriptor” and then click Finish.
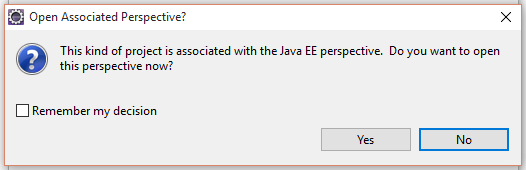
When you click on Finish, eclipse asks again to change the perspective to “Java EE”, Select No.
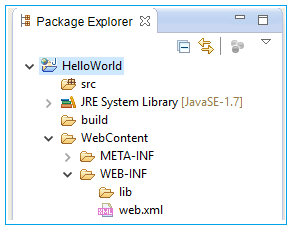
Initial Directory Structure of Project looks like below image:
Step 2: Load the jar/library files to “lib” directory
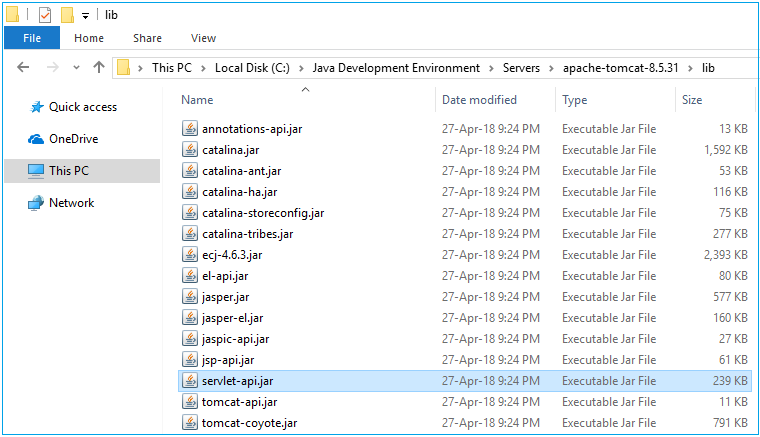
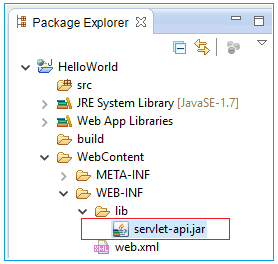
In the previous chapter we have installed Tomcat server. From the tomcat server copy the “servlet-api.jar” and put inside WEB-INF/lib folder of project.
To get the “servlet-api.jar” go to this path <base path of the server>\apache-tomcat-8.5.31\lib
Example: C:\Java Development Environment\Servers\ apache-tomcat-8.5.31\lib
This jar file is not required to put inside lib folder if you are running this app in Tomcat server. Tomcat will add all the jars present in its lib folder to classpath automatically. But if you are going to run this app in any other server this step is required.
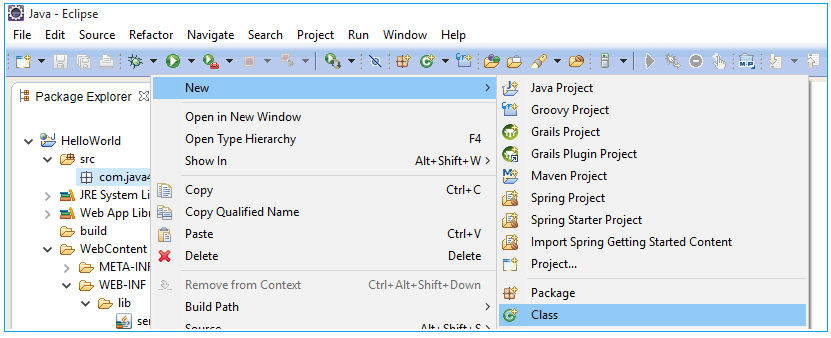
Step 3: Create Servlet Program
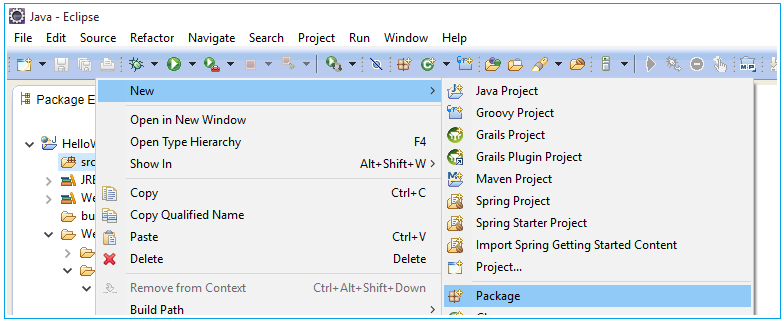
Crete new package with package name as “com.java4coding”
Create a new class with the name as “FirstServlet”
Click Finish

Add the following code to “FirtsServlet” class.
package com.java4coding; import java.io.IOException; import java.io.PrintWriter; import javax.servlet.ServletException; import javax.servlet.http.HttpServlet; import javax.servlet.http.HttpServletRequest; import javax.servlet.http.HttpServletResponse;
public class FirstServlet extends HttpServlet { protected void service(HttpServletRequest arg0, HttpServletResponse arg1) throws ServletException, IOException { super.service(arg0, arg1); }
public void doPost(HttpServletRequest req, HttpServletResponse res) throws ServletException, IOException { res.setContentType("text/html"); PrintWriter pw = res.getWriter(); pw.println("<html>"); pw.println("<body bgcolor='pink'>"); pw.println("<h1>"); pw.println("Hello World"); pw.println("<br>"); pw.println("This is my first Servlet Program"); pw.println("</h1>"); pw.println("</body>"); pw.println("</html>"); }
public void doGet(HttpServletRequest req, HttpServletResponse res) throws ServletException, IOException { res.setContentType("text/html"); PrintWriter pw = res.getWriter(); pw.println("<html>"); pw.println("<body bgcolor='pink'>"); pw.println("<h1>"); pw.println("Hello World"); pw.println("<br>"); pw.println("This is my first Servlet Program"); pw.println("</h1>"); pw.println("</body>"); pw.println("</html>"); } } |
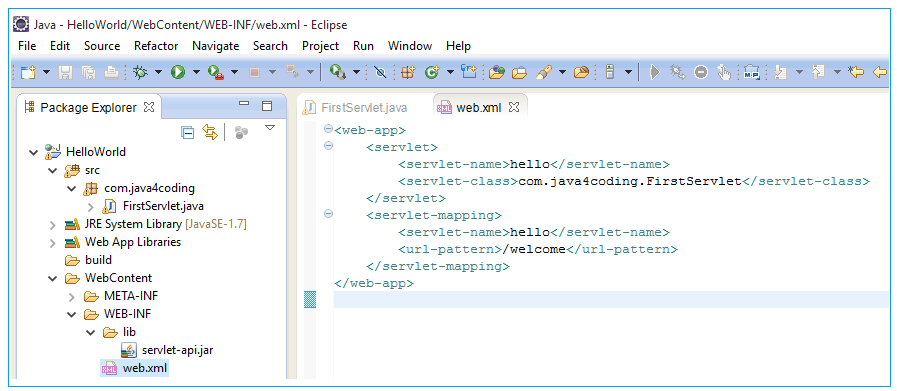
Step 4: Create deployment descriptor
Add the below code to web.xml
<web-app> <servlet> <servlet-name>hello</servlet-name> <servlet-class>com.java4coding.FirstServlet</servlet-class> </servlet> <servlet-mapping> <servlet-name>hello</servlet-name> <url-pattern>/welcome</url-pattern> </servlet-mapping> </web-app> |
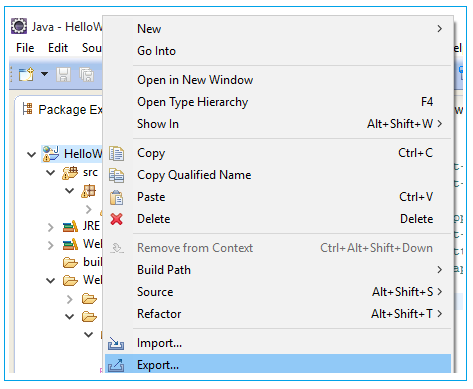
Step 5: Deploy the servlet application to tomcat server
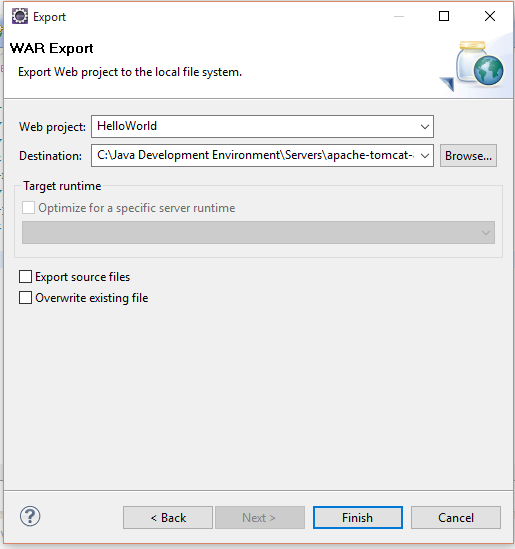
To deploy this app, we have to export our project into war file. To export into war file, Right click on project select Export
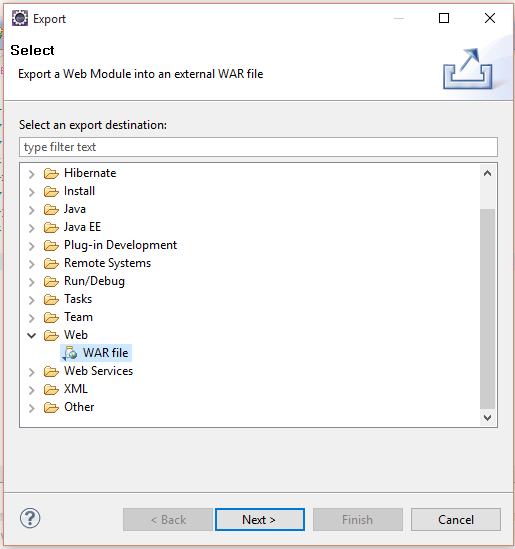
Select Web>War file, Click Next
Now eclipse prompts for destination. This should be webapps folder of Tomcat server.
i.e. <base path of the server>\apache-tomcat-8.5.31\webapps
Example: C:\Java Development Environment\Servers\apache-tomcat-8.5.31\webapps
After selecting the destination, click Finish.
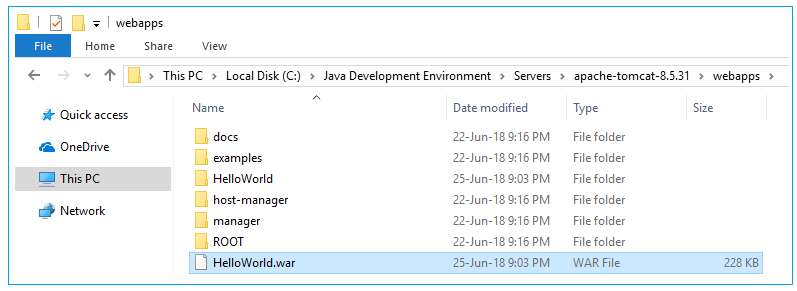
You can check whether war file is generated by navigating inside webapps folder.
Step 6: Start the server and test the application
To start the server execute the file <base path of the server>\apache-tomcat-8.5.31\bin\ startup.bat
(Check the previous chapter to know how to start tomcat server)
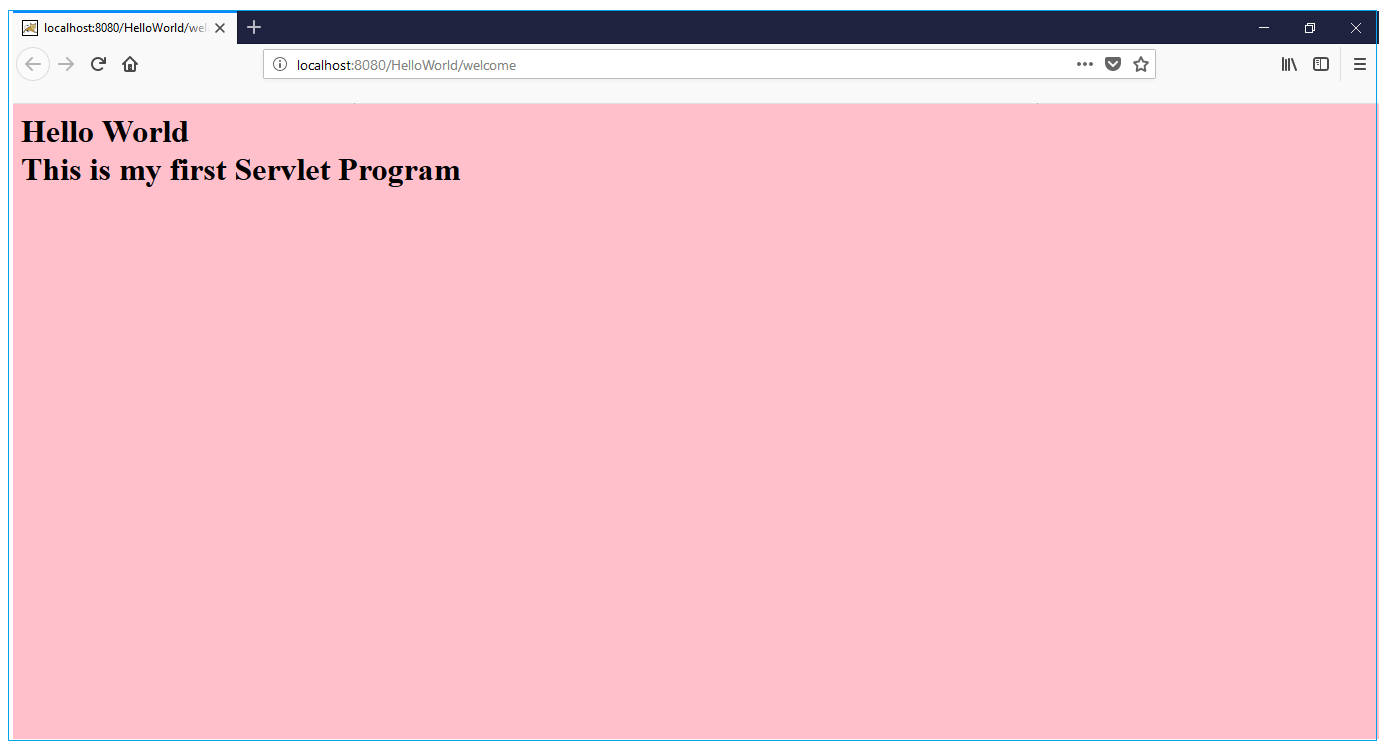
After server is started you can check the output form browser. Open below URL from browser
https://localhost:8080/HelloWorld/welcome
All Chapters
