| ☰ See All Chapters |
Steps to connect SQL developer to oracle schema
In this tutorial you will learn to create oracle database connection using SQL Developer. Follow the below steps to connect to database.
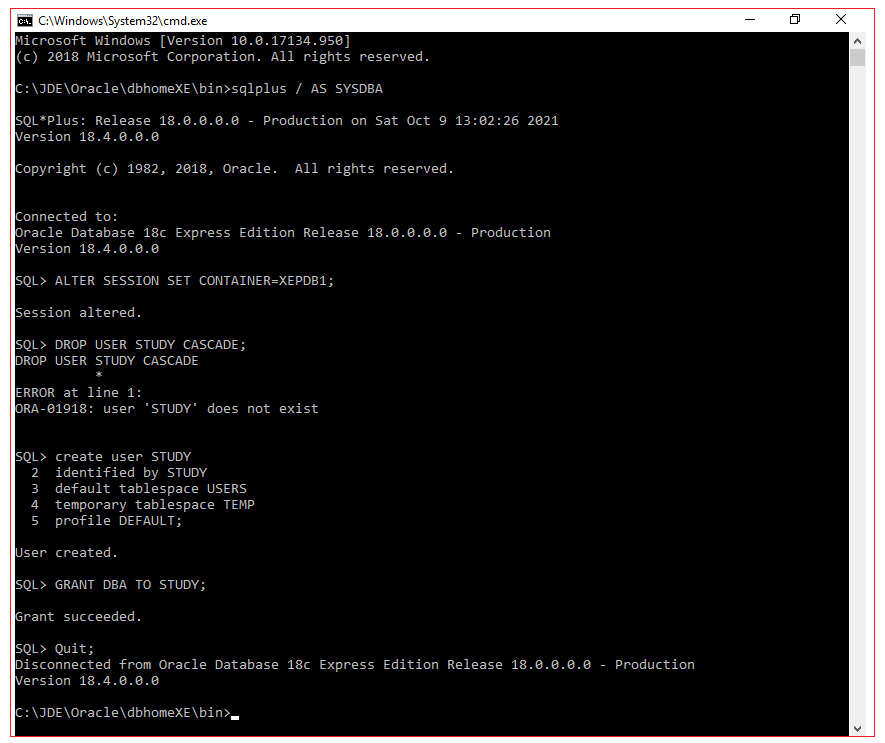
Step 1: Navigate to bin folder of oracle installation directory and execute the below command. By default installation directory would be C:\app\<username>\product\18.0.0\dbhomeXE, so go inside C:\app\<username>\product\18.0.0\dbhomeXE\bin and execute the below command. If you have changed the installation directory go to <OracleInstalltionDirectory>\dbhomeXE\bin.
sqlplus / AS SYSDBA ALTER SESSION SET CONTAINER=XEPDB1; DROP USER STUDY CASCADE; create user STUDY identified by STUDY default tablespace USERS temporary tablespace TEMP profile DEFAULT; GRANT DBA TO STUDY; Quit; |
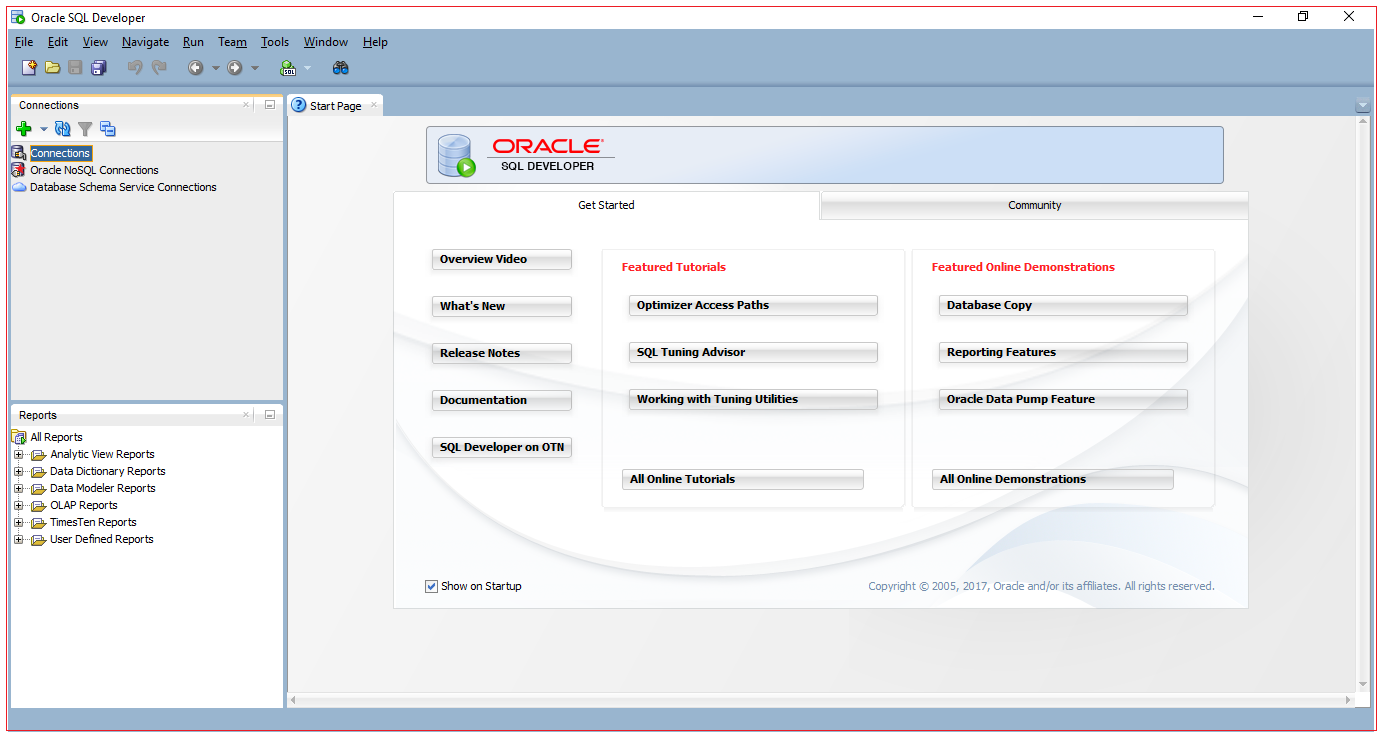
Step 2: SQL Developer software from Download from https://www.oracle.com/tools/downloads/sqldev-downloads.html. After downloading open sqldeveloper.exe.
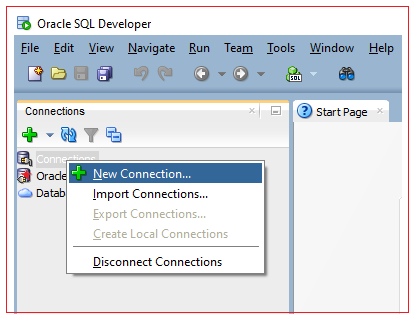
Right click on Connection and Select New Connection
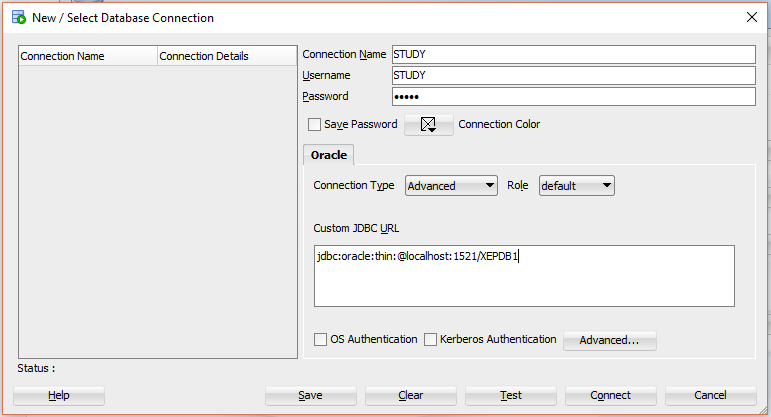
Step 3: Enter the connection details and click on Save and the click on connect.
Connection Name: STUDY
Username: STUDY
Password: STUDY
Connection Type: Advanced
Custom JDBC URL: jdbc:oracle:thin:@localhost:1521/XEPDB1
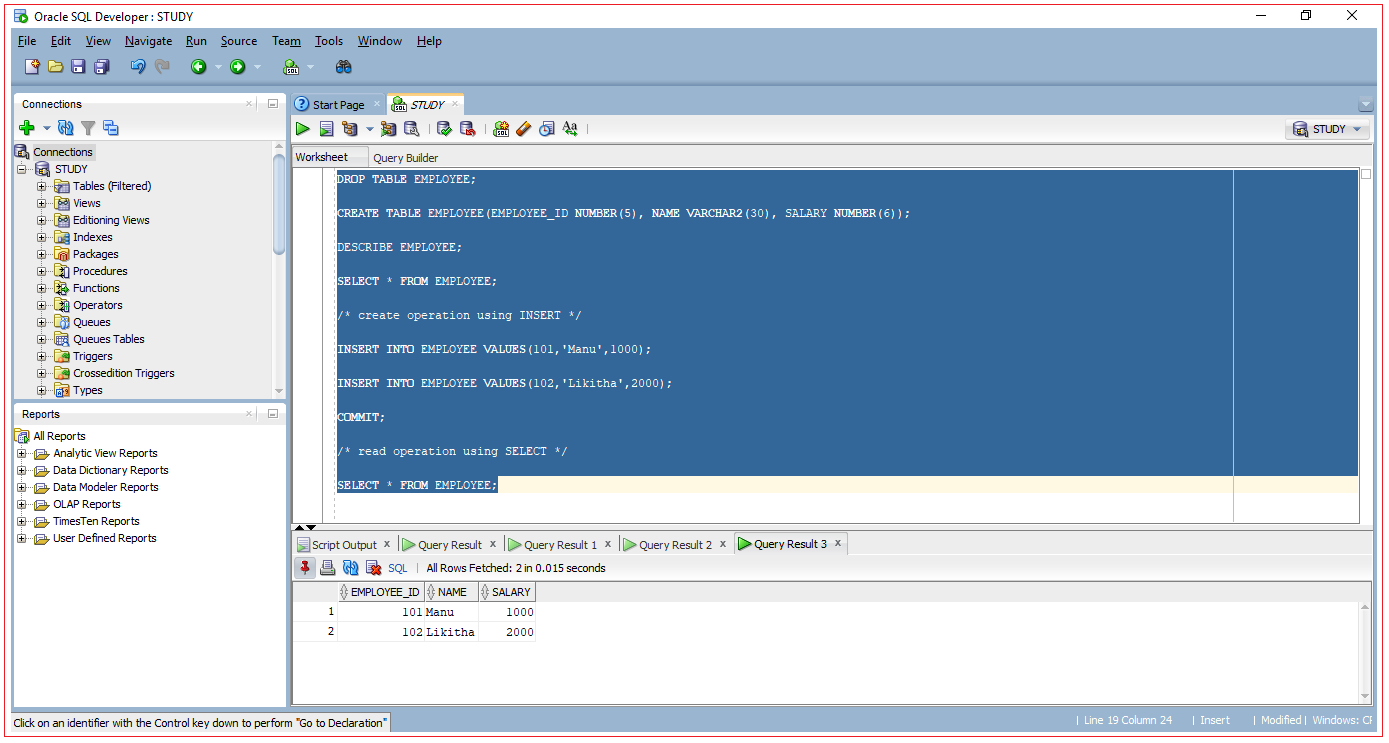
Now you should be connected to STUDY schema. Run the below scripts and test the connection.
DROP TABLE EMPLOYEE; CREATE TABLE EMPLOYEE(EMPLOYEE_ID NUMBER(5), NAME VARCHAR2(30), SALARY NUMBER(6)); DESCRIBE EMPLOYEE; SELECT * FROM EMPLOYEE; /* create operation using INSERT */ INSERT INTO EMPLOYEE VALUES(101,'Manu',1000); INSERT INTO EMPLOYEE VALUES(102,'Likitha',2000); COMMIT; /* read operation using SELECT */ SELECT * FROM EMPLOYEE; |
All Chapters

