| ☰ See All Chapters |
How to install Oracle
Oracle installation steps may vary version to version and depends on OS. The steps provided here are for the below versions.
Oracle version: 18C
OS: Windows 10
Whatever the version and operating system, while installing Oracle note down the port number and password you set. Follow the below steps.
Download Oracle database software from https://www.oracle.com/database/technologies/xe-downloads.html or https://www.oracle.com/in/database/technologies/xe-downloads.html (Sign up for Oracle Account, if you don’t have an existing one).
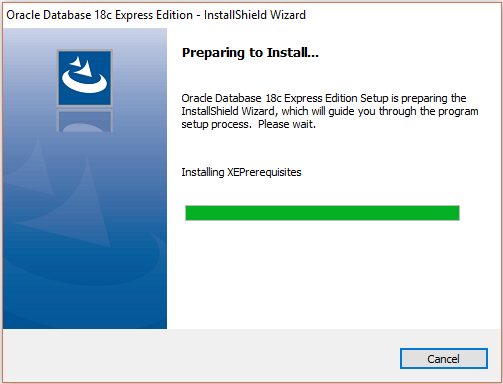
After download is completed, extract the files from zip file. Launch the setup.exe file. Now you should see oracle preparing to install.
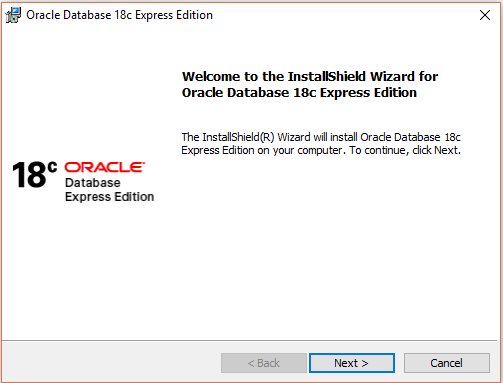
Click Next
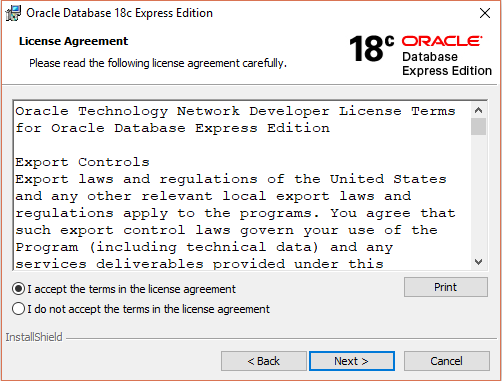
Read the terms and accept the terms in the license agreement.
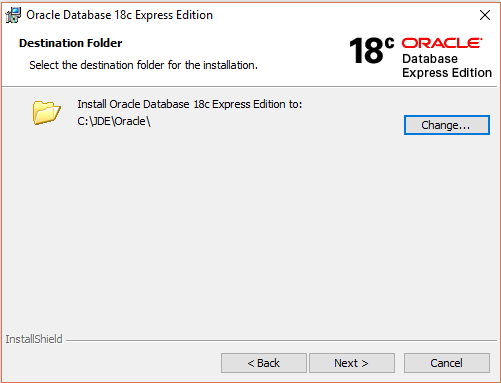
Select the installation directory and Click Next. By default installation directory would be C:\app\<username>\product\18.0.0\, you can also leave this default installation directory.
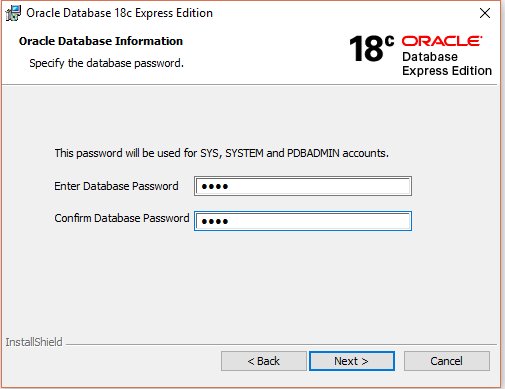
Specify and confirm a database password. This is the password that will be set for the SYS, SYSTEM and PDBADMIN accounts, which you will later use to connect to the database. Then click “Next“.
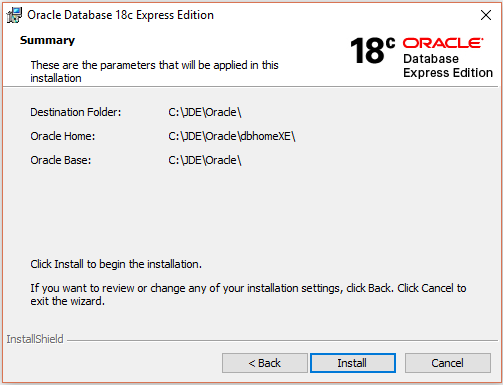
Click Install
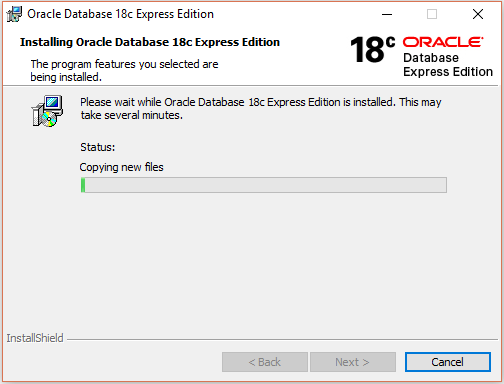
Now Oracle 18c XE is being installed, this may take several minutes.
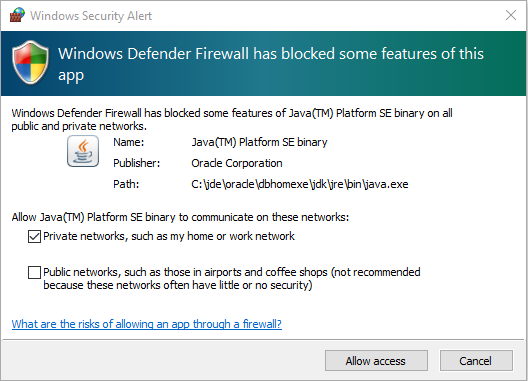
If you have the Windows Defender Firewall activated, you will be prompted to allow network access to the Java Platform SE binary. Check the checkboxes to allow access to the networks of your choice and click the “Allow access” button. If you do not allow network access for Java, some features of Oracle Database 18c XE might not work correctly.
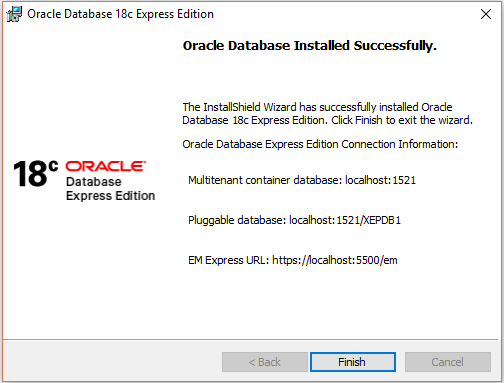
The installation will proceed. Once it is finished, you will be presented with an “Oracle Database Installed Successfully” summary screen that also lists the Multitenant container database, pluggable database and Enterprise Manager Express connection details. Now you click on Finish.
All Chapters

