
| ☰ See All Chapters |
How to deploy Spring Boot application to AWS Elastic beanstalk using CLI
Step 1: Configure AWS CLI
Open the terminal on your computer (PowerShell on Windows or a shell on Linux and macOS, not the AWS Management Console), and run aws configure. You’re asked for four pieces of information:
AWS access key ID: Use the access key you saved from previous step
AWS secret access key: Use the secret key you saved from previous step
Default region name: Enter us-west-2
Default output format: Enter json
In the end, the terminal should look similar to this:

Step 2: Upload jar file to S3
Create an S3 bucket and upload the compiled .jar file. Execute the below commands from terminal:
aws s3 mb s3://spring-boot-demo
aws s3 cp target/SpringBoot_RestController-0.0.1-SNAPSHOT.jar s3://spring-boot-demo/SpringBoot_RestController-0.0.1-SNAPSHOT.jar

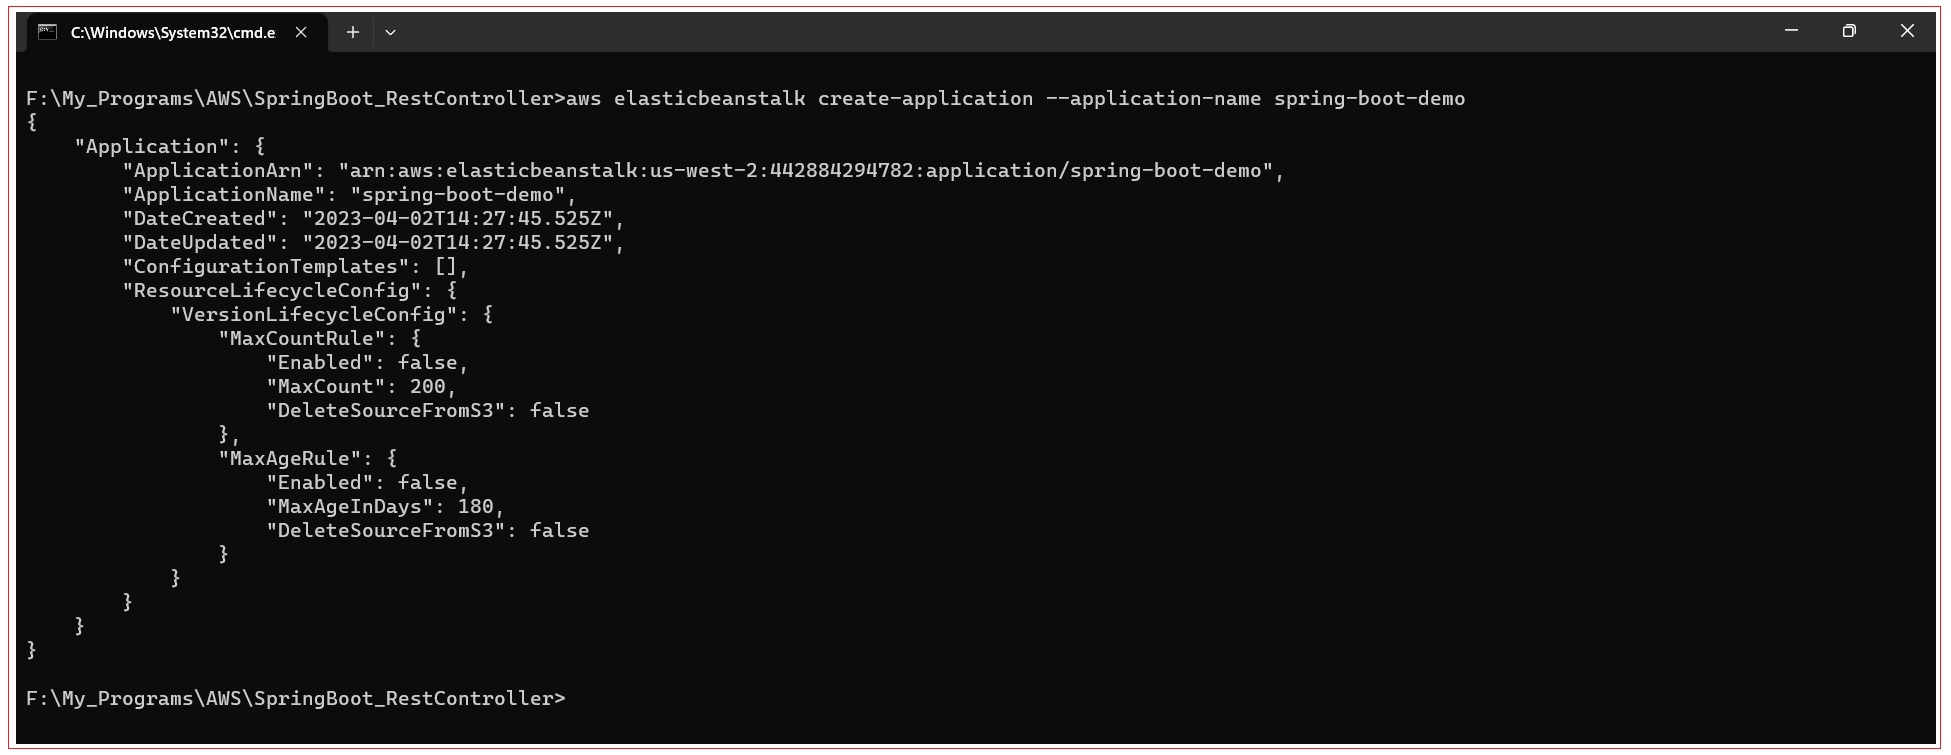
Step 3: Create an Elastic Beanstalk application
Use the blow command with Elastic Beanstalk to set up an application:
aws elasticbeanstalk create-application --application-name spring-boot-demo
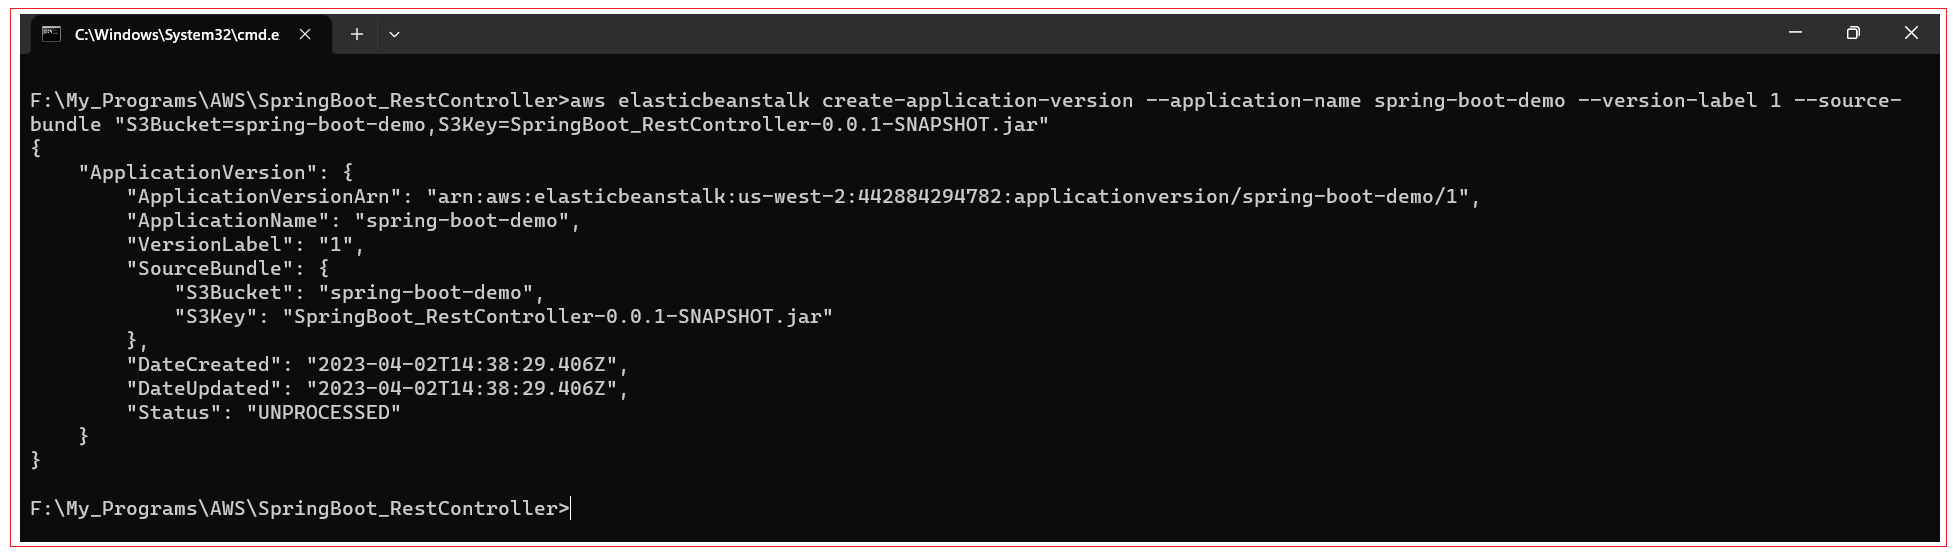
Step 4: Create a version for AWS Elastic Beanstalk
You can create a new version of your spring-boot-demo application with the following command:
aws elasticbeanstalk create-application-version --application-name spring-boot-demo --version-label 1 --source-bundle "S3Bucket=spring-boot-demo,S3Key=SpringBoot_RestController-0.0.1-SNAPSHOT.jar"
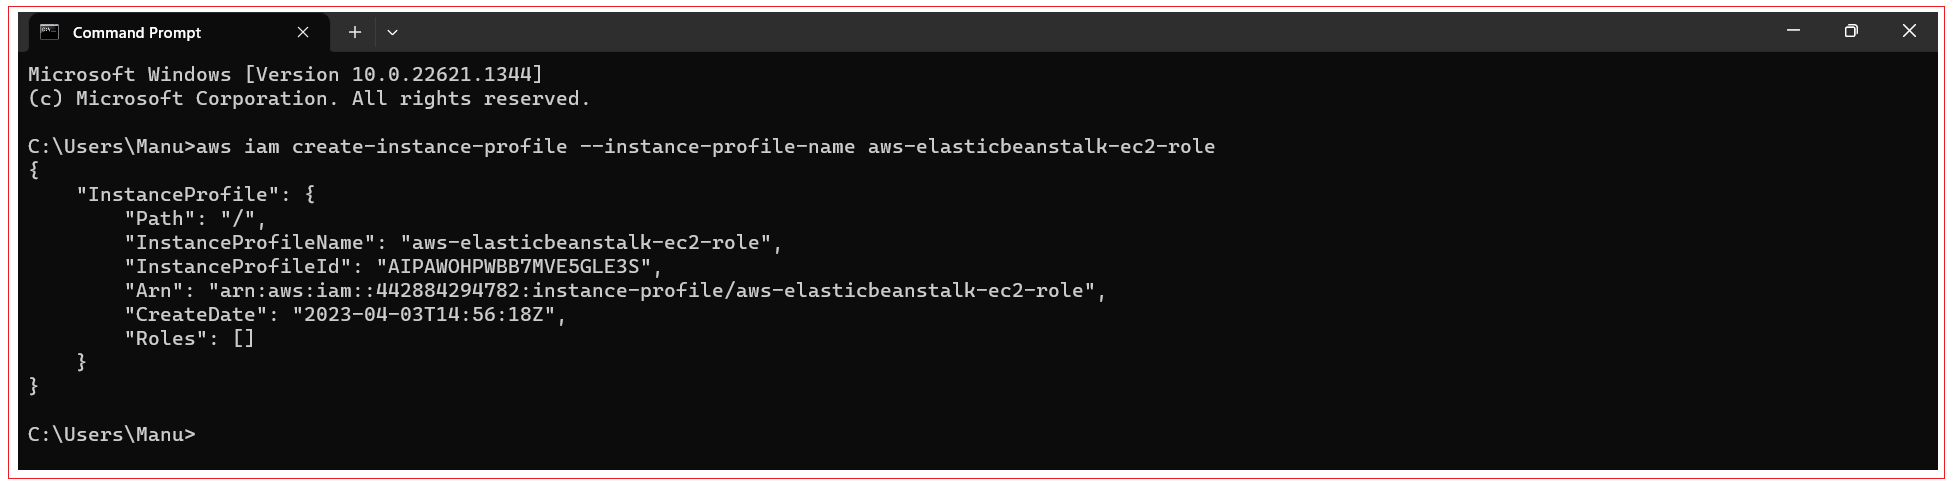
Step 4: Create Elastic Beanstalk instance profile
An instance profile is an IAM role that's applied to instances that are launched in your Elastic Beanstalk environment. When creating an Elastic Beanstalk environment, you specify the instance profile that's used when your instances:
Retrieve application versions from Amazon Simple Storage Service (Amazon S3)
Write logs to Amazon S3
In AWS X-Ray integrated environments, upload debugging data to X-Ray
In multicontainer Docker environments, coordinate container deployments with Amazon Elastic Container Service (Amazon ECS)
In worker environments, read from an Amazon Simple Queue Service (Amazon SQS) queue
In worker environments, perform leader election with Amazon DynamoDB
In worker environments, publish instance health metrics to Amazon CloudWatch
The AWSElasticBeanstalkWebTier managed policy contains statements that allow instances in your environment to upload logs to Amazon S3 and send debugging information to X-Ray.
Elastic Beanstalk also provides managed policies for the other use cases. These policies are AWSElasticBeanstalkWorkerTier and AWSElasticBeanstalkMulticontainerDocker. Elastic Beanstalk attaches all of these policies to the default instance profile, aws-elasticbeanstalk-ec2-role, when you create an environment in the console or by using EB CLI. If your web application requires access to other additional AWS services, add statements or managed policies to the instance profile that allow access to those services.
You can create instance profile with the following command:
aws iam create-instance-profile --instance-profile-name aws-elasticbeanstalk-ec2-role
If you have to delete instance profile you can execute below command: aws iam delete-instance-profile --instance-profile-name aws-elasticbeanstalk-ec2-role |
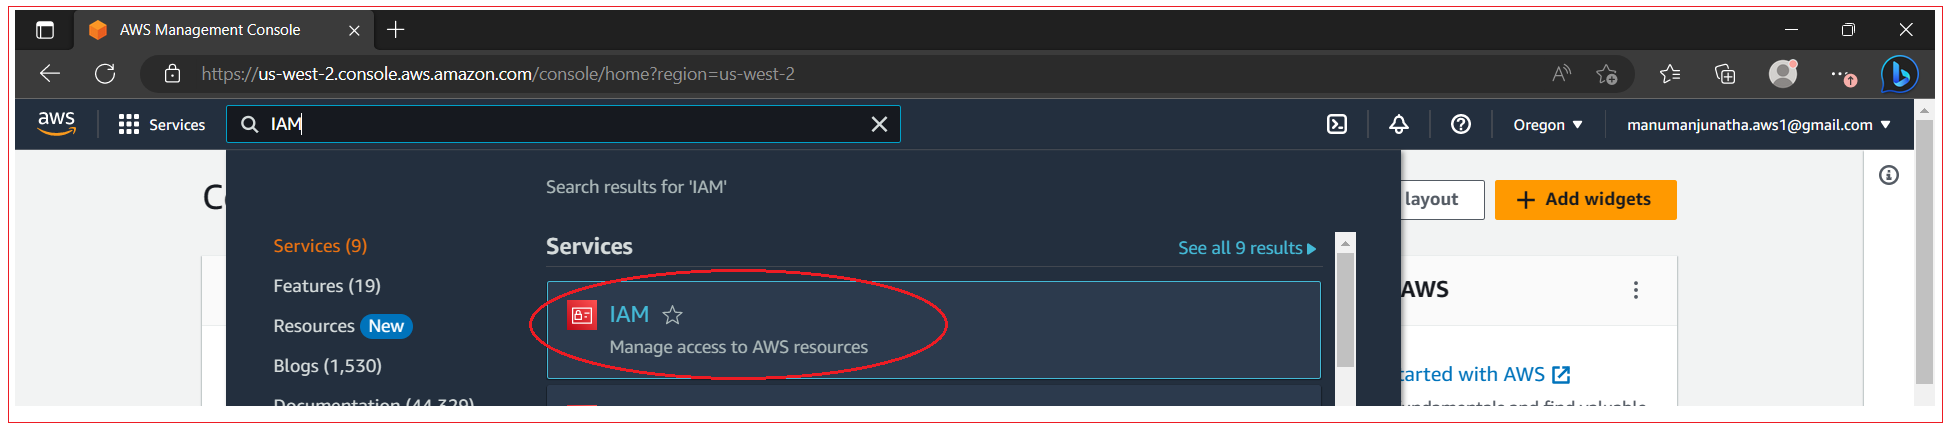
Step 5: Add roles to instance profile
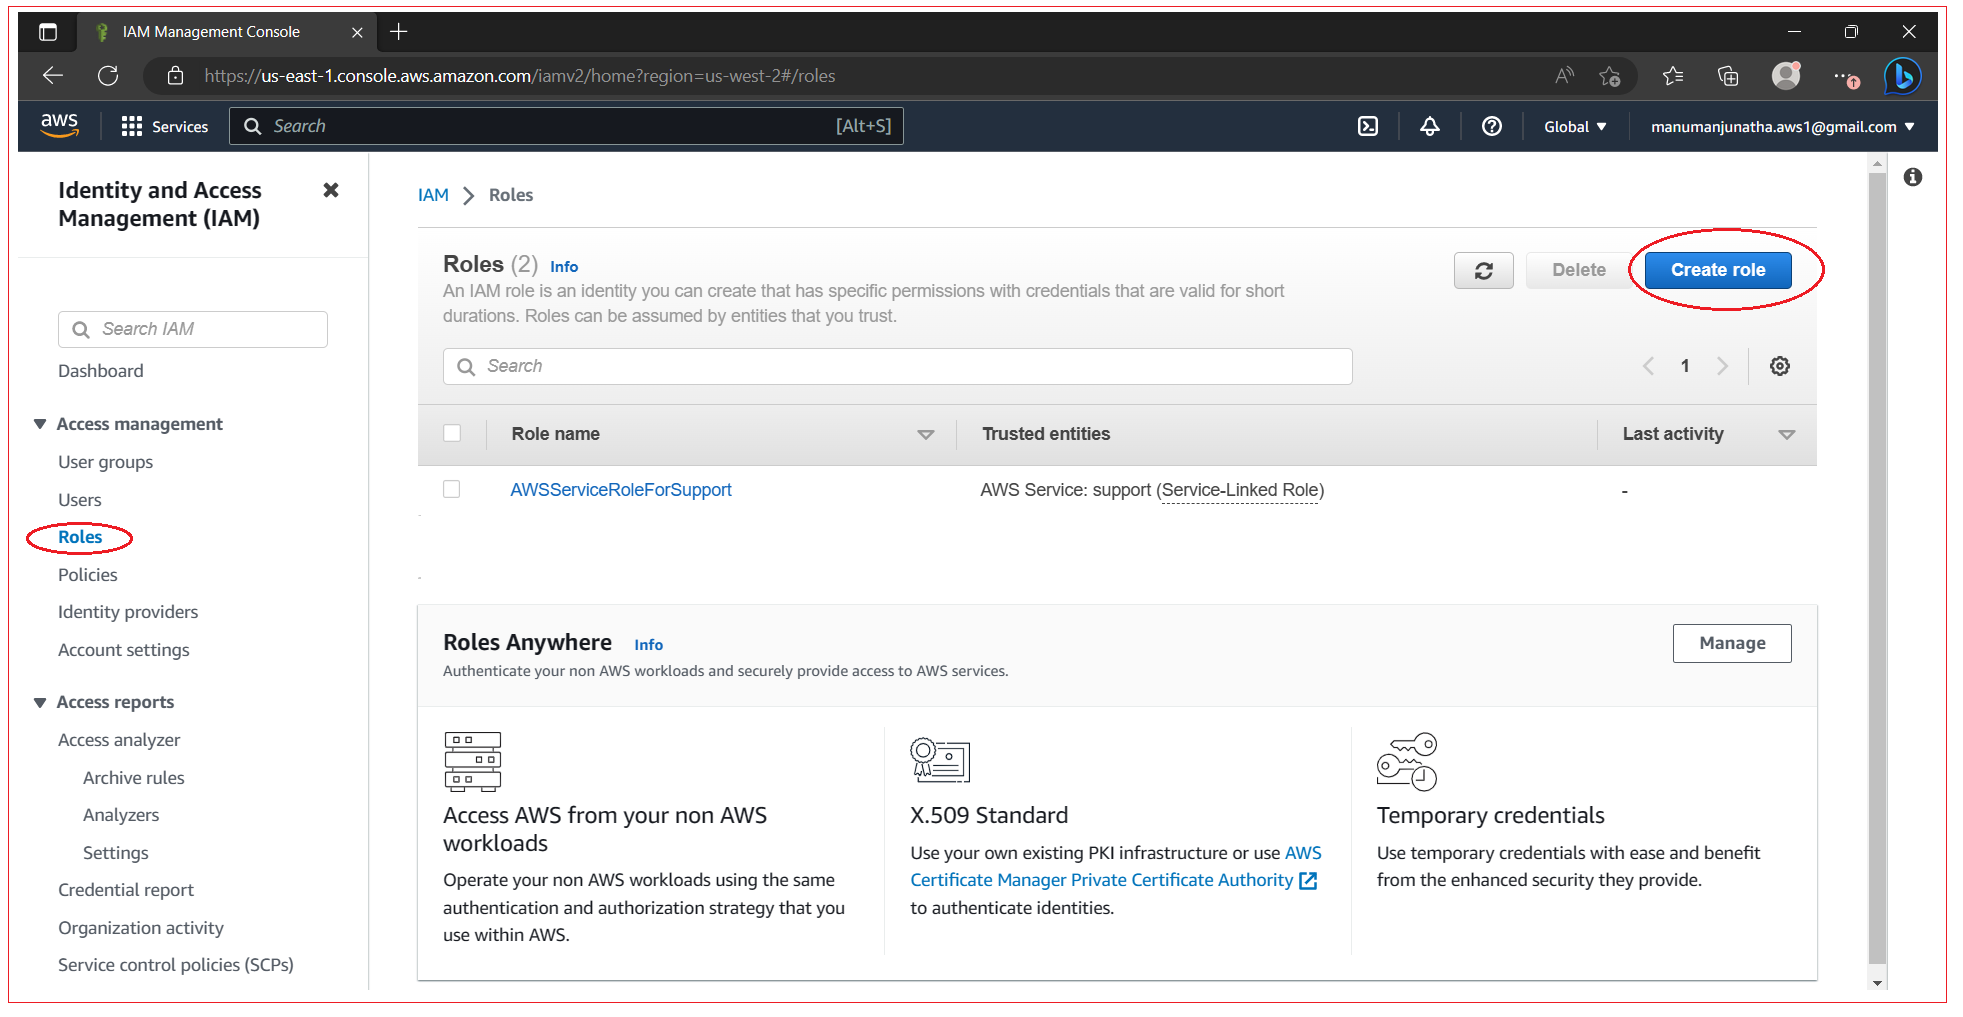
Create a role from AWS console, Navigate on the IAM service, as shown below:
Select Roles section and click on Create Role
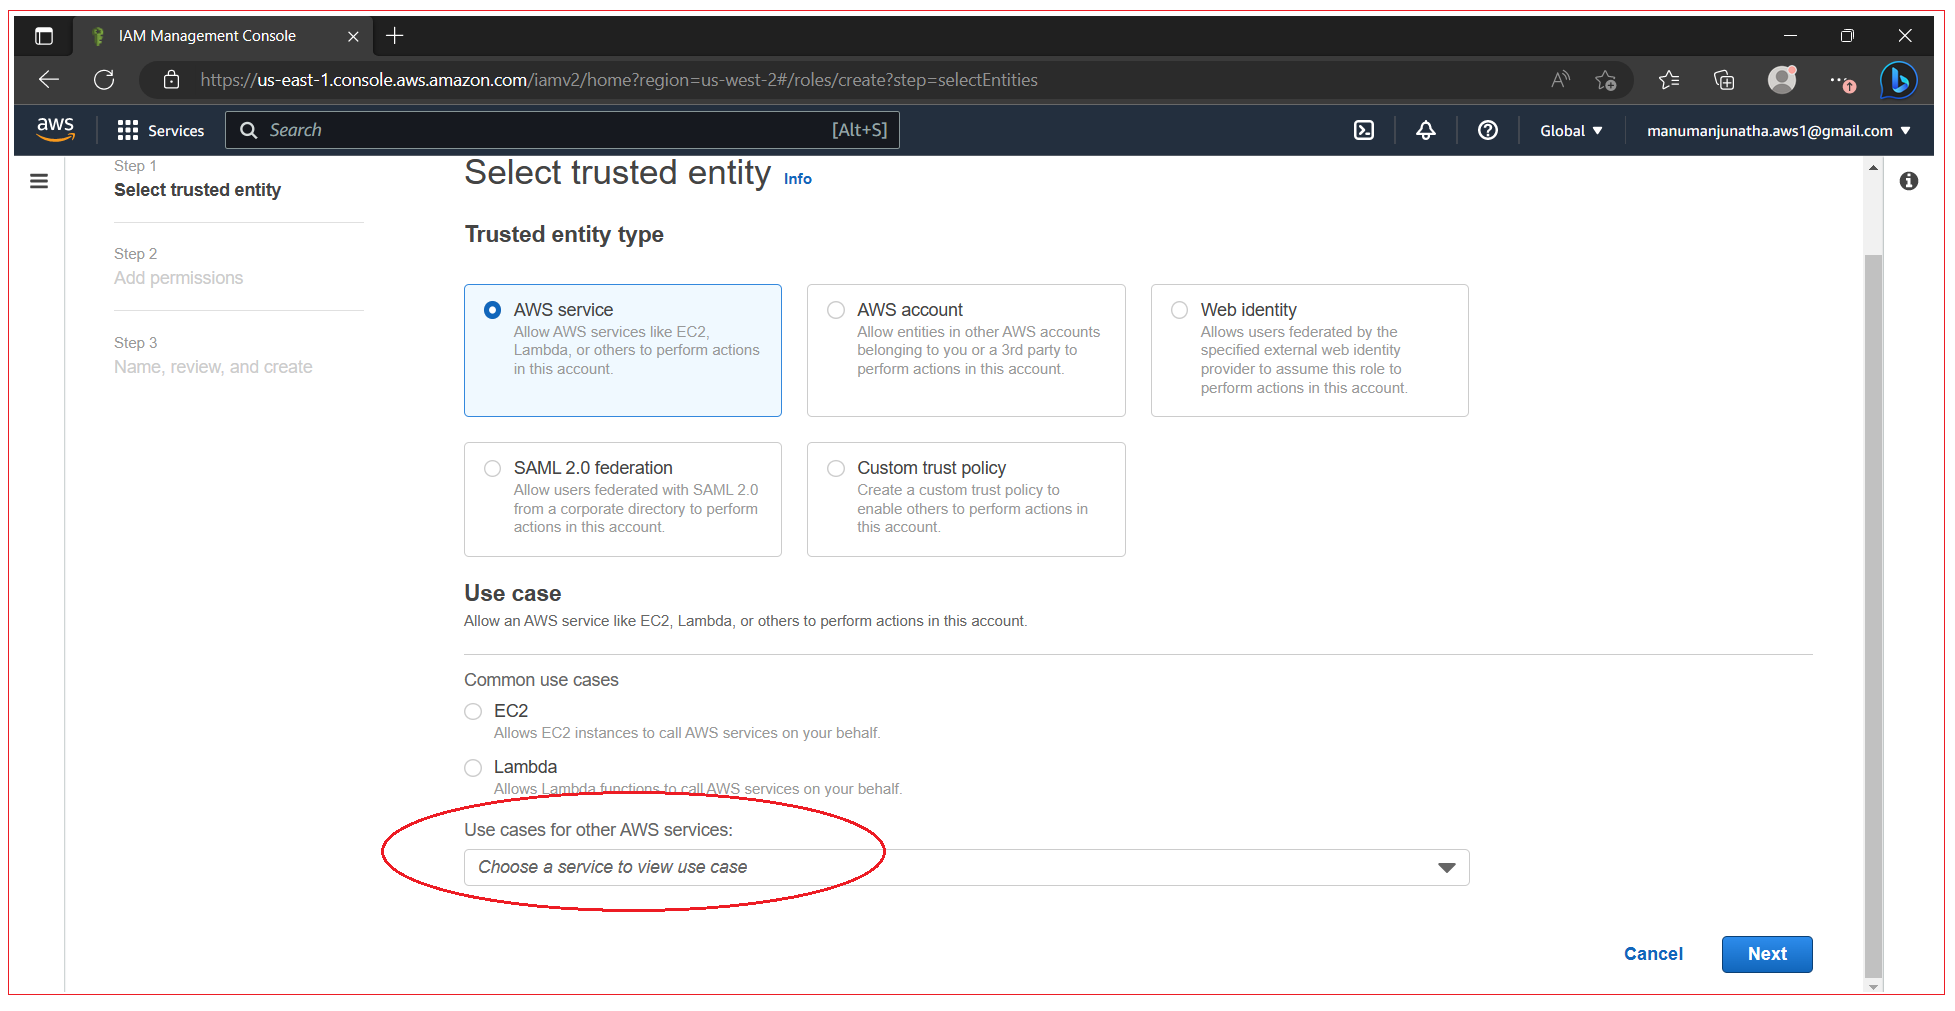
Now you need to select a trusted entity for which need to create this role, From the “Use cases for other AWS services” drop down option, select Elastic Beanstalk and click Next.
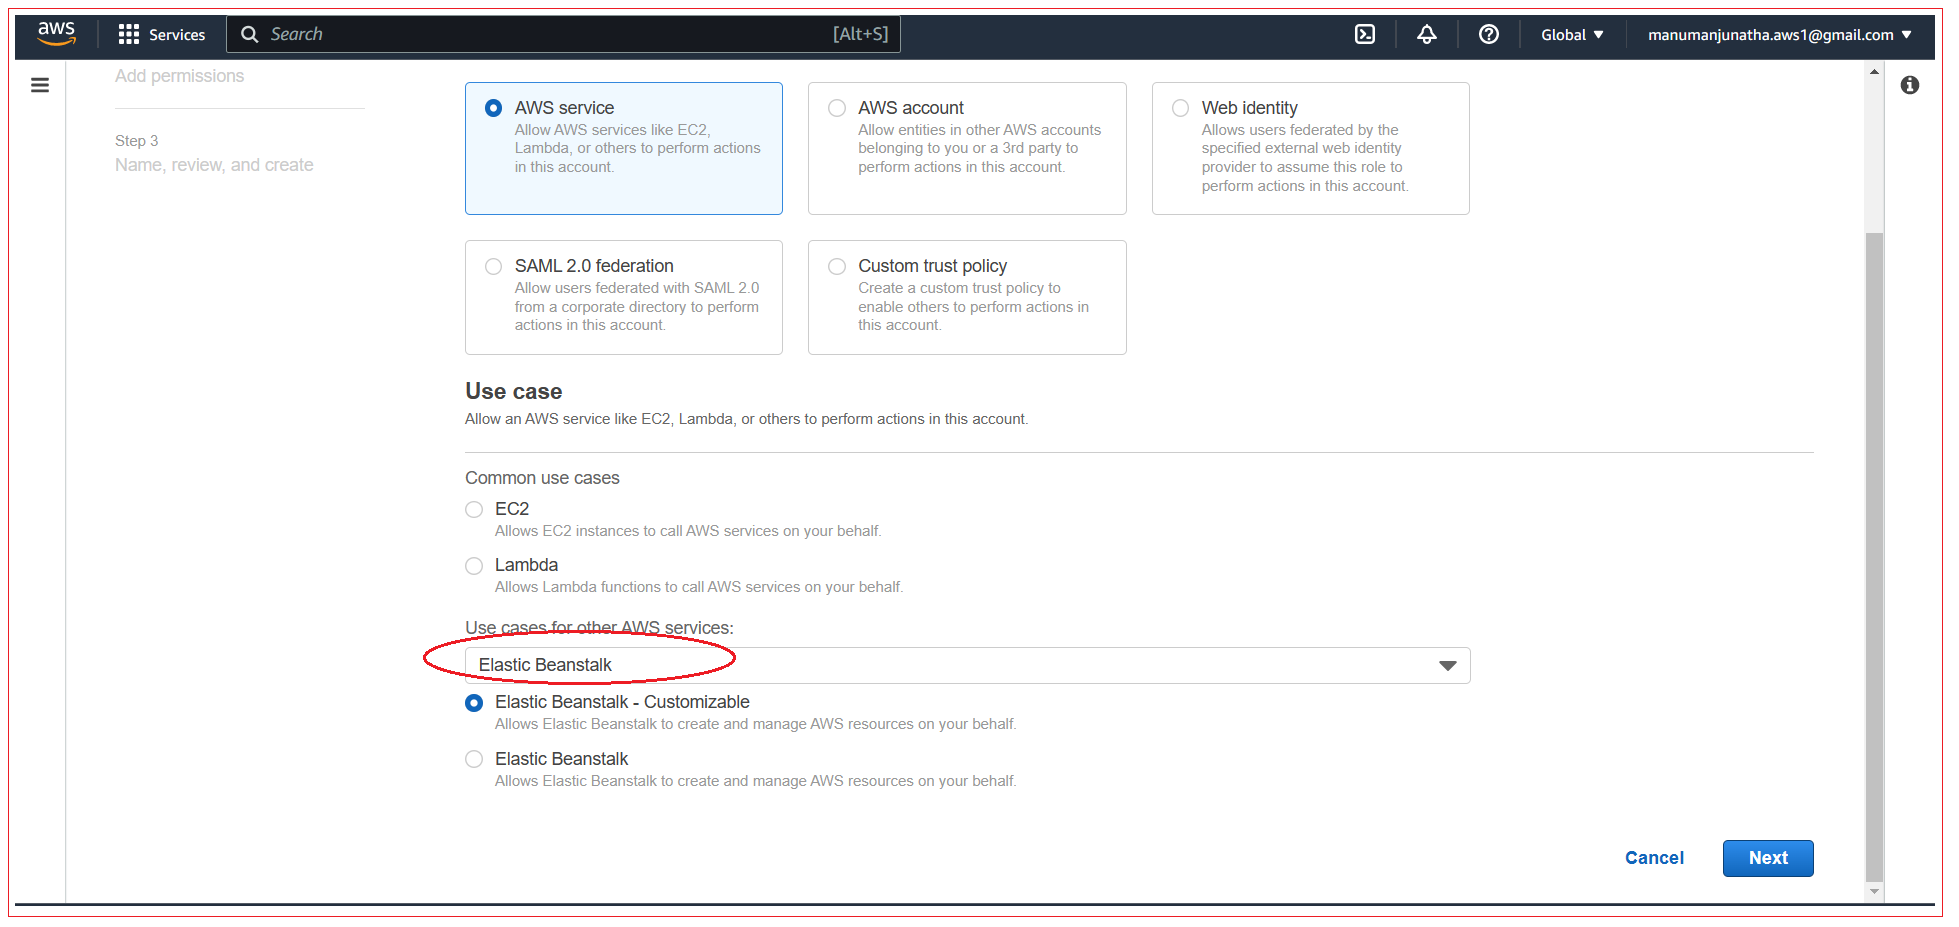
Click Next
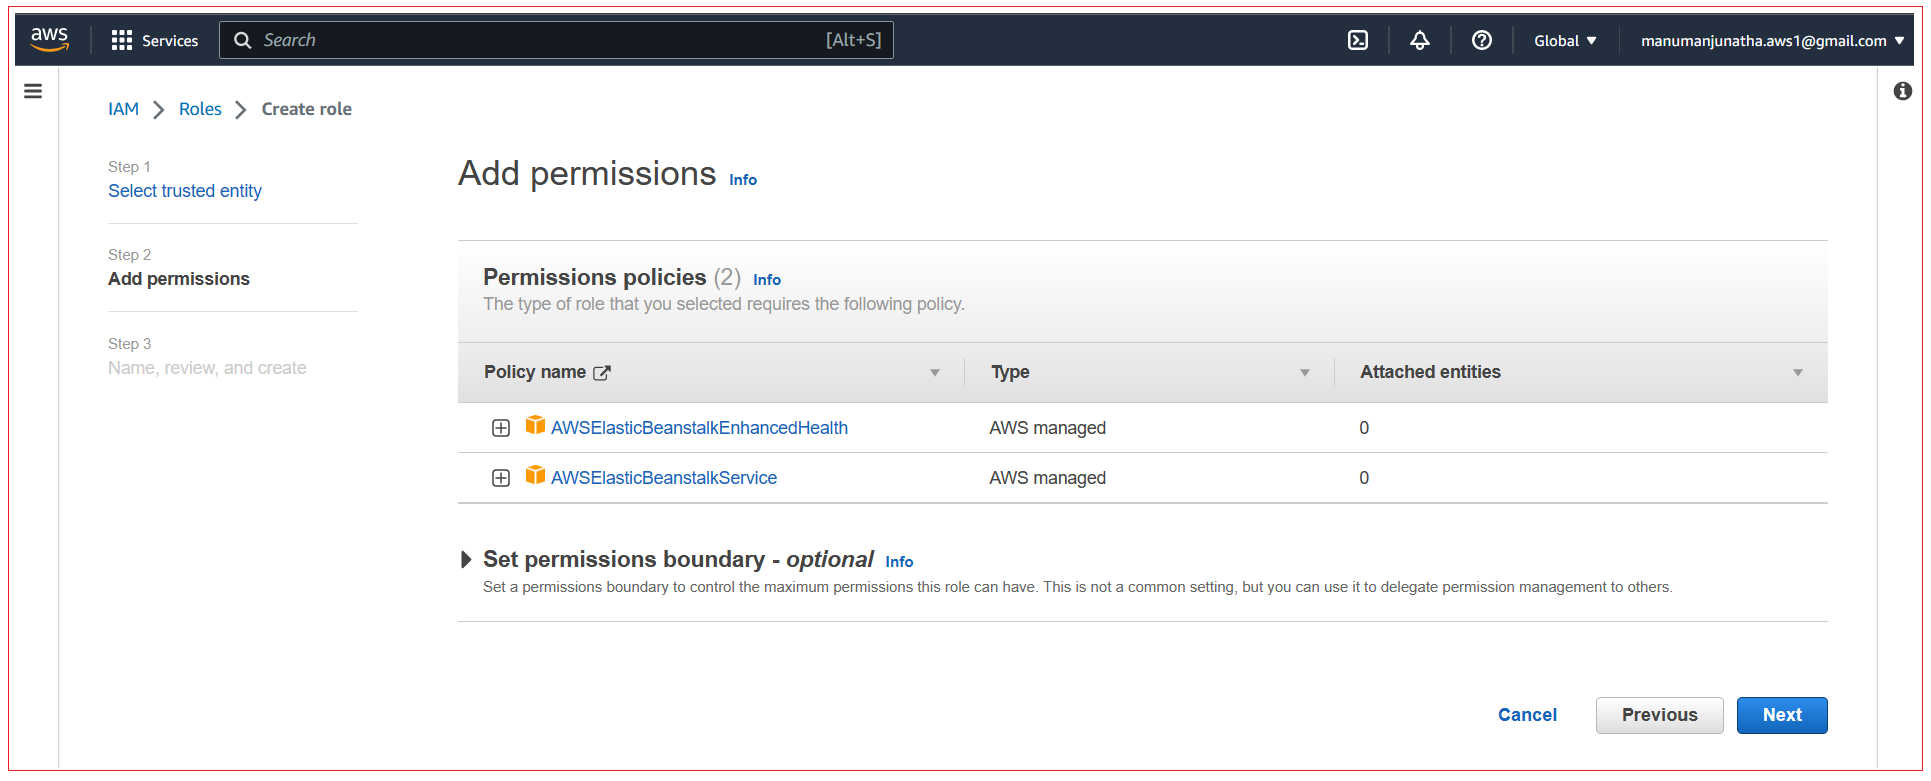
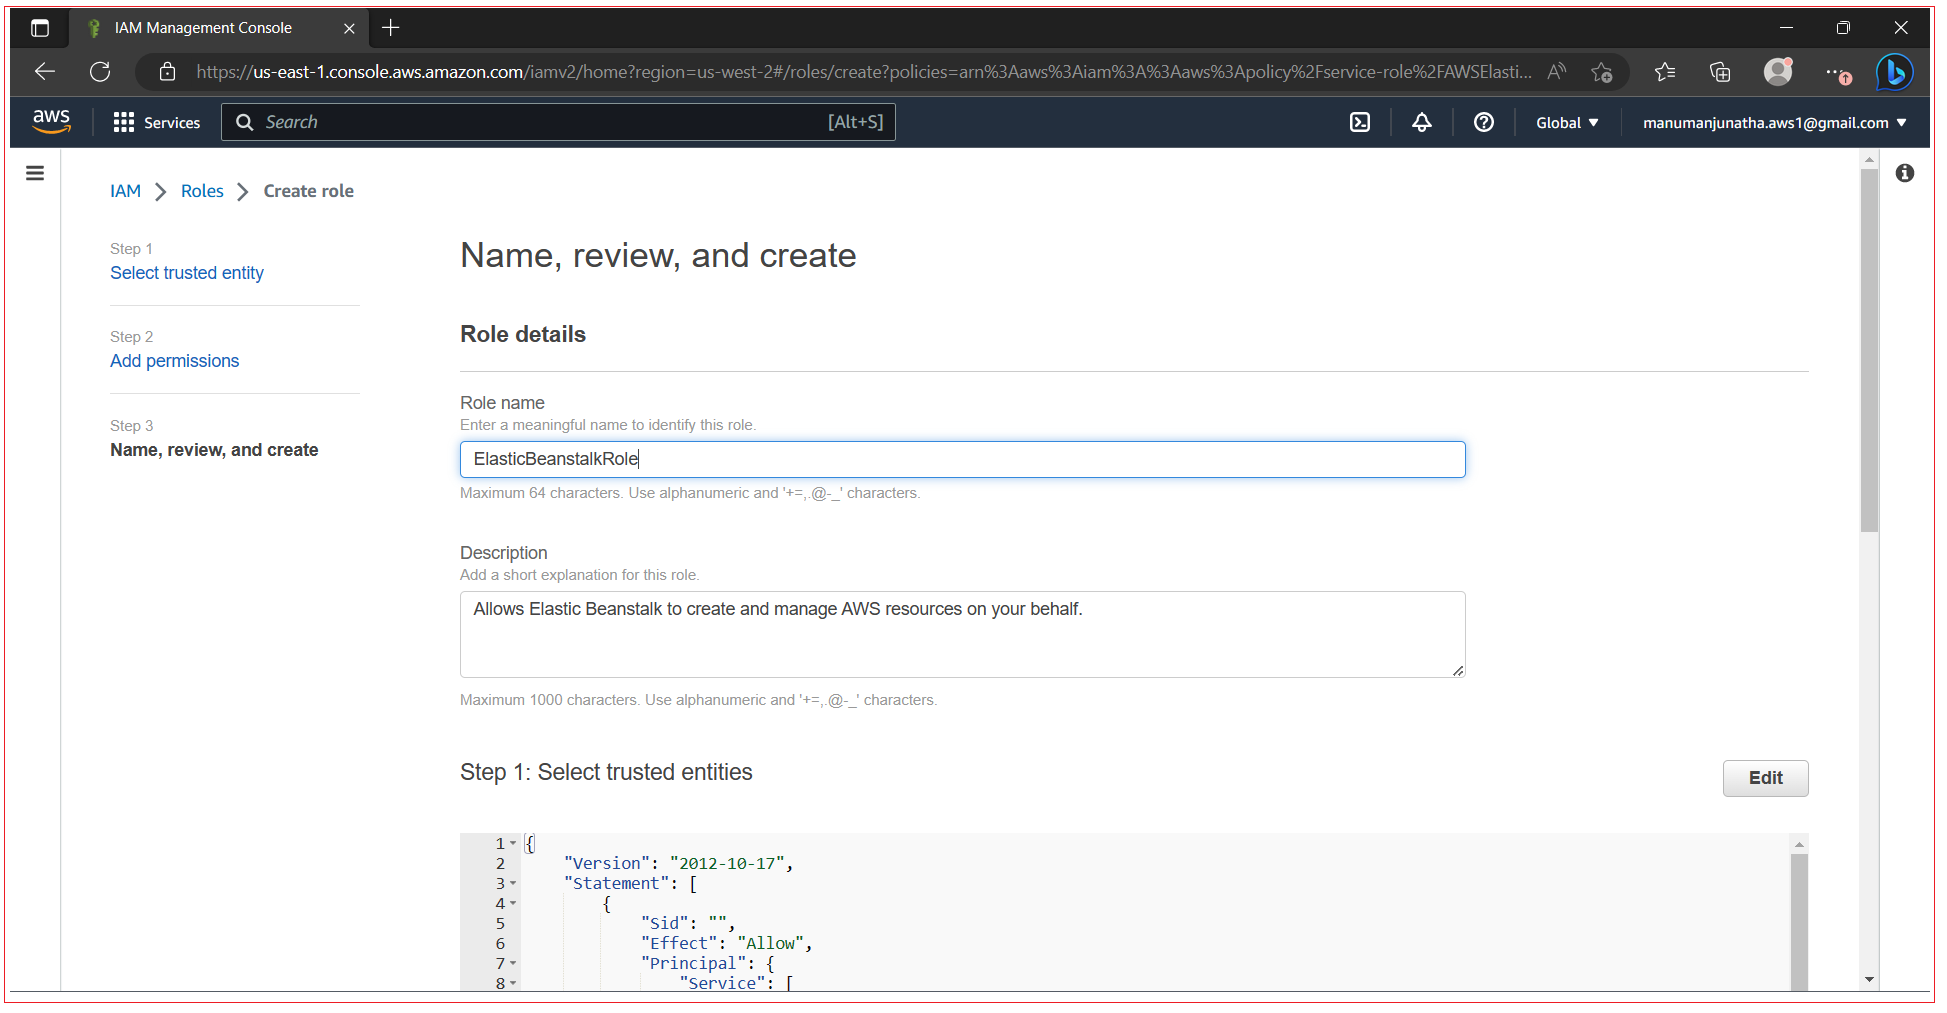
In the final step enter the role name and click on Create Role.
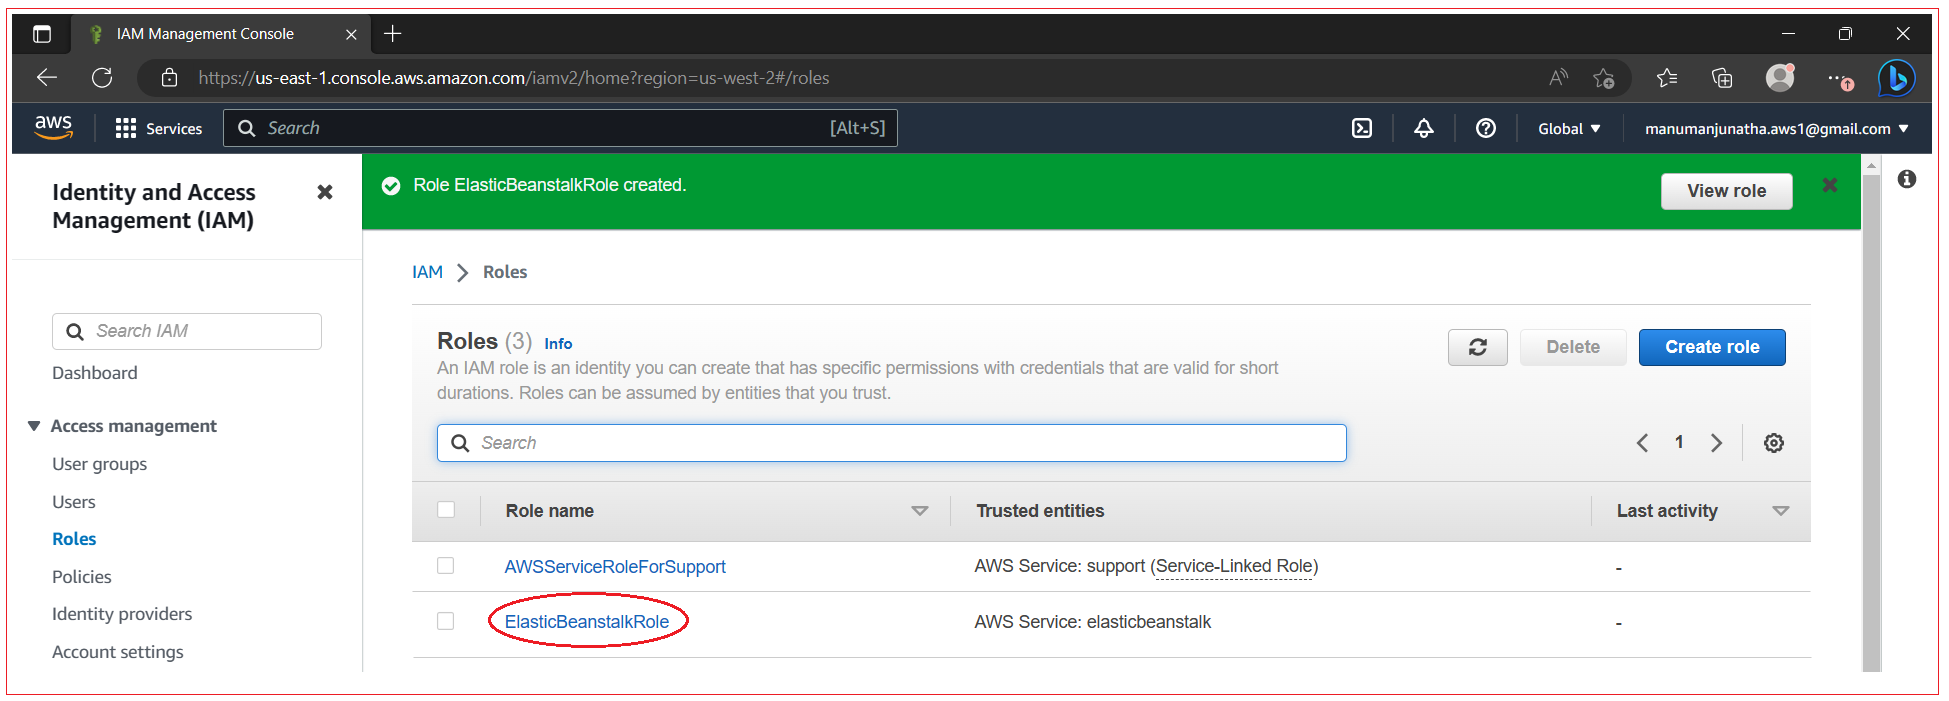
Once role is created, you can see it in the list
You can now attach a role to instance profile with the following command:
aws iam add-role-to-instance-profile --instance-profile-name aws-elasticbeanstalk-ec2-role --role-name ElasticBeanstalkRole

Step 6: Create and execute the environment
To deploy spring-boot-demo application with the help of AWS Elastic Beanstalk, you have to create an environment for Java based on Amazon Linux and the version of spring-boot-demo you just created in previous step. To get the latest Java environment version, called a solution stack name, run this command:
aws elasticbeanstalk list-available-solution-stacks --output text --query "SolutionStacks[?contains(@, Corretto)] | [0]"

The above command returns us the stack name “64bit Amazon Linux 2018.03 v3.4.0 running Tomcat 8 Java 8”, use this stack with the below command to create and run the environment:
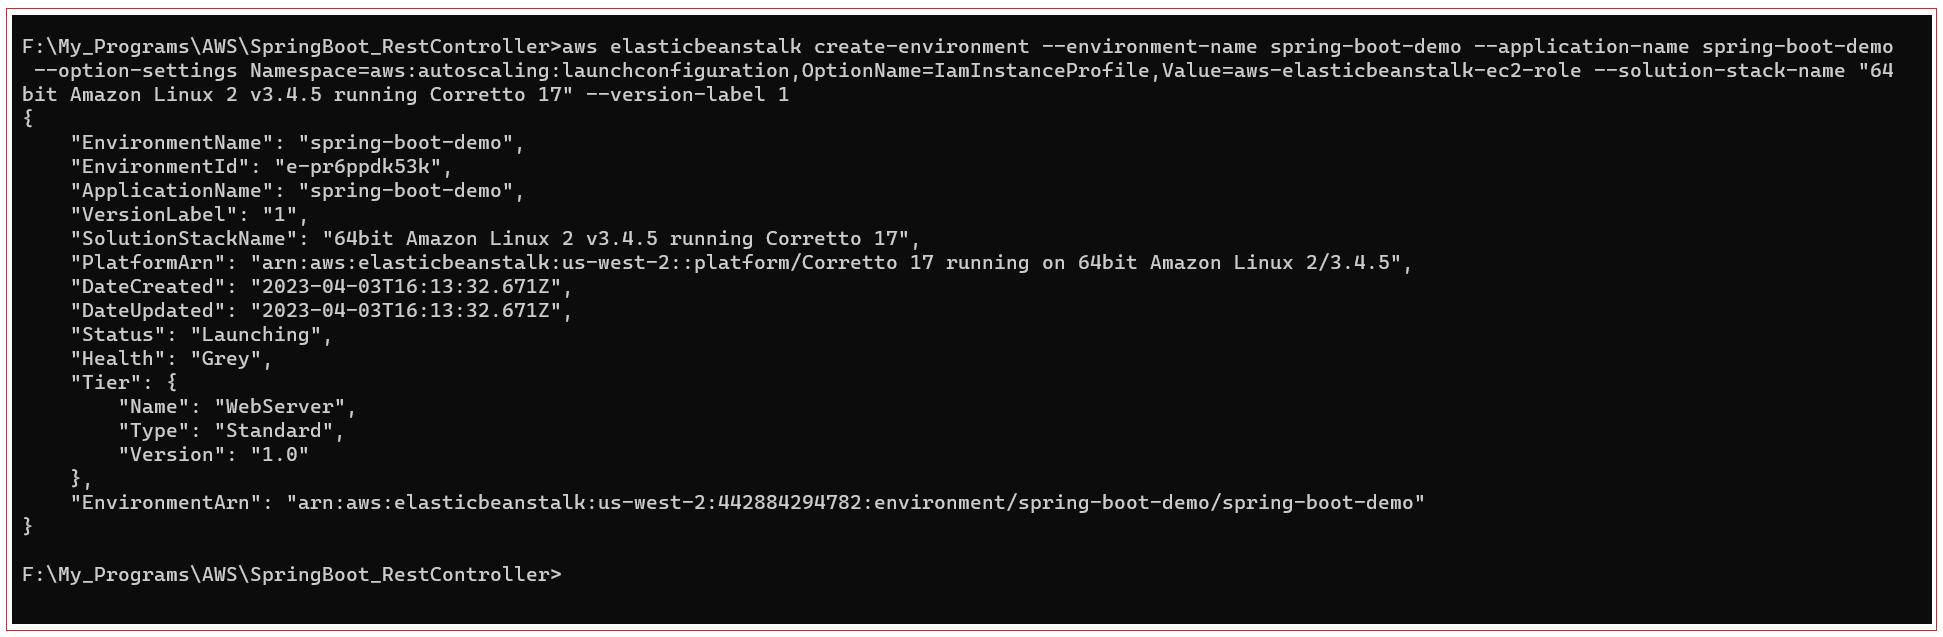
aws elasticbeanstalk create-environment --environment-name spring-boot-demo --application-name spring-boot-demo --option-settings Namespace=aws:autoscaling:launchconfiguration,OptionName=IamInstanceProfile,Value=aws-elasticbeanstalk-ec2-role --solution-stack-name "64bit Amazon Linux 2 v3.4.5 running Corretto 17" --version-label 1
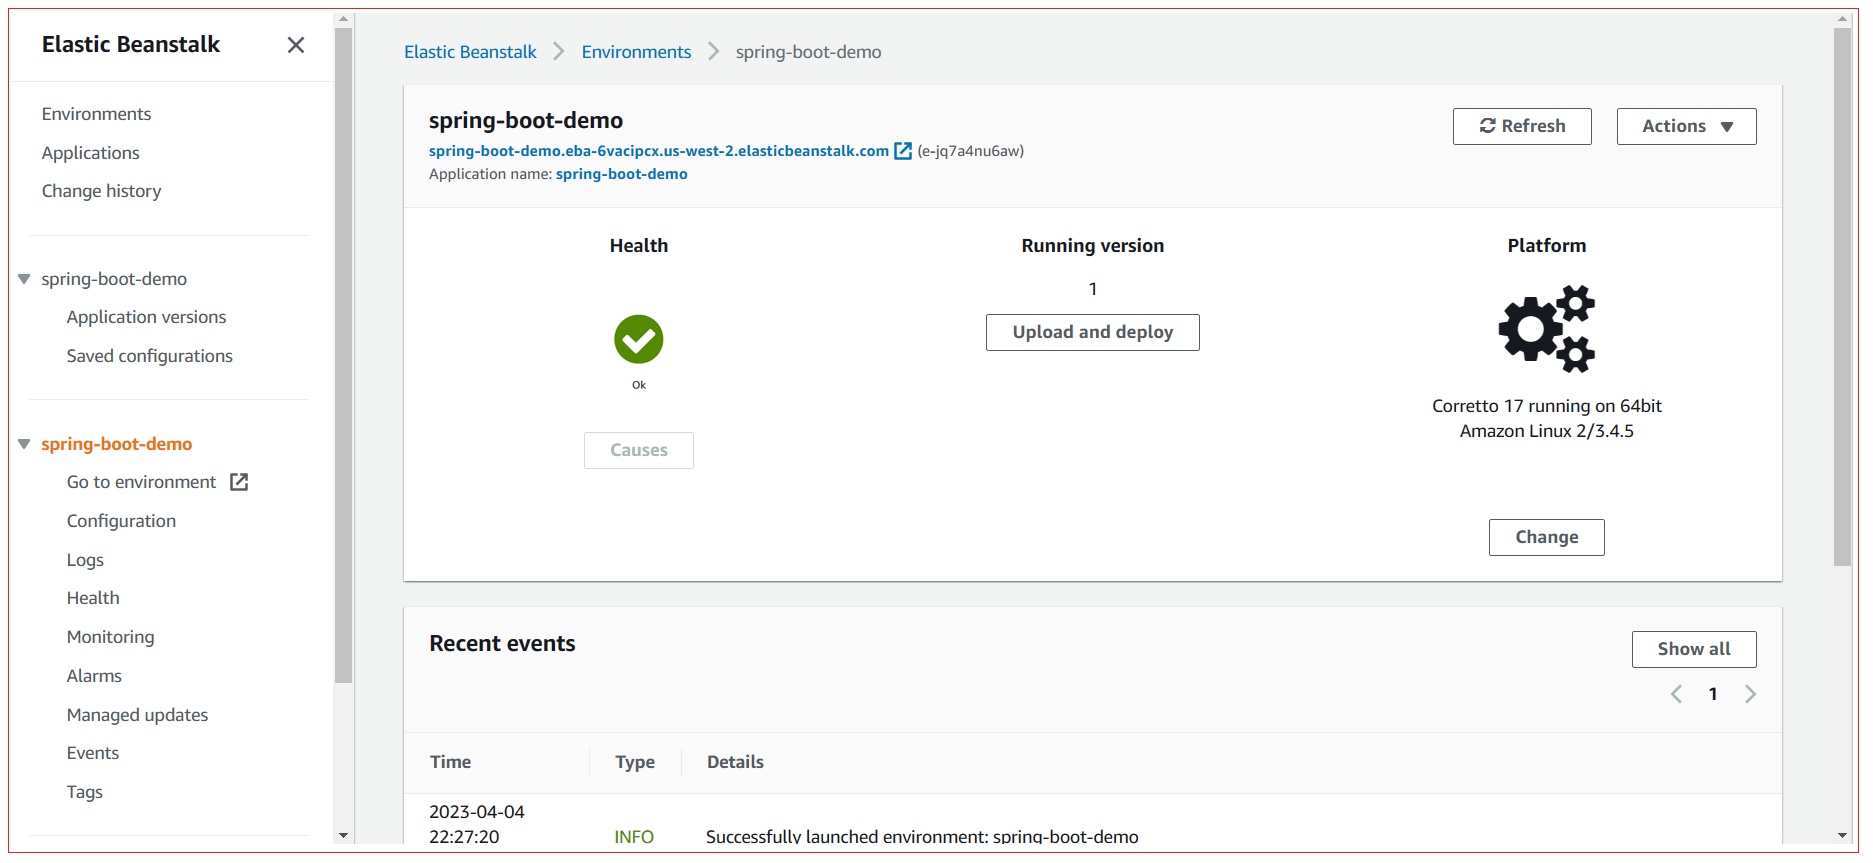
Step 7: Test the application
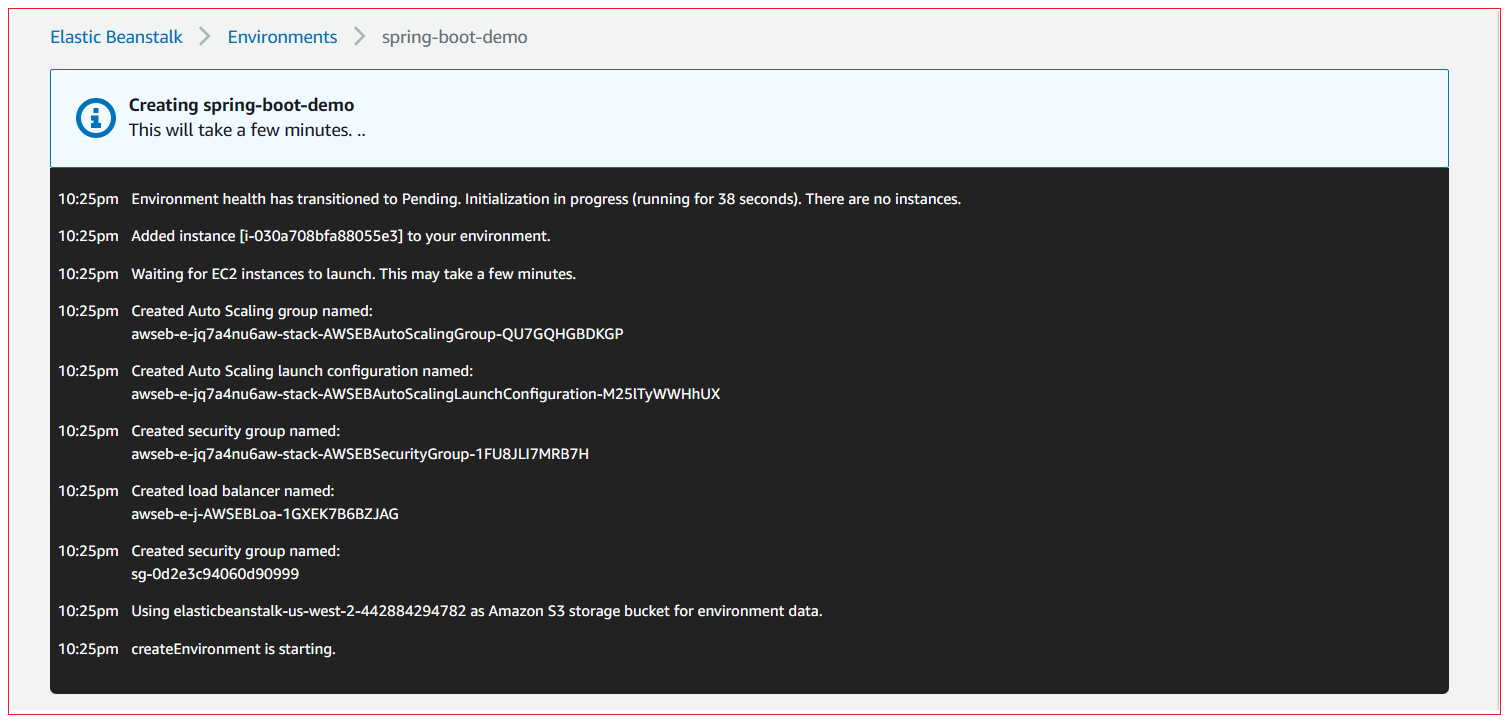
AWS takes some few minutes to complete the deployment, Open AWS console and verify the status of the application.
All Chapters
