
| ☰ See All Chapters |
ReactJS Installation or Setup using Node.js
In previous chapter we learnt how we can create ReactJs application by including ReactJS JavaScript library files to web pages. In order to use JSX and to translate JSX to JavaScript code we also included Babel library JavaScript file. This Babel JavaScript file is having more memory around 4MB and around 2MB when use minified file. However, it is not good including such large file to each web page of applications.
Better approach is translating JSX to JavaScript code before it is used in application. In real-time application we use many JavaScript files and many file may have JSX syntax. It takes much more time in translating all these files to JavaScript code. Sometime we use other modules or JavaScript libraries with ReactJS, in this case we might need to include other supporting libraries. Considering all these aspects we need some sophisticated tools which would ease the development process. Tools should allow us to add any libraries, tool should package the application into JavaScript files to deploy your application. Some of the well-known tools we can use to develop ReactJS applications are Node.js and Yarn. In this tutorial we use Node.js to create ReactJS application.
Step1: Node.js Installation
Node.js is not a file with js extension or javascript file, this is installable software. To download the installer, go to https://nodejs.org/en/download/ and select the option that best suits your operating system. Node.js is provided through the MIT License. This means it can be used in both open-source and proprietary projects.
After installation you get a command line utility called npm (this may be npm.cmd on Windows or just npm on Mac OS/Linux systems). This npm is required to install ReactJs packages and modules. After Node.js installation you should be able to run npm commands from command prompt/terminal. If you can't, find the npm utility and add its directory to your Path variable of Environment Variables.
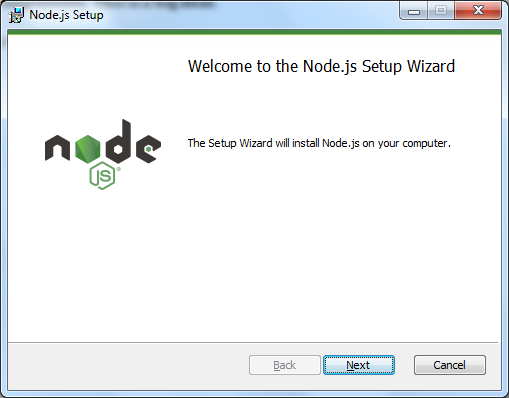
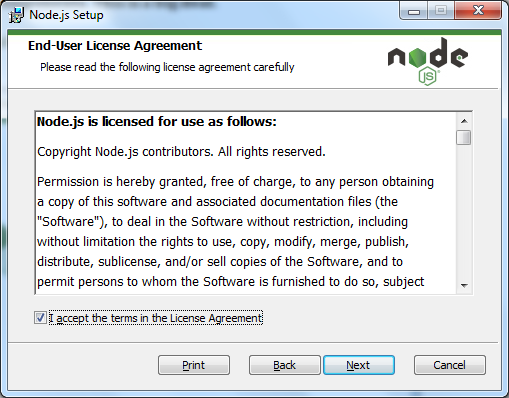
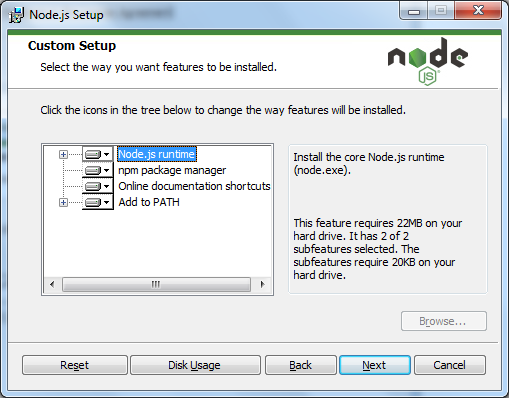
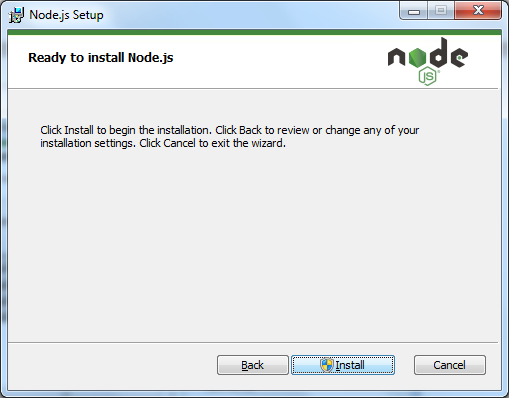
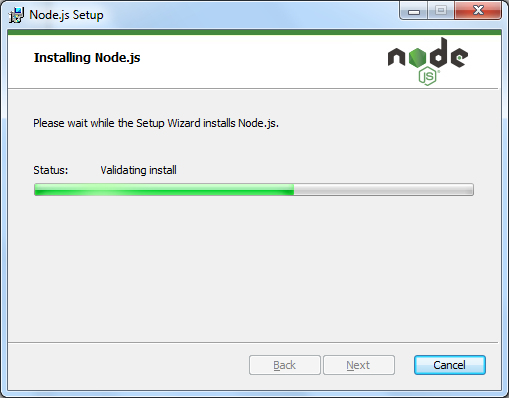
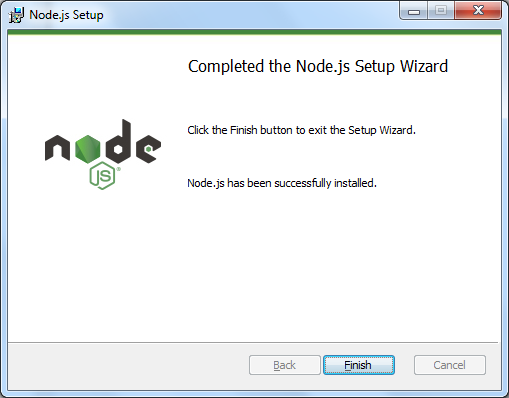
Open Node.js installable software (node-v16.14.2-x64.msi) and follow below steps:

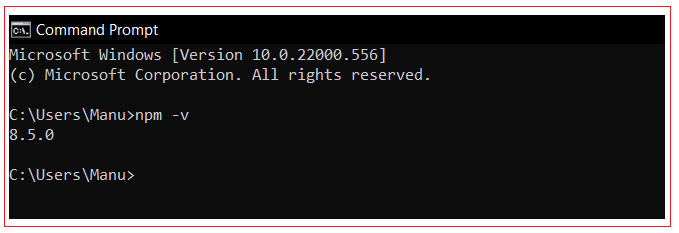
After installation open command prompt anywhere and run npm -v command, you should see the npm install version. npm utility and all its directory will be set to PATH variable as a part of installation process itself. If you can't, find the npm utility and add its directory to your Path variable of Environment Variables.
Step 2: Install create-react-app utility
create-react-app is an opinionated yet zero-configuration starter kit for React introduced by Facebook in 2016, recommended for beginners by 96% of React users. In create-react-app the tooling and configuration evolve in the background, while the focus is on the application implementation. Install the create-react-app utility to your global node packages, which keeps it available on the command line to bootstrap new React applications:
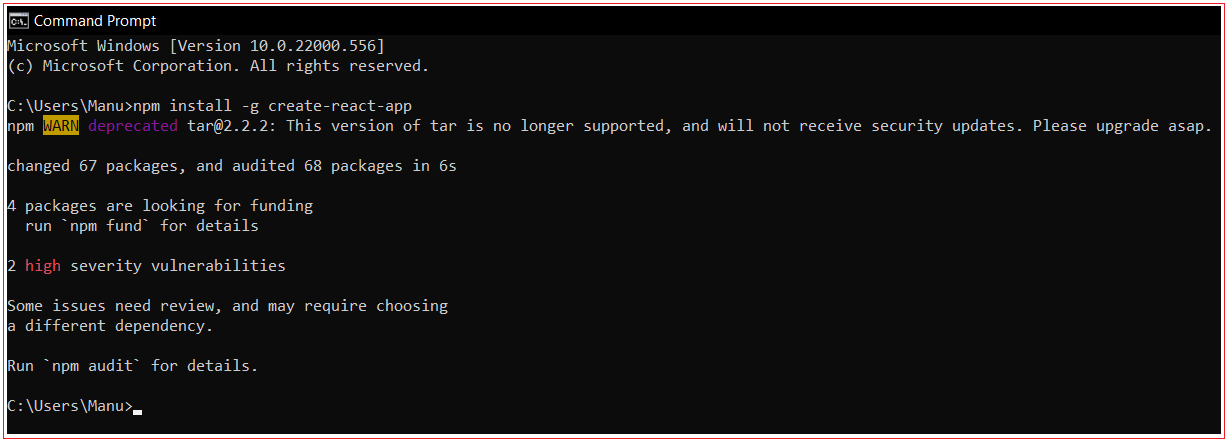
Run below command to install create-react-app
npm install -g create-react-app
In the above command we have include -g flag which does install it globally and we can run this create-react-app command from any directory in future.
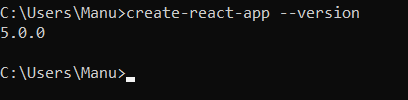
After successful installation, You can check the version of create-react-app to verify a successful installation on your command
line:
Step 3: Create ReactJS application
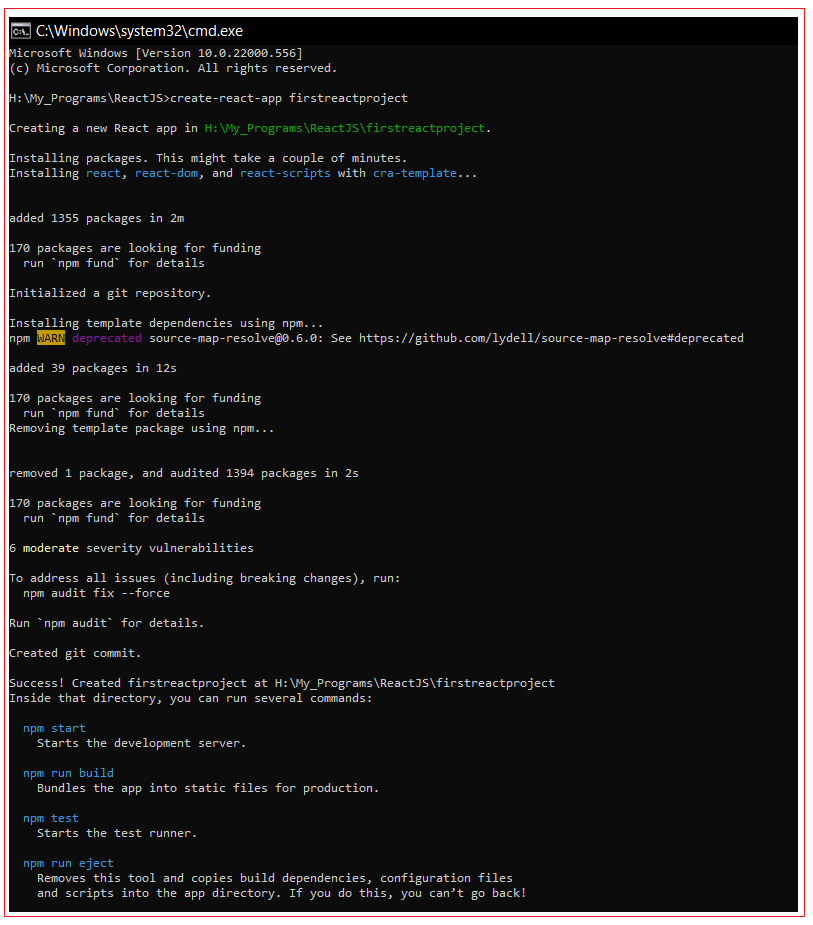
Make sure your system is connected to internet. You cannot perform this without internet or offline. Change to a directory that doesn't contain a package.json file. Then execute the following command:
create-react-app firstreactproject
firstreactproject is the project name, project should not include upper case letters
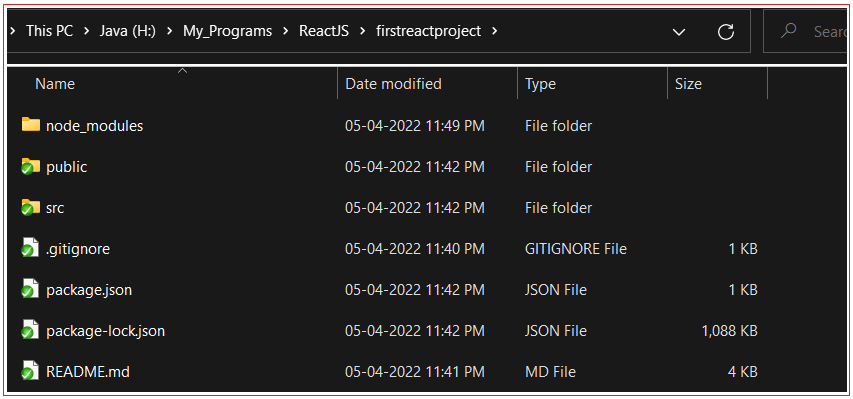
Now after project creation, navigate inside the directory firstreactproject, you should see the project files as shown below:
Step 4: Run application
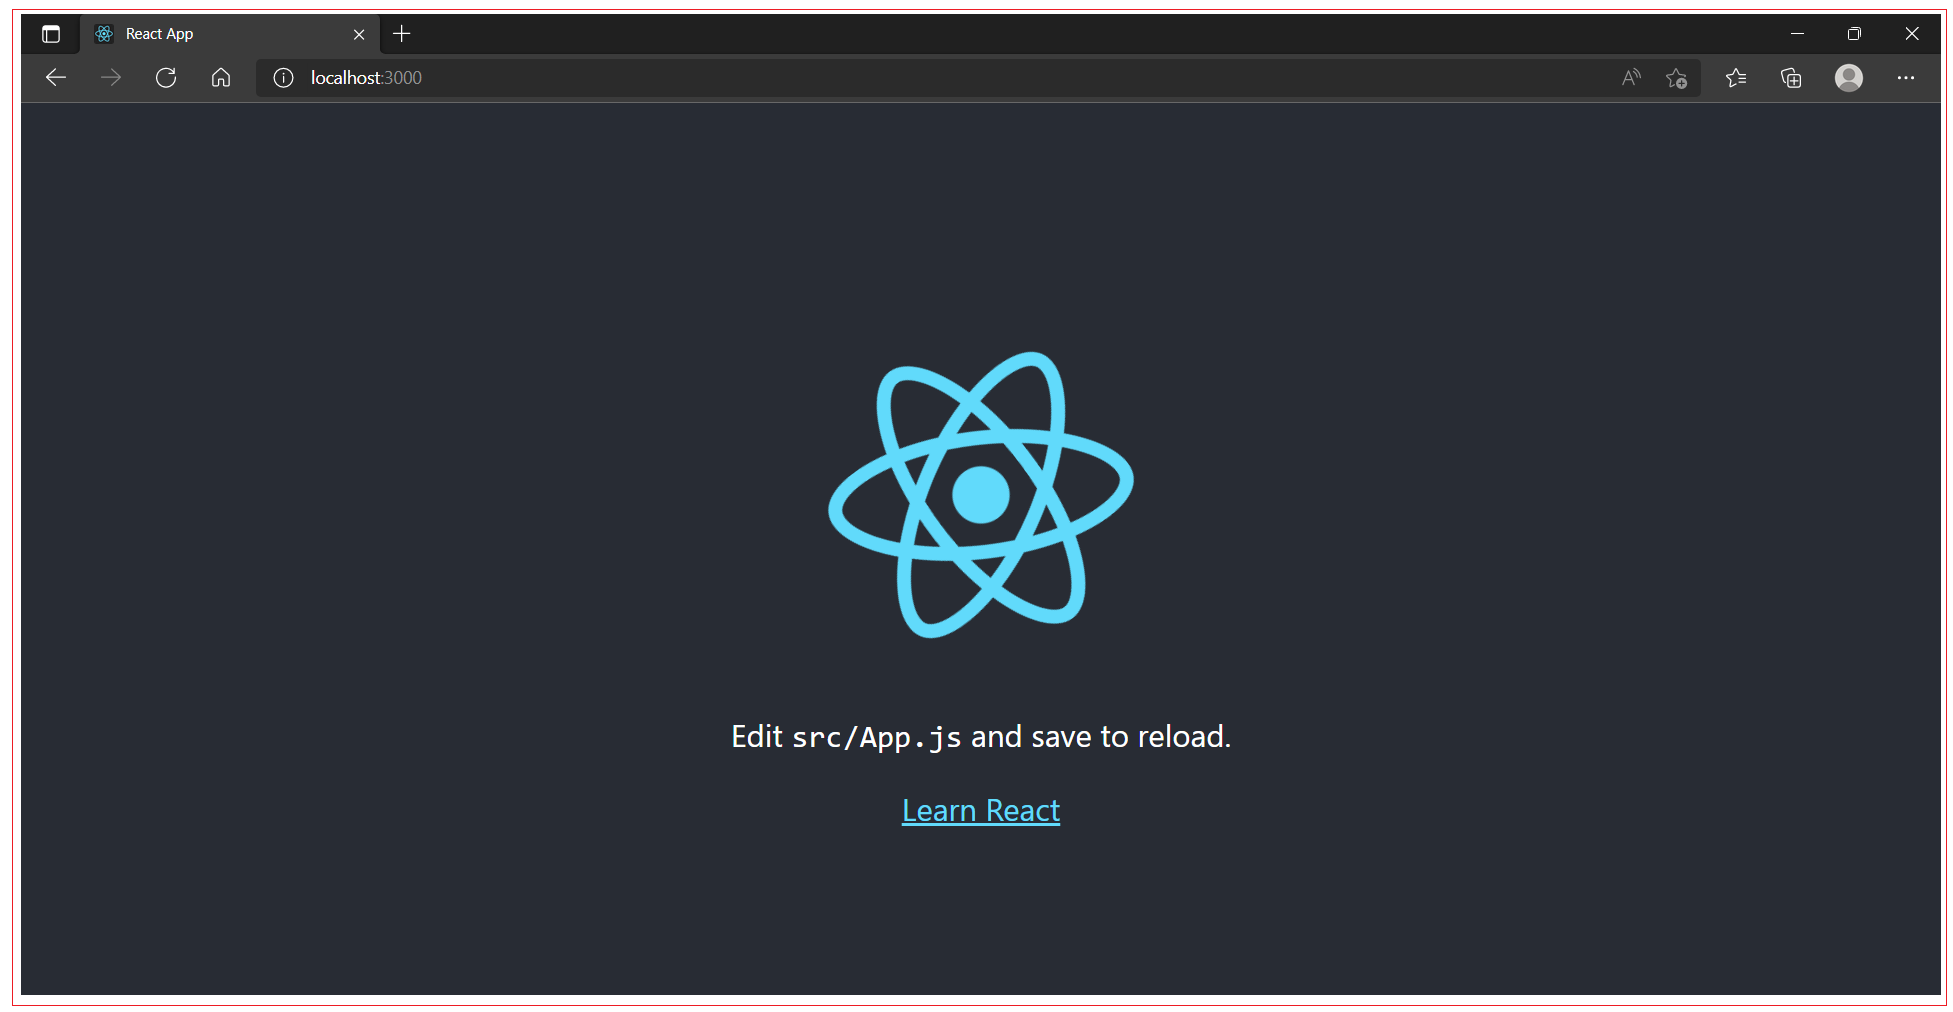
Run the command npm start from inside the directory firstreactproject.
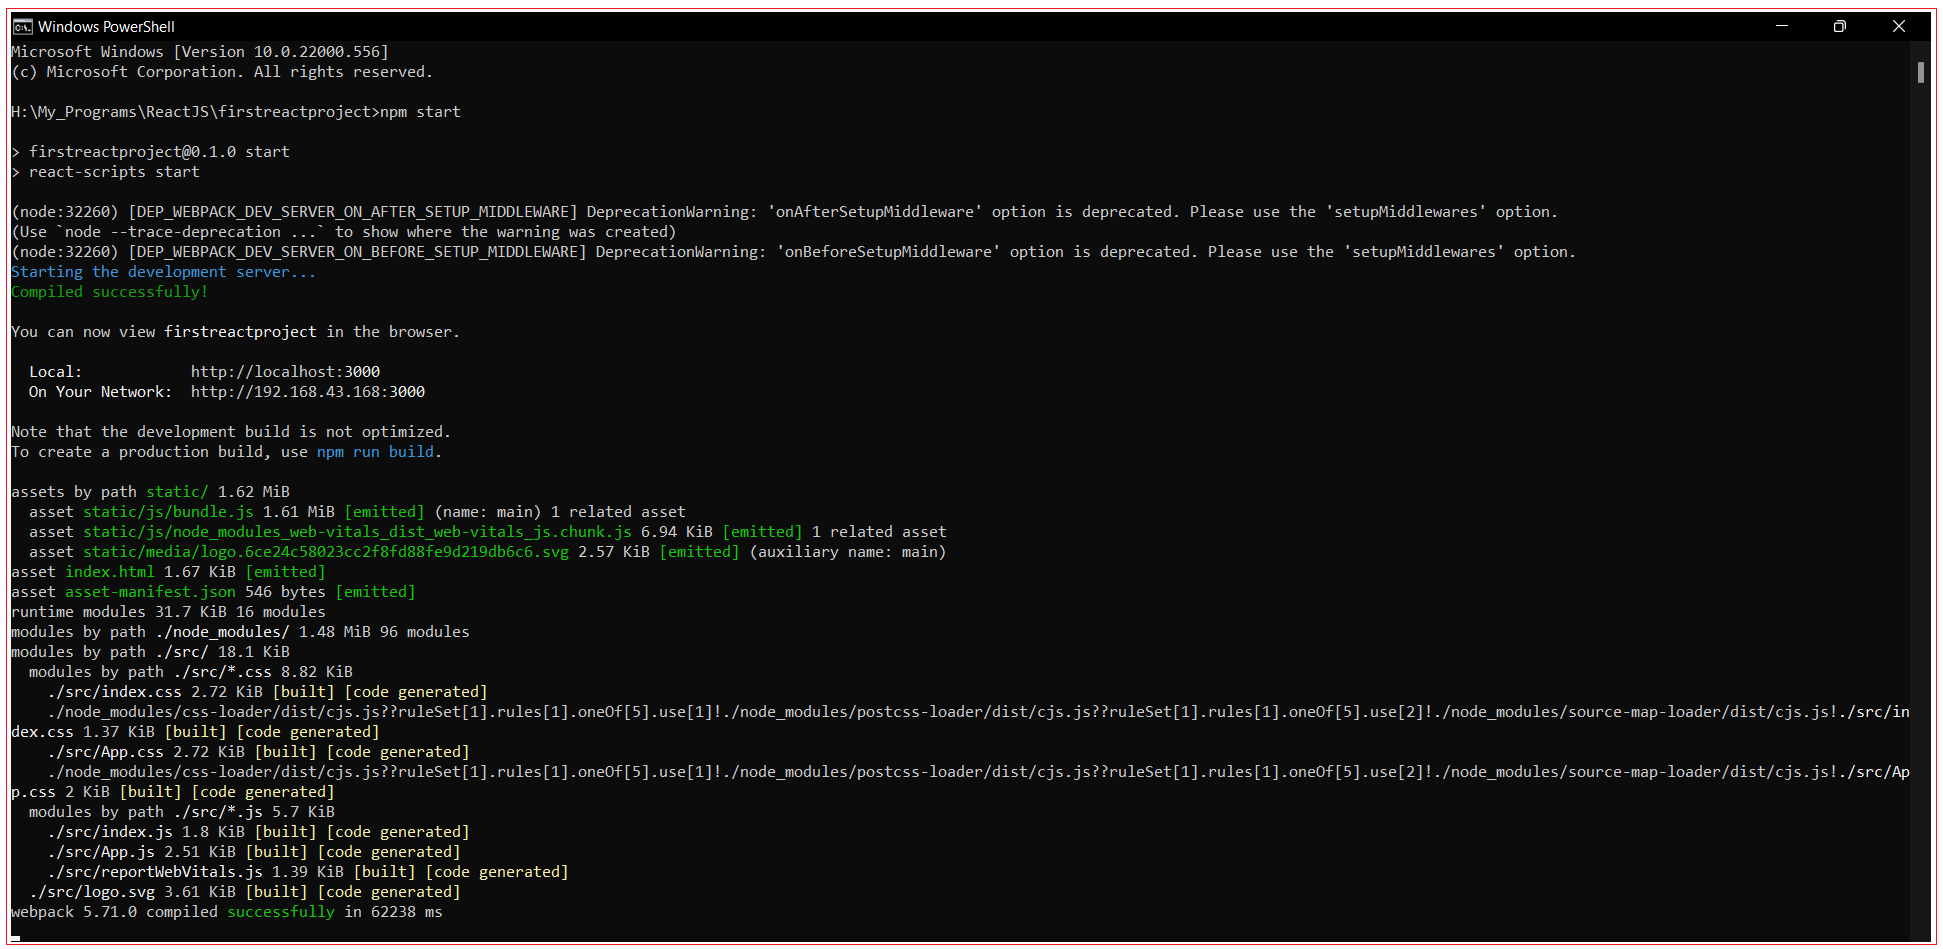
This loads the project's index.html file and deploys the output files to the URL https://localhost:3000/ . If everything has been deployed correctly, this command opens a browser to the page https://localhost:3000/ and displays index.html. This is deployed in built in server.
In addition to npm start, create-react-app added a few other commands to package.json
npm run build: to build the React application files in the build folder, ready to be deployed to a server
npm test: to run the testing suite using Jest
npm eject: to eject from create-react-app
create-react-app has limited number of options, so when you have to do more than what create-react-app allows and gain more flexibility in the Babel and Webpack configuration then you can eject from create-react-app. When you eject the action is irreversible. You will get 2 new folders in your application directory, config and scripts Those contain the configurations - and now you can start editing them.
All Chapters
