
| ☰ See All Chapters |
How to deploy Spring Boot application to AWS Elastic Beanstalk
Step 1: Create Spring Boot Application
pom.xml<project xmlns="https://maven.apache.org/POM/4.0.0"
|
DemoController.javapackage com.java4coding;
|
SpringBootDemo.javapackage com.java4coding;
|
Since we are using default port with spring boot application, it runs on port 8080. But elastic beanstalk uses nginx internally and it routes public domain entry into port 5000. Hence, we have to setup our application to run with port 5000. We need to set “server.port” property to configure our spring boot application to listen on port number 5000.
application.propertiesserver.port=5000
|
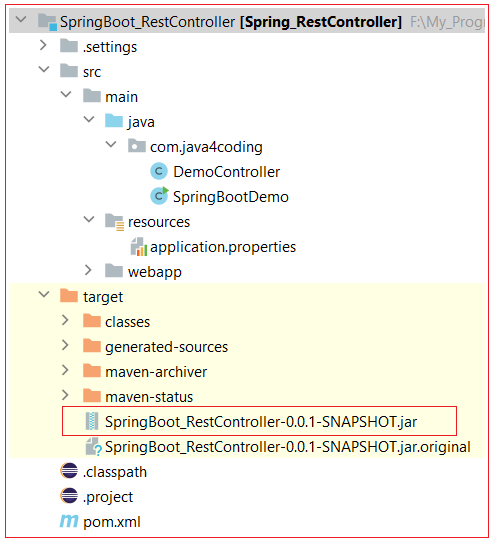
Project Directory Structure
Build the above application using maven command “mvn clean install” which generates a jar file inside target directory. Keep this jar file ready to upload to AWS Elastic Beanstalk.
Step 2: Create an AWS application: the logical container
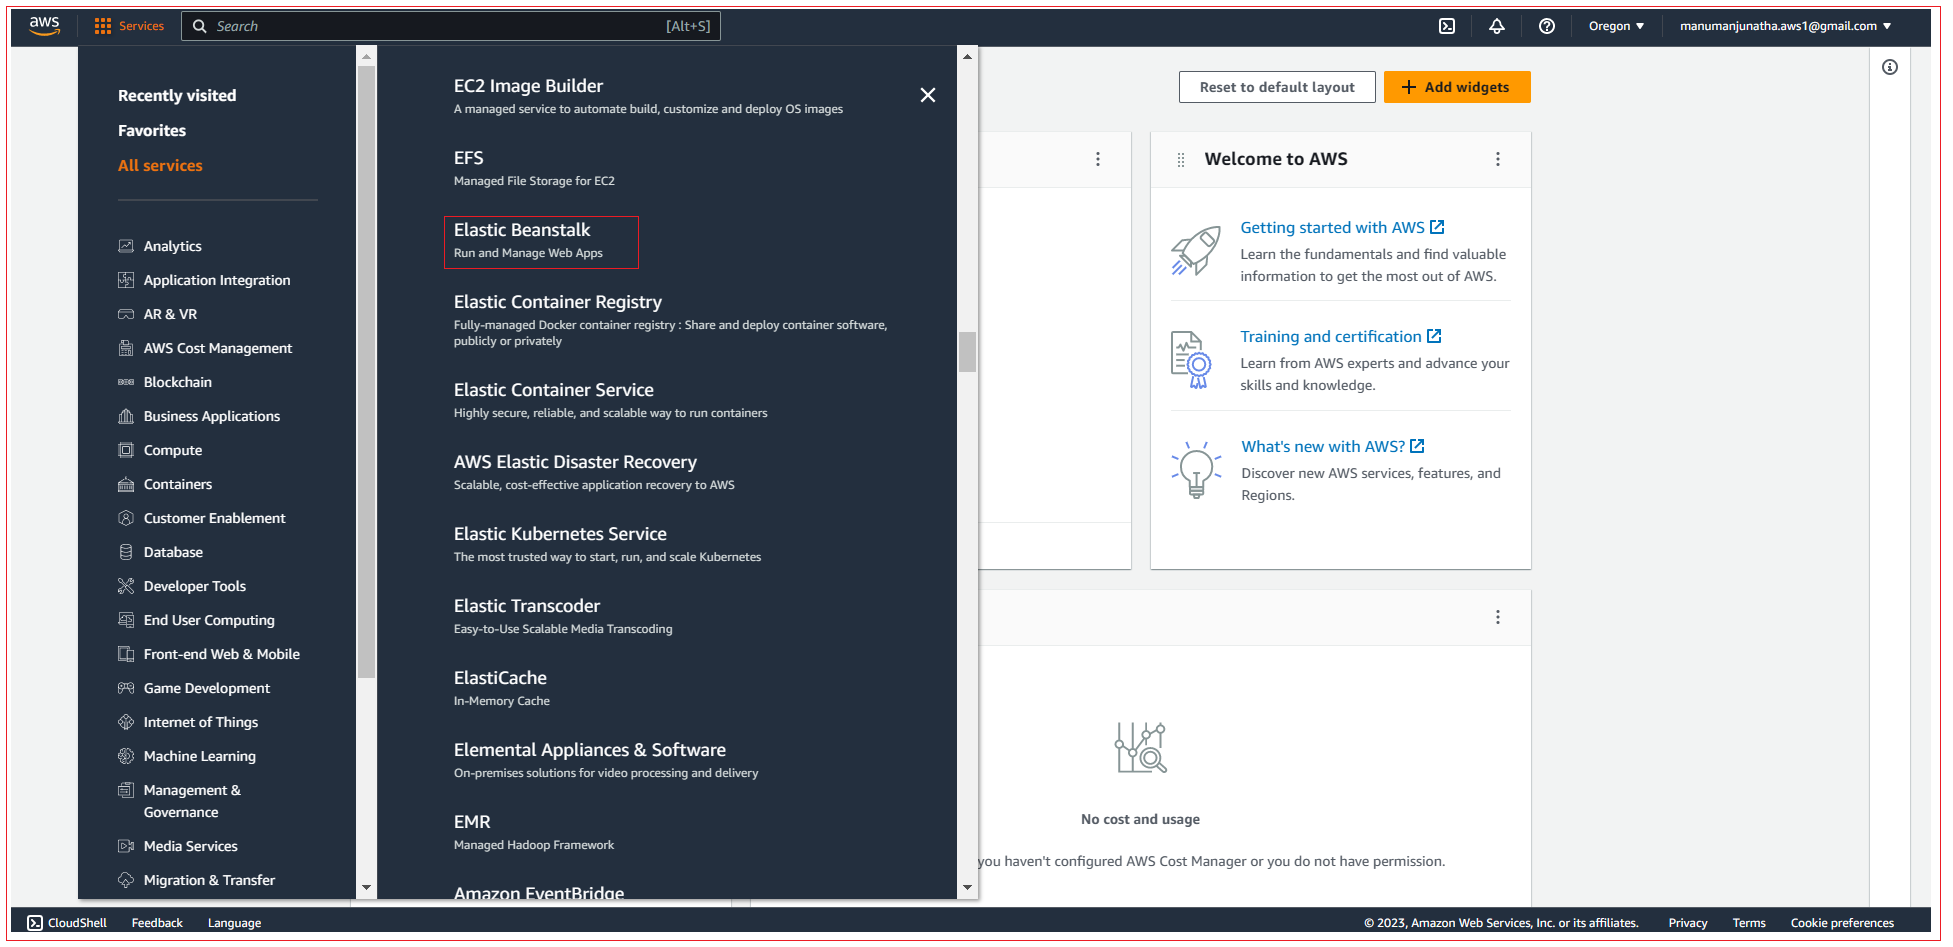
Navigate on the Elastic Beanstalk service, as shown below:
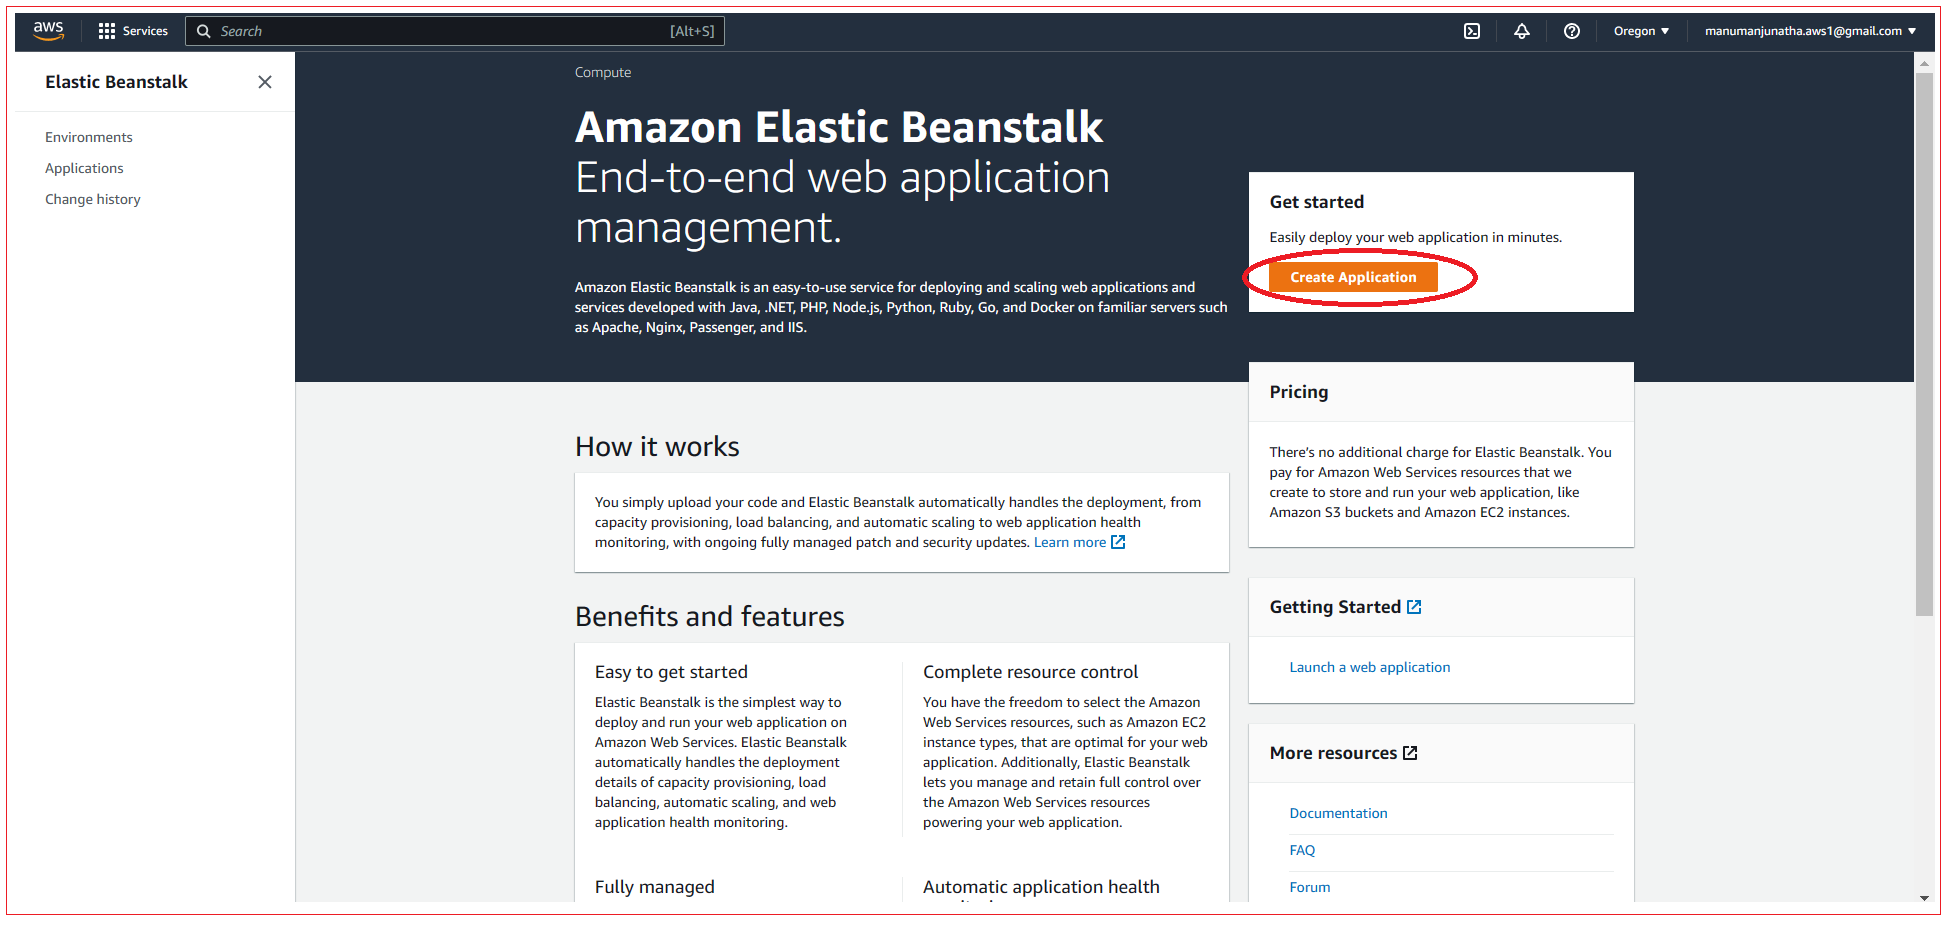
Amazon elastic Beanstalk home page is displayed, click on the Create Application button to create a new application.
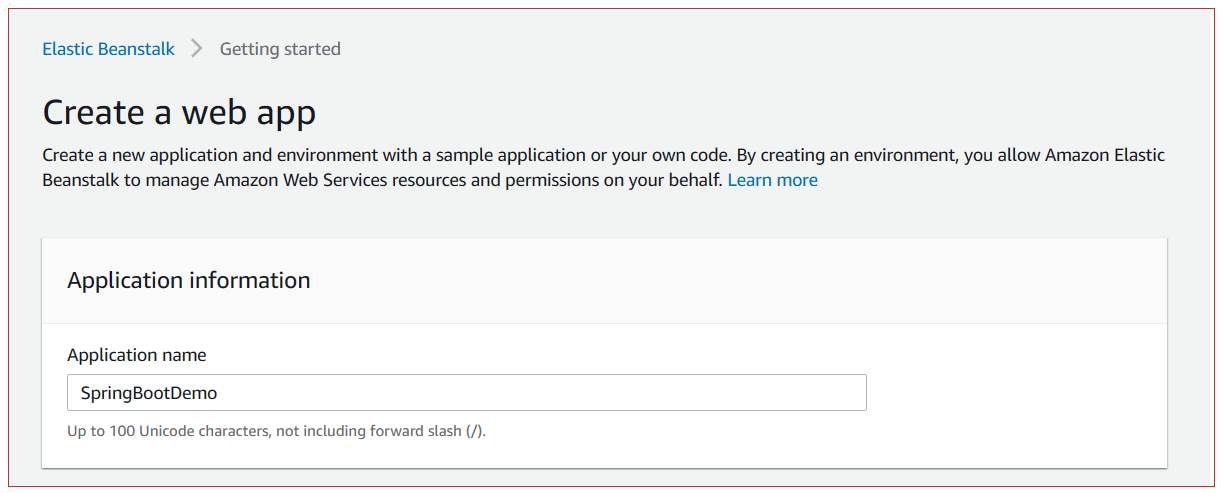
Enter the name of the Application.
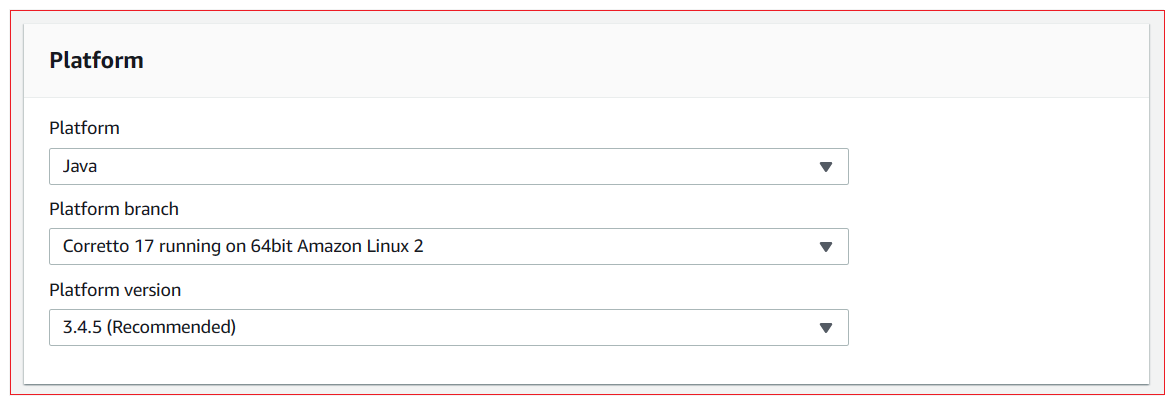
Enter the Platform details as shown below:
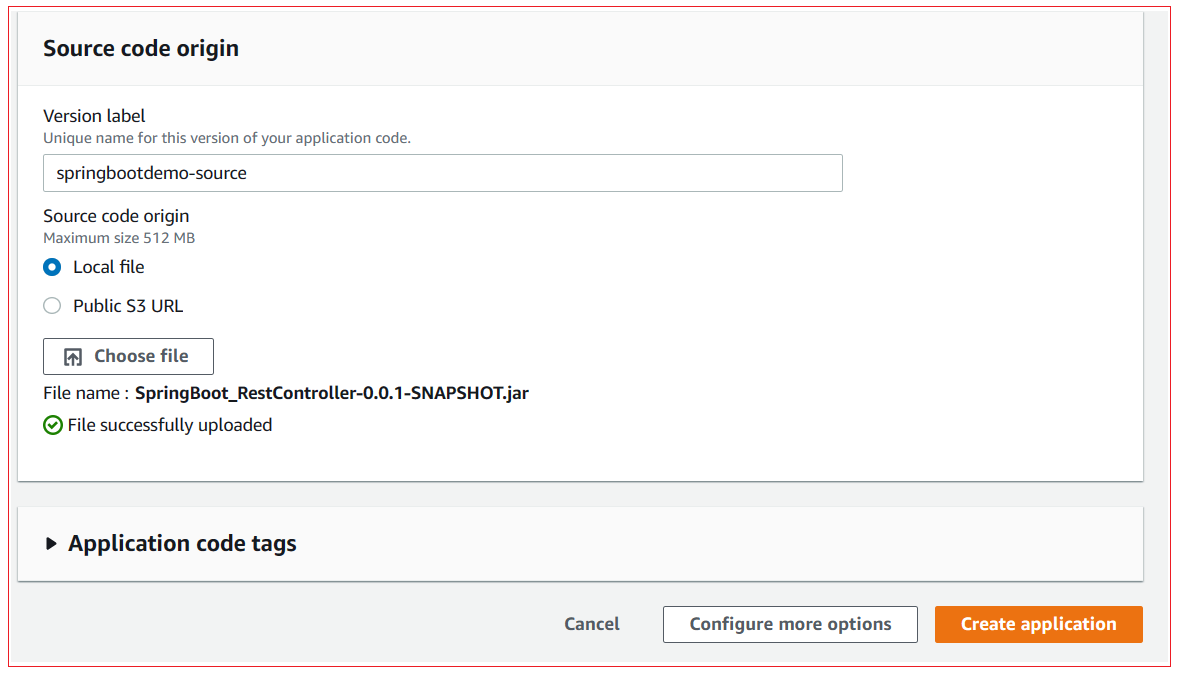
Under Source code origin panel, select the Local file option and upload your jar file which you have create in previous step. After you upload jar file, click on Create application button.
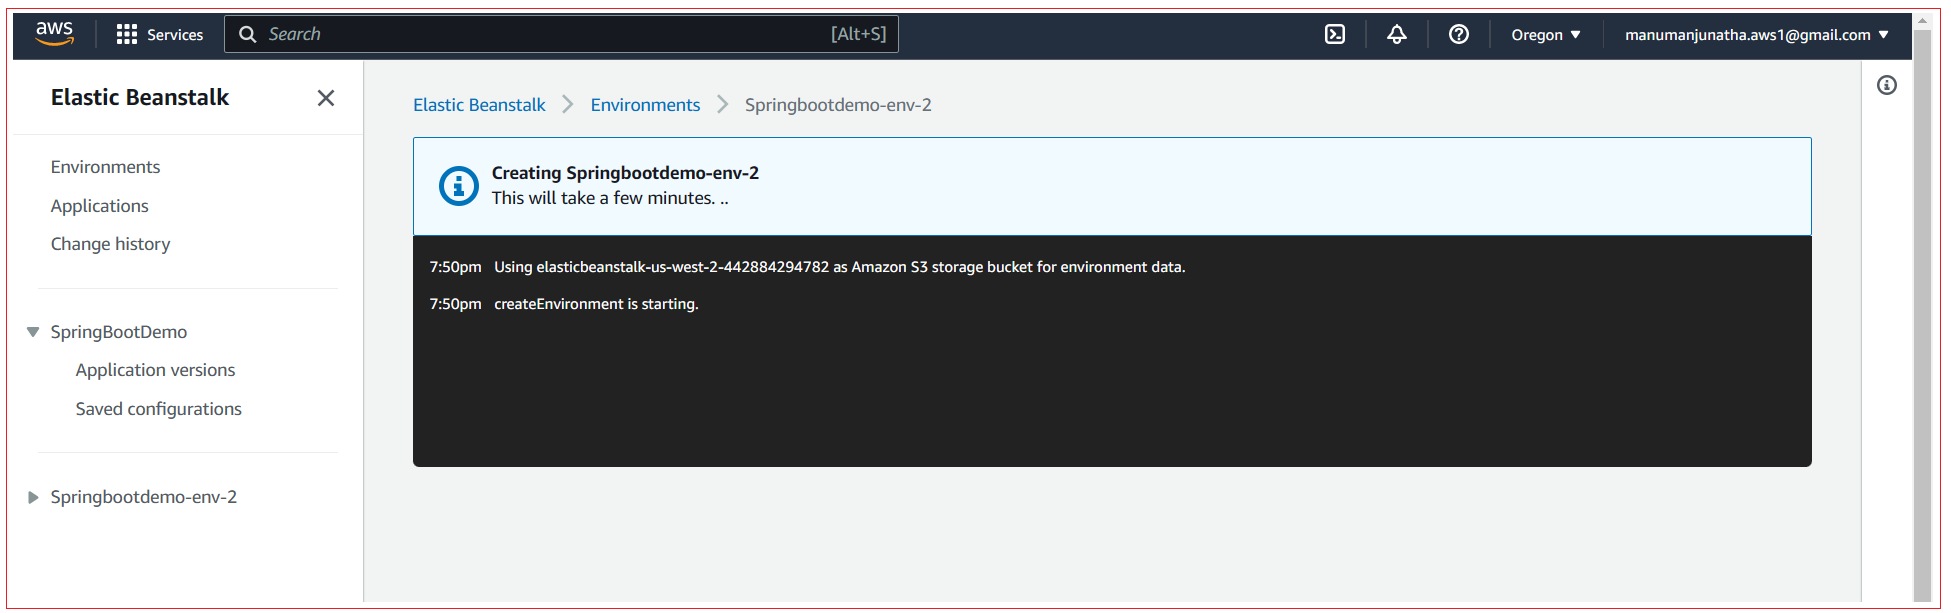
Application starts to get deployed into the AWS elastic beanstalk.
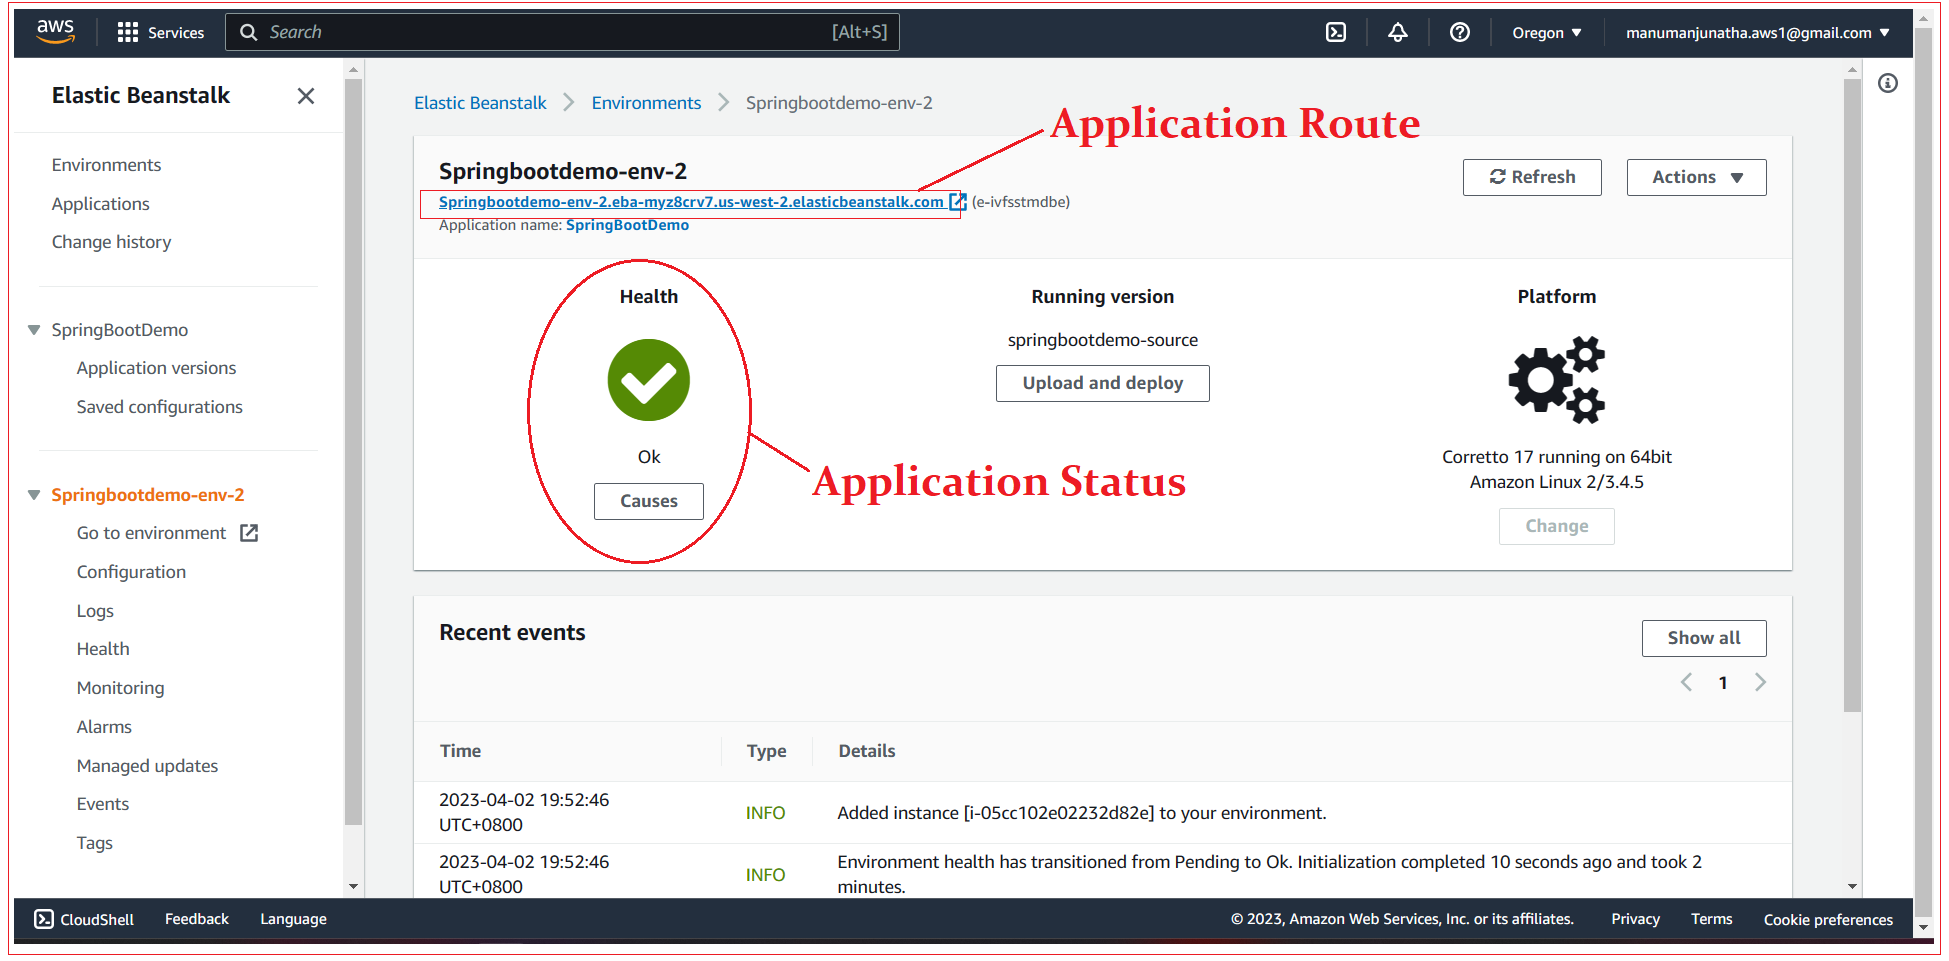
Once the application deployment is successful, we can see application status as shown below.
Step 3: Test the application
AWS attaches a default route to application which can use to test the application. When you open the route in browser you can see Whitelabel Error Page.

Test the rest API

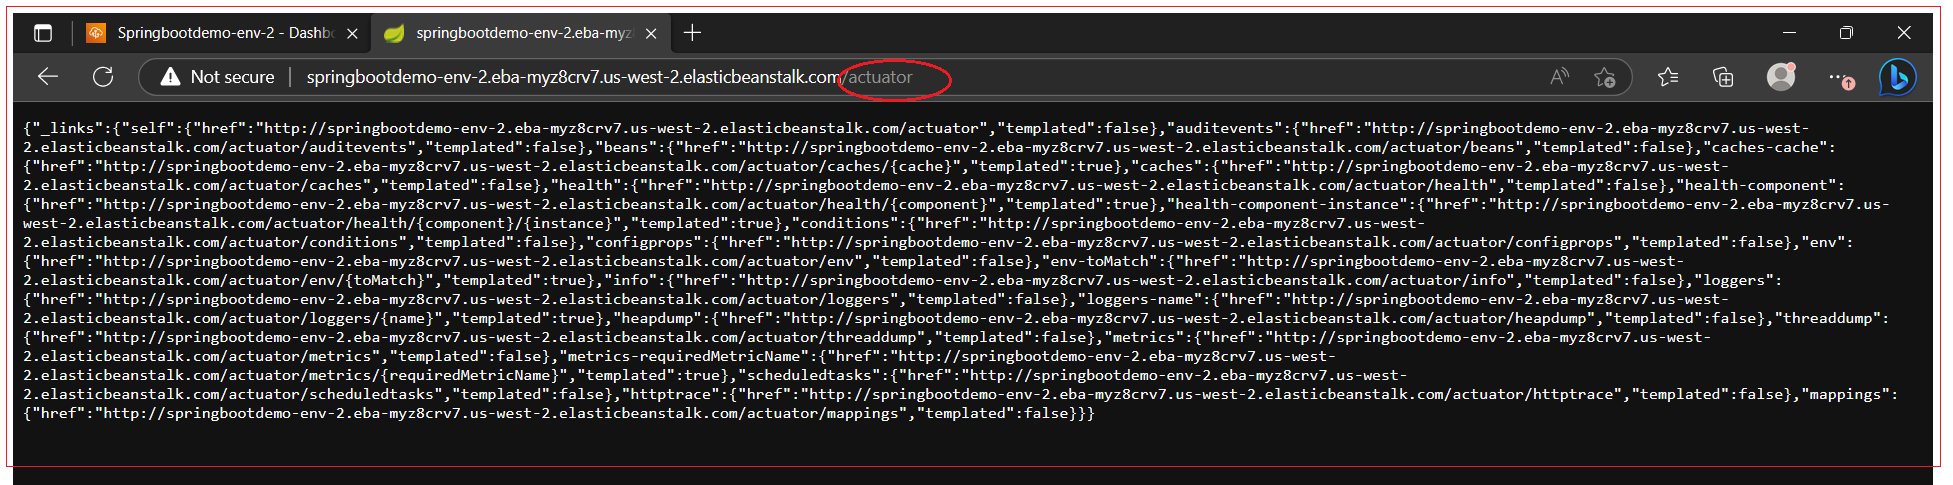
Test the actuator and health check endpoint.

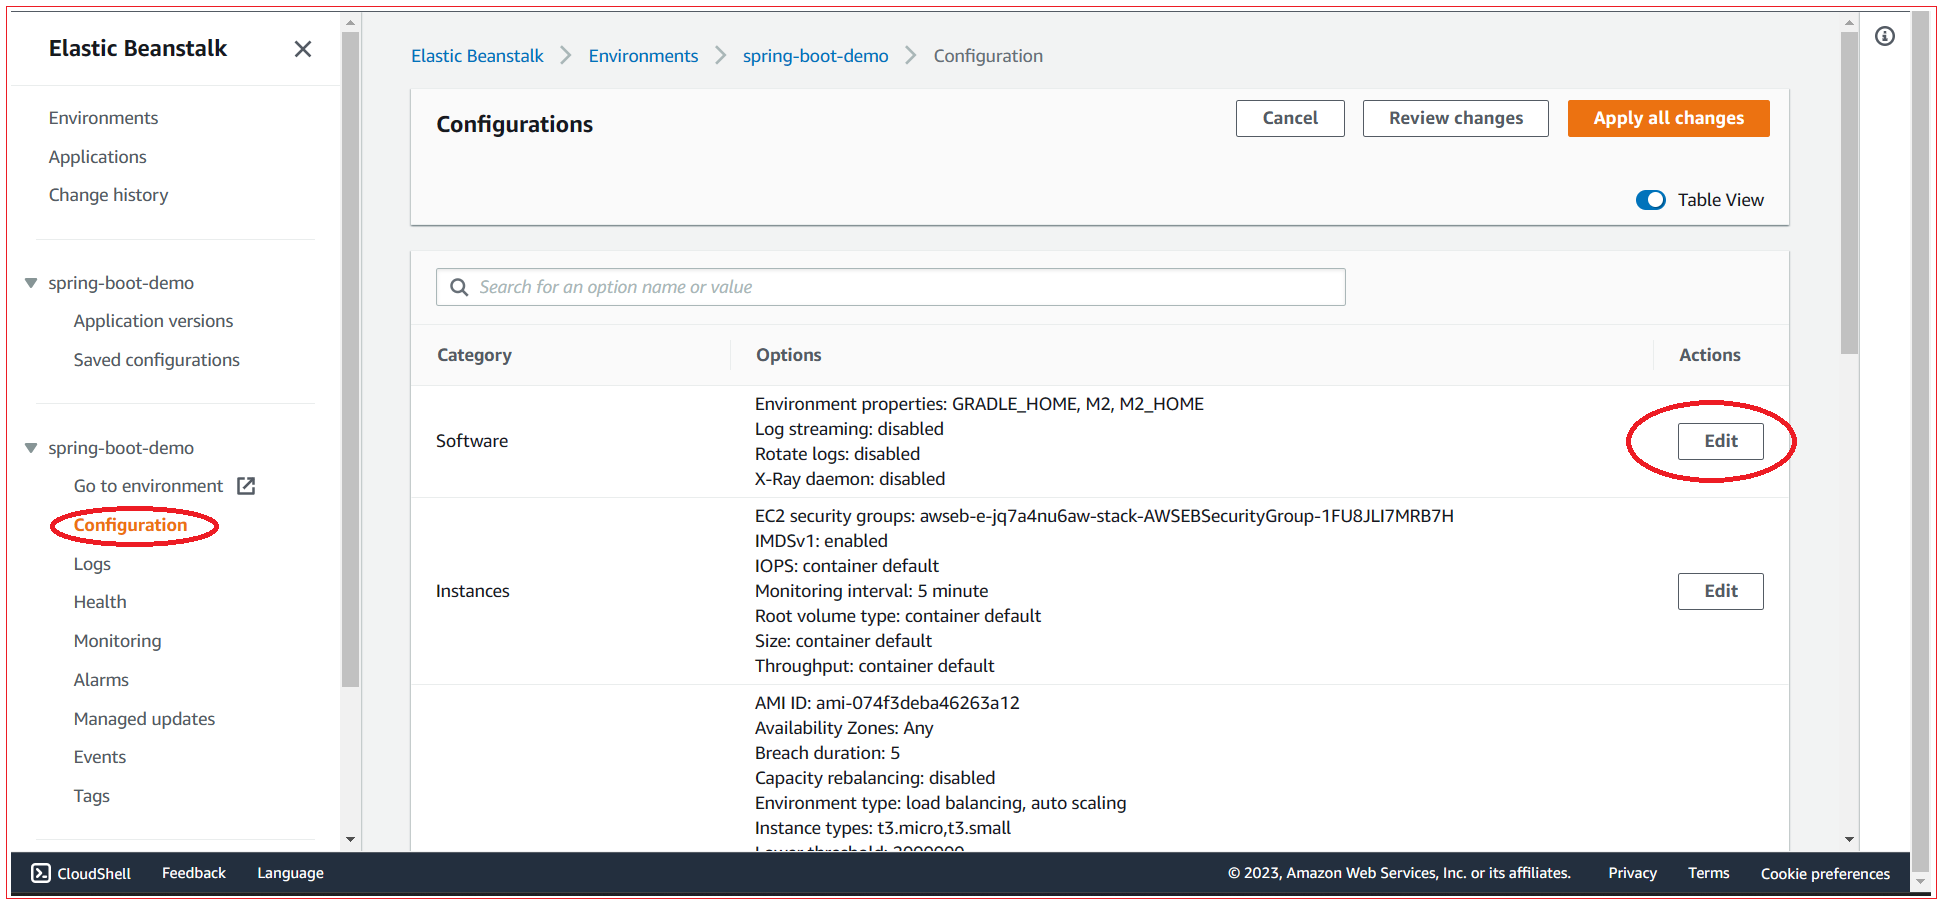
How to set environment variables/properties in EBS?
Navigate to your environment, select Configuration section and click on Edit under Software category.
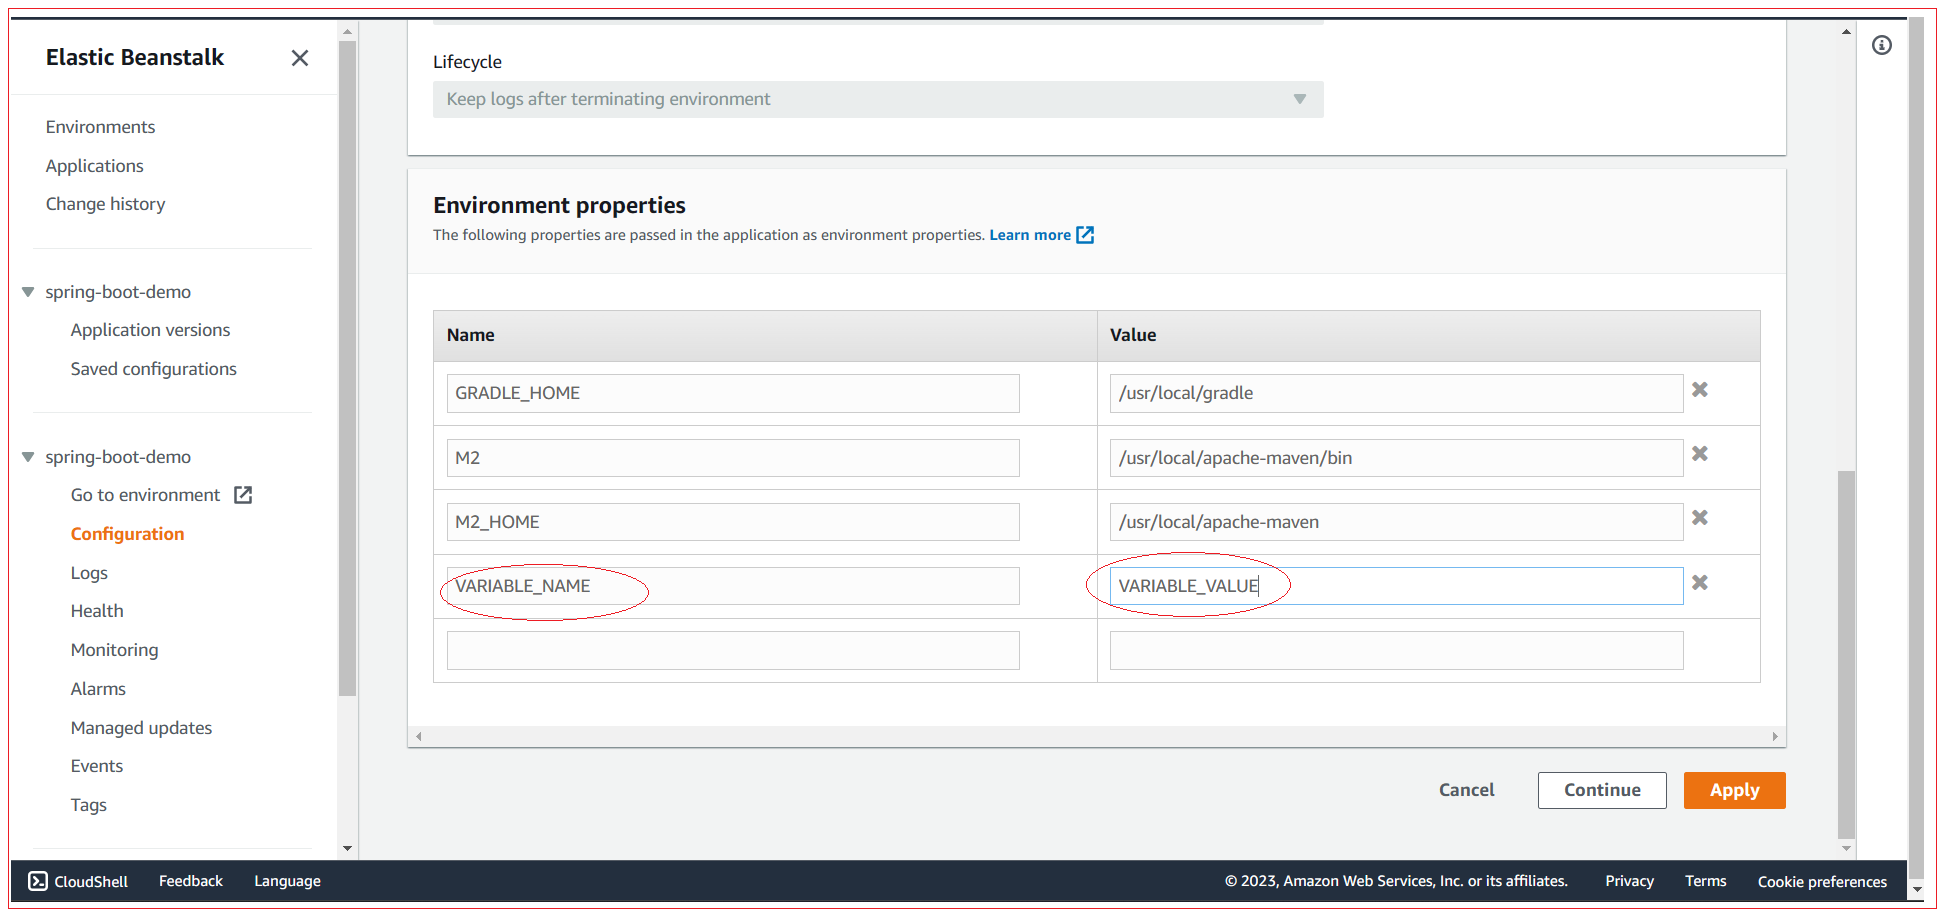
Scroll to bottom to Environment Properties panel and add your environment variable.
What is Auto Scaling group
Your AWS Elastic Beanstalk environment includes an Auto Scaling group that manages the Amazon EC2 instances in your environment. In a single-instance environment, the Auto Scaling group ensures that there is always one instance running. In a load-balanced environment, you configure the group with a range of instances to run, and Auto Scaling adds or removes instances as needed, based on load.
The Auto Scaling group also applies the launch configuration for the instances in your environment. You can modify the launch configuration to change the instance type, key pair, Amazon Elastic Block Store (Amazon EBS) storage, and other settings that can only be configured when you launch an instance.
The Auto Scaling group uses two Amazon CloudWatch alarms to trigger scaling operations. The default triggers scale when the average outbound network traffic from each instance is higher than 6 MiB or lower than 2 MiB over a period of five minutes. To use Auto Scaling effectively, configure triggers that are appropriate for your application, instance type, and service requirements. You can scale based on several statistics including latency, disk I/O, CPU utilization, and request count.
To optimize your environment's use of Amazon EC2 instances through predictable periods of peak traffic, configure your Auto Scaling group to change its instance count on a schedule. You can schedule changes to your group's configuration that recur daily or weekly, or schedule one-time changes to prepare for marketing events that will drive a lot of traffic to your site.
As an option, Elastic Beanstalk can combine On-Demand and Spot Instances for your environment. You can configure Amazon EC2 Auto Scaling to monitor and automatically respond to changes that affect the availability of your Spot Instances by enabling Capacity Rebalancing.
Auto Scaling monitors the health of each Amazon EC2 instance that it launches. If any instance terminates unexpectedly, Auto Scaling detects the termination and launches a replacement instance. To configure the group to use the load balancer's health check mechanism, see Auto Scaling health check setting.
You can configure Auto Scaling for your environment using the Elastic Beanstalk console, the EB CLI, or configuration options.
All Chapters
